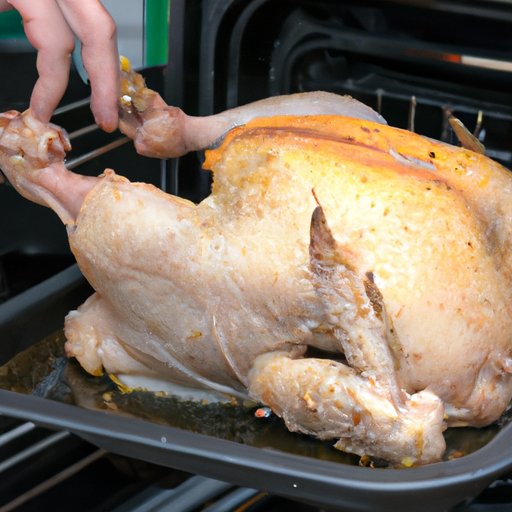
How to Truss a Chicken: From Traditional to Pro Techniques
If you’re a fan of roasted chicken, you know that the secret to a perfectly cooked bird is all in the preparation. One of the most important steps in preparing a chicken for roasting is trussing. Trussing a chicken involves tying it up in a way that allows for even cooking and a juicy, flavorful end product. In this article, we’ll cover everything from the traditional method of trussing to pro techniques that will impress your dinner guests. Whether you’re a beginner or a seasoned cook, read on to discover the best ways to truss a chicken.
The Traditional Method: A Step-by-Step Guide to Trussing a Chicken for Perfect Roasting Every Time
The traditional method of trussing a chicken involves tying the wings and legs together to create a neat, compact package. Here’s how to do it:
Tools and Ingredients:
- A whole chicken
- Cotton kitchen twine
- Scissors
Step-by-Step:
- Place the chicken on a cutting board breast-side up with the tail end facing you.
- Tuck the wings behind the bird’s back. Simply bend them back and tuck the tips under the chicken.
- Take a long piece of twine and tie it around the legs, pulling them together toward the bird’s breast. This will hold the bird’s shape together and help it cook evenly.
- Take the twine and loop it around the chicken’s neck, pulling it tight to hold the legs close to the body.
- Tie the twine tightly, trim any excess string, and tuck the ends under the twine.
Common Mistakes to Avoid:
- Not tying the twine tightly enough, which can lead to uneven cooking.
- Not tucking the wings behind the bird, which can cause them to burn during cooking.
- Cutting the twine too short, which can make it difficult to tie securely.
Save Time and Energy: How to Truss a Chicken Quickly and Efficiently
If you’re short on time or simply don’t want to bother with traditional trussing, there’s a quicker way to get the job done. Here’s how:
Step-by-Step:
- Tuck the wings under the chicken.
- Wrap a piece of twine around the chicken lengthwise and tie it tightly to hold the legs close to the body.
Benefits of This Method:
- It’s quick and easy.
- It still allows for even cooking.
Trussing for Flavor: How This Essential Kitchen Technique Can Change the Way You Cook Chicken
Trussing a chicken not only helps it cook evenly, but it can also impact the flavor of the bird. Here’s how:
Effect on Cooking:
- Trussing can help the chicken cook more evenly by keeping its shape intact.
- Trussing can help prevent the wings and legs from overcooking and drying out.
Effect on Flavor:
- Trussing can help the chicken retain its natural juices, resulting in a juicier end product.
- Trussing can help the chicken cook more evenly, leading to a more flavorful bird overall.
Tips for Different Trussing Techniques:
- For a more traditional approach, truss the chicken using the step-by-step guide described earlier.
- For a more dramatic presentation, try trussing the chicken with its legs in a “frog” position. This involves creating a loop around the legs and tying a knot to hold them in place.
- For a spatchcock-style chicken, which involves flattening the bird to cook it faster and more evenly, cut out the backbone and follow a similar trussing technique as the quick method described earlier.
From Basic to Pro: Trussing Your Chicken to Impress Your Dinner Guests
If you want to take your trussing skills to the next level, try these pro techniques for a more visually appealing presentation:
- Truss the chicken with its legs in a “frog” position, as described in the previous section.
- Add fresh herbs such as thyme or rosemary to your twine before tying the chicken to infuse it with additional flavor.
- Tie the twine in a decorative knot to make the presentation even more impressive.
Experiment with different trussing techniques to find the one that works best for you. It’s a simple way to elevate your cooking and impress your dinner guests.
A Beginner’s Guide: Trussing a Chicken for the First Time Without Any Hassle
If you’re a beginner, trussing a chicken may seem intimidating. But with a little practice, it’s a simple skill to master. Here’s our simplified step-by-step guide:
Step-by-Step:
- Place the chicken on a cutting board breast-side up with the tail end facing you.
- Tuck the wings behind the bird’s back as described earlier.
- Take a long piece of twine and wrap it around the legs, pulling them together toward the bird’s breast. Do not tie the twine yet.
- Bring the ends of the twine up and around the chicken’s neck. Cross the ends over each other and continue wrapping them around the bird’s body, tucking the ends under the twine as you go.
- Bring the twine ends back to the legs and tie them together securely. Trim any excess string.
Additional Tips for Beginners:
- Be patient. Trussing may take a few tries to get right.
- Make sure your twine is long enough. You don’t want to run out of string mid-tying.
- Practice on a smaller bird or even a practice chicken before attempting to truss a Thanksgiving turkey.
Conclusion
Trussing a chicken is an essential kitchen skill that can take your roasted chicken game to the next level. Whether you prefer the traditional method or want to experiment with more advanced trussing techniques, the key is to practice and find the technique that works best for you. So next time you’re preparing a chicken for roasting, give trussing a try and see how it can impact the flavor, texture, and presentation of your dish.


