I. Introduction
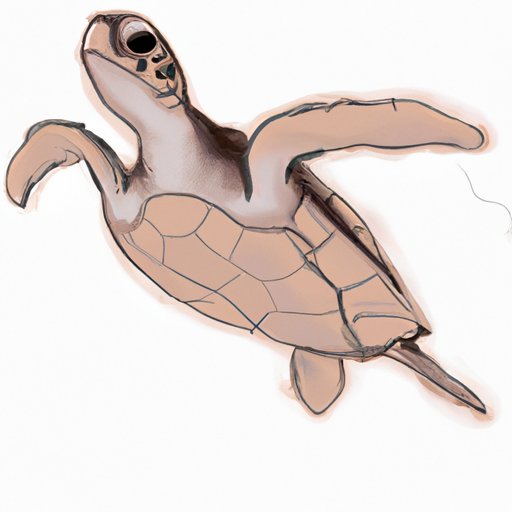
Sea turtles are fascinating creatures that have captured the hearts of millions. Their unique appearance and behavior make them a popular subject for artists and creative individuals who want to learn how to draw them. If you’re interested in improving your drawing skills and learning how to draw a sea turtle, then this article is for you. In this article, we will provide you with a step-by-step guide on how to draw a sea turtle, as well as tips and tricks on how to create realistic and creative interpretations.
II. Step-by-step Guide
A. Materials Needed
The first step in drawing a sea turtle is gathering the necessary materials. You will need a pencil, eraser, paper, and colored pencils or markers if you wish to add color to your drawing. Make sure that your paper is of good quality and thick enough to withstand erasing and shading.
B. Sketching the Basic Shapes and Forms
The next step is to sketch the basic shapes and forms that make up the sea turtle. Draw a rough outline of the turtle using basic shapes such as circles, ovals, and triangles. Start with the head and then draw the limbs and rest of the body. Focus on the proportions and get the overall shape right. Don’t worry about adding details at this stage.
C. Adding Details to the Head and Flippers
Once you have the basic shapes and forms, you can start adding details to the head and flippers. Observe the shape of the head and add the eyes, nostrils, and mouth. Add details to the flippers such as the nails, flipper shape, and webbing between the fingers. Don’t forget to add texture to the skin by drawing scales on the head and limbs.
D. Drawing the Shell
After you have added details to the head and flippers, it’s time to focus on the shell. Draw the pattern of the shell and add texture by adding lines to the shell plates. If you want to add more realism and depth to the drawing, shade the parts of the shell that are in shadow. Remember to keep the proportions and dimensions accurate.
E. Final Details and Finishing Touches
The final step is to add final details and finishing touches. Add the sand or water texture under the turtle, create the surface the turtle is resting on, and use colored pencils or markers to add color if desired. Add highlights where necessary to create a glossy finish. Use the eraser to clean up any stray lines and smudges. And voila! You’ve successfully drawn a sea turtle.
III. Video Tutorial
If you’re interested in following along with a video tutorial, check out this How to Draw a Sea Turtle Step by Step video created by Draw So Cute. This tutorial offers a real-time drawing process with an instructor’s voiceover. The tutorial is great for beginners or those who want to improve their drawing skills by following along with an experienced artist.
IV. Simplified Tutorial
If you’re just starting with drawing or are looking for a simplified tutorial, check out Drawing 101’s How to Draw a Basic Sea Turtle tutorial. This tutorial focuses on basic shapes and forms to create a foundation for more complex drawings. The tutorial is ideal for beginners or those who have limited drawing skills. The tutorial is easy to follow and teaches you how to create basic shapes for the sea turtle using simple techniques.
V. Creative Interpretation
If you’re looking for a more creative interpretation of the sea turtle, there are many techniques and styles that you can use to create a personalized version of the animal. Some popular techniques include watercolor painting, adding patterns or designs, or even adding a surreal twist to the drawing.
To create a unique and personalized sea turtle, start by researching different techniques and styles and experiment with different methods. You can also try to mix and match techniques to create something truly original.
VI. Realistic Drawing
If you’re aiming for a realistic representation of the sea turtle, then you need to study the turtle’s anatomy and observe real-life reference images. Pay attention to the details of the shell patterns and textures, the skin scales, and the shape of the head and flippers.
Use shading and texture to add depth and realism to your drawing. Study the shapes and forms of the shadows and light areas. The use of proper shading can greatly enhance the look of your drawing and make it stand out.
VII. Conclusion
Learning how to draw a sea turtle can be a fun and rewarding experience. With the step-by-step guide we have provided, along with additional resources, you can improve your drawing skills and learn how to create your own personalized and realistic sea turtle drawing. Remember to practice regularly, experiment with different methods and techniques, and most importantly, have fun.


