Introduction
Hummingbirds are among the most exquisite creatures to observe in the wild, and capturing their intricate beauty through drawing can be an enjoyable experience. However, many aspiring artists may be deterred from attempting to draw a hummingbird due to the bird’s complexity. But with a little guidance, you can easily learn how to draw a hummingbird. In this article, we will provide you with a detailed guide on the step-by-step process of drawing different hummingbird species, highlighting various tips, and addressing common mistakes.
Step-by-step process
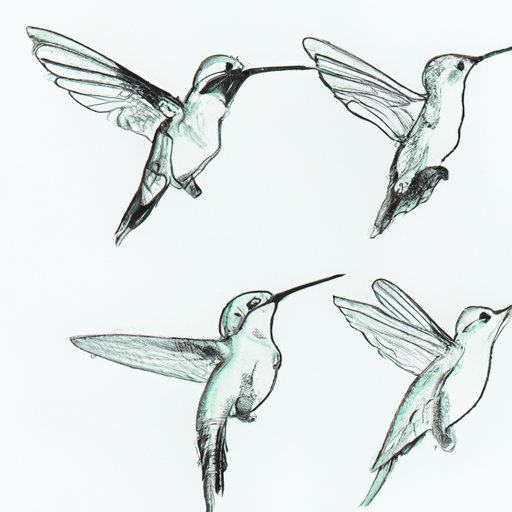
The first step in drawing a hummingbird is to begin with a basic sketch of the bird’s body shape. Start with a circle for the head, followed by the body shape. Then, sketch two lines extending out from the head circle for the bird’s beak.
Next, draw an outline of the bird, ensuring that the wings and tail are proportionate to the bird’s body. Be sure to draw the legs, as well.
Once the bird’s outline is complete, begin to add some details, starting with the eyes and beak. Once the eyes and beak are complete, begin to add feathers, which can be done using quick, light lines. Being able to draw feathers accurately can take time, so don’t be discouraged if it takes practice.
The last step is coloring the hummingbird. Take your time to choose the right colors and blend them well. Make sure the color is balanced, and the end result is realistic.
Video tutorial
A visual tutorial can provide great benefits when it comes to learning how to draw a hummingbird. Watching someone else do it can inspire and encourage you in your own efforts. Fortunately, there are plenty of great video tutorials available online that can show you how to draw a hummingbird step-by-step. Here are some of our recommended videos:
- How to Draw a Hummingbird from the Front
- How to Draw a Realistic Hummingbird
- Simple Hummingbird Drawing for Beginners
How to draw different hummingbird species
Hummingbirds are found in various species and come in a variety of colors and sizes. Understanding their diversity is an essential aspect of drawing hummingbirds accurately. Before attempting to draw a hummingbird, it’s helpful to look at pictures and photos of different hummingbird species to get a better idea of the differences between them and their key features.
Once you familiarize yourself with the different hummingbird species, you can start drawing them, focusing on specific characteristics that distinguish each species. For example, the Anna’s hummingbird has a pinkish head, throat, and gorget and short wings. At the same time, the Ruby-throated hummingbird has a ruby-red throat, a slim, straight bill, and a long tail.
Using different mediums
When it comes to artistic expression, using different mediums can provide a new perspective on the same object. Here are some different mediums you can use to draw hummingbirds:
- Pencil
- Ink and pen
- Colored pencils
- Markers
- Watercolor
Each medium has its pros and cons, so it’s essential to experiment and find which one fits best with your personal style. The key is to find the right balance between color and texture, and the combination that achieves the desired result.
Detailing key features
Getting the key features right is crucial to bringing a hummingbird drawing to life. Some of the common and significant features include the bird’s beak, eyes, and feathers. Here are some instructions on how to draw each feature:
- Beak: draw a thin and a long triangle-shaped beak, pointed at the end.
- Eyes: draw small but catchy eyes, usually black or dark brown in color, on either side of the bird’s head.
- Feathers: Hummingbirds’ feathers are unique, and you can make your drawing stand out by taking special care when sketching them. Hummingbirds’ feathers are usually long, thin, and delicate.
Common mistakes when drawing hummingbirds
Drawing hummingbirds can be challenging, especially if you don’t know what to expect. Common mistakes include:
- Incorrect proportions
- Over/undersized wings
- Misshaped beak
- Poorly sketched feathers
To avoid these issues, take your time and carefully review your work as you go. Measure your proportions, and cross-check them with your reference image. Smooth out any rough strokes, and be sure to add details accurately and evenly throughout the entire bird.
Conclusion
If you’re looking to draw a hummingbird, don’t be intimidated by the bird’s complexity. With a bit of patience and determination, anyone can draw a hummingbird. Start with a basic sketch, outline the bird, add details, and colorize it for a realistic rendering. If you’re having trouble, be sure to watch tutorials, learn about hummingbird species, research different art mediums, and be mindful of the common mistakes.


