Introduction
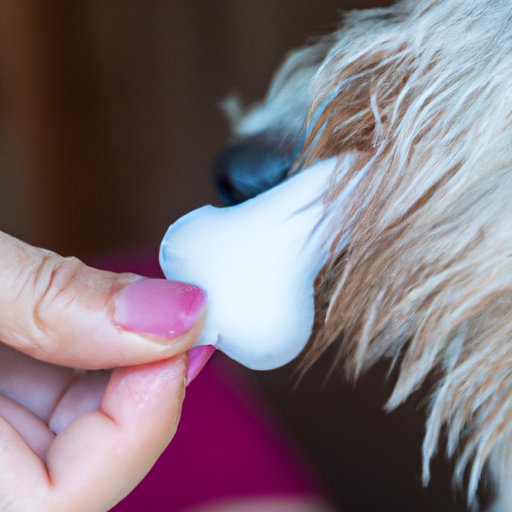
As a responsible dog owner, one of your obligations is to maintain your dog’s hygiene, and this includes cleaning their ears. Keeping your dog’s ears clean can prevent infections and other health issues that can cause discomfort and pain. However, cleaning your dog’s ear can be a daunting task for some owners. This article aims to provide a comprehensive guide on how to clean a dog’s ear effectively and safely.
Step-by-step Guide
Before we start, it is important to note that cleaning a dog’s ear can be uncomfortable for them. Therefore, it is crucial to make sure that your dog is comfortable and relaxed before starting the cleaning process. Here’s a step-by-step guide on how to clean a dog’s ear:
Step 1: Gather the Needed Materials
You will need ear cleaning solution, cotton balls, and possibly gloves and tweezers if your dog has an abundance of hair in their ears. The ideal solution should be recommended by your veterinarian, as some commercial solutions may have ingredients that cause irritation or discomfort in some dogs’ ears.
Step 2: Inspect Your Dog’s Ears
Before cleaning your dog’s ears, inspect them first and check for signs of infection, inflammation, or discharge. If you notice any abnormalities, visit your veterinarian before cleaning your dog’s ears. Otherwise, take note of the ear’s current state, so you can notice any changes in the future.
Step 3: Apply the Ear Cleaning Solution
You should always follow the instructions on the ear cleaning solution you are using. Typically, you should apply a small amount of solution into your dog’s ear canal, and massage the ear canal for 20-30 seconds to help loosen debris. Then, let your dog shake the solution out of their ears to remove the dislodged debris.
Step 4: Cleanse the Ear
Use a cotton ball or gauze pad to wipe away any remaining debris and cleaning solution. You should never use a Q-tip or other firm objects to clean your dog’s ears. These can harm the delicate structures inside the ear canal and cause pain or other complications.
Step 5: Repeat if Needed
If there is still debris in your dog’s ear, repeat steps three and four until the ear is clean. If you notice any redness, swelling, or discomfort during the cleaning process, stop and visit your veterinarian immediately.
Video Tutorial
While written instructions are helpful, sometimes seeing the cleaning process can be more beneficial. The following video demonstration can provide additional guidance on how to clean a dog’s ear effectively and safely:
Common Mistakes
Many pet owners make the same errors when cleaning their dog’s ears. It’s essential to prevent these errors to avoid causing damage or pain to your pet. Here are some common mistakes and how to avoid them:
Mistake: Using Q-tips or Other Firm Objects
As previously mentioned, using Q-tips or other objects can harm the delicate structures inside a dog’s ear canal. Instead, opt for using soft cotton balls or gauze pads.
Mistake: Cleaning too Frequently
Some dog owners may feel like they need to clean their dogs’ ears frequently. However, excessive cleaning can be harmful to the ear as well, as it can cause irritation and dryness in the ear canal. Typically, cleaning your dogs’ ears once every week or two is sufficient. However, some breeds may require more frequent cleaning.
Mistake: Neglecting to Dry the Ear
After cleaning your dog’s ear, it’s essential to dry the ear canal by leaving your dog’s head slightly tilted or wiping the inside of the ear with a dry cotton ball or gauze pad. Leaving moisture can cause infections in the ear canal.
Best Products to Use
Choosing the right products for cleaning your dog’s ears is crucial. Here’s a list of the best products to use when cleaning your dog’s ears:
1. EcoEars Dog Ear Cleaner
EcoEars uses natural ingredients that clean and deodorize the ear canal while removing debris and excess wax.
2. Zymox Ear Solution with 0.5% Hydrocortisone
This product provides an enzyme-based formula that can help manage and prevent mild pet ear infections with the added benefit of hydrocortisone to reduce inflammation and itchiness.
3. Vet’s Best Ear Relief Wash and Dry
This two-part solution is designed to clean and soothe itchy and irritated ears. The wash cleans the ears, and the dry helps to eliminate any excess moisture.
Keeping Your Dog Calm
It’s important to keep your dog calm during the ear-cleaning process to ensure it is more comfortable for both you and your pet. Here are some tips for keeping your dog relaxed:
Offer Treats
You can give your dog a treat or two during the cleaning process to keep them distracted and provide positive reinforcement.
Pet Your Dog
Gently pet your dog while cleaning their ears to provide a calming touch and let them know they are safe.
Involve a Second Person
If you’re concerned about keeping your dog calm, ask a family member or friend to help hold your dog steady while cleaning their ears.
When to Seek Professional Help
In some cases, cleaning your dog’s ear is not enough, and you may need veterinary assistance. Here are some situations that call for a visit to the vet:
Excessive Scratching or Head Shaking
If your dog is scratching their ears or shaking their head more often than usual, it may be a sign of an ear infection or other health issue.
Ear Odor or Discharge
If you notice a foul smell coming from your dog’s ear or any discharge, visit your veterinarian as soon as possible as it may be a sign of an infection or other issue.
Conclusion
Cleaning your dog’s ears is crucial to their overall health. Follow our step-by-step guide, choose the right products, and keep your dog calm to make the process more comfortable for your pet. Remember to clean your dog’s ears only when necessary and to contact your veterinarian if you notice any signs of an ear infection or discomfort.


