Introduction
If you’ve ever tried to draw an owl, you know that it’s not the easiest animal to capture on paper. But with the right techniques and some practice, you can create an impressive owl that looks like it’s ready to take flight. This article will guide you through drawing your own owl, and give you a variety of approaches to choose from.
There are many different ways to approach teaching someone how to draw an owl, so we’ll cover a few of the most popular methods. Ultimately, no matter what method you choose, the important thing is to stay patient and practice regularly. Conquering the owl may take some time, but with the right tools and effort, it’s definitely achievable!
Step-by-Step Tutorial
To draw an owl, you will need a few basic materials, such as a pencil, eraser, paper, and perhaps some colored pencils or markers to add more detail later on. With these materials in hand, you can follow the step-by-step tutorial below:
- Start with the basic shape of the owl: Begin by drawing a large circle for the body. Next, add a smaller, oval-shaped circle on top of the body to form the head.
- Add the eyes and beak: Draw two large circles on the owl’s face for the eyes, leaving a small circle in the center for the pupils. On the bottom of the head, draw a curved line for the beak.
- Draw the feathers: Add detail to the owl’s body by drawing overlapping curved lines. The lines should start at the bottom of the body and move upward towards the head.
- Add shading and texture: Once the basic shape of the owl is complete, you can add shading and texture to create more depth and detail. This is where you can have fun and make your owl truly unique.
To make following these instructions even easier, consider following along with an illustrative image or video, which can be found further down in the article.
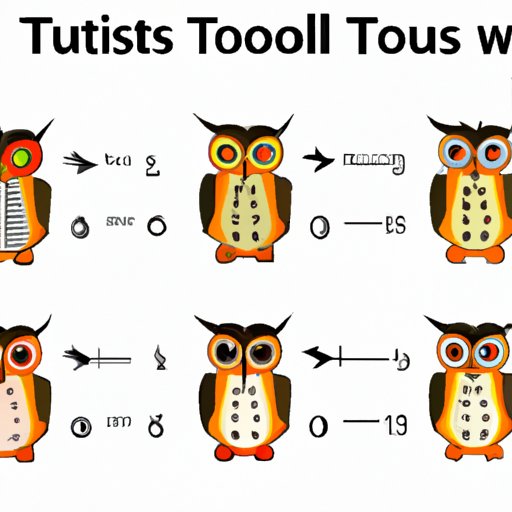
Infographic
An infographic is a visual representation of information or data that makes it easy for people to understand. In the case of drawing an owl, an infographic can be an excellent way to break down the process into simple steps that people can follow. The following infographic breaks down the process of drawing an owl in seven steps:

Video Tutorial
Video tutorials are another great way to guide someone through the process of drawing an owl. Watching an artist’s hands in action as they work through the steps can be particularly helpful. Below is a video tutorial that covers all the steps of drawing an owl from start to finish.
Tips and Tricks
Here are some additional tips and tricks that you can use to make your owl drawing even more successful:
- Start with the eyes: The eyes are one of the important parts of an owl’s face, so it’s a great place to start when drawing your owl.
- Use a light hand for the initial sketch: Give yourself plenty of room to make adjustments by using a light hand when sketching out the owl’s basic shape.
- Blend shading with a blending tool or finger: Use a blending tool to smooth out any rough or harsh lines and create a more natural-looking effect in your shading.
To see examples of each of these tips in action, take a look at the images included with this article.
Contextualize It
Owls are often associated with wisdom, mystery, and nighttime. They are known for their sharp eyesight, silent flight, and unique call. Many famous works of art feature owls, from the Greek goddess Athena’s companion to Japanese artist Katsushika Hokusai’s woodblock print “An Owl and Three Rosy Finches”.
Whether you’re intrigued by the symbolism of owls or simply enjoy their unique appearance, drawing an owl can be a rewarding and fulfilling experience. To help get you started, the tutorial provided here is designed to introduce anyone to the steps involved in drawing an owl.
Conclusion
Whether you choose to use the step-by-step tutorial, infographic, or video tutorial, the most important thing is to practice your owl drawing regularly. Drawing can be a relaxing and satisfying hobby, and with the right guidance and tools, anyone can be an artist! So grab your pencil and paper, and give drawing an owl a try.


