I. Introduction
Gmail is one of the most popular email services in the world, with millions of users accessing it every day. One challenge that many Gmail users face is dealing with unwanted emails, sometimes referred to as “spam.” These can come from marketing emails, scams, or other sources.
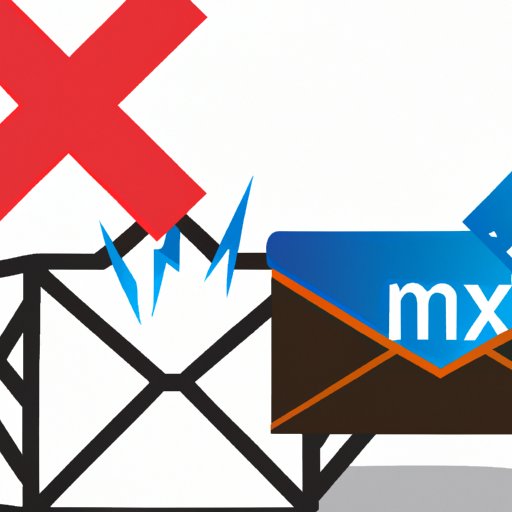
Fortunately, Gmail offers various tools for users to control the emails they receive. One of the most effective ways is by blocking senders. In this article, we’ll explore the steps you can take to block email on Gmail and manage your inbox better.
II. Step-by-Step Guide
If you’re new to Gmail or unsure about how to block an email, don’t worry. Here is a step-by-step guide that can help you:
Step 1: Open Gmail and select an unwanted email
The first step is to open Gmail and select an email that you want to block. It’s important to note that this email can be from any sender that you want to block, not necessarily only from someone you’ve been corresponding with in the past. Once you have select an email, proceed with the next step.
Step 2: Click on the “More” button and select “Block (sender’s name)”
Click on the “More” button located above the email, and select “Block (sender’s name)” from the dropdown menu. Once this option is selected, you’ll see a message confirming that this sender will be blocked in the future.
Step 3: Confirm the action by clicking “Block”
After selecting the “Block” option, Gmail will ask you to confirm that you want to block this sender. To proceed, select “Block” again. This will prevent future emails from this sender to land in your inbox. Note: messages that were already received will remain in your inbox, but those sent after you blocked the sender will be automatically redirected to the spam folder.
Step 4: Unblock a sender, if necessary
If you ever change your mind and want to receive emails from the sender you’ve previously blocked, it’s possible to unblock them. To do this, navigate to the Gmail settings options, find the “Blocked addresses” option, and unblock the desired sender. Once unblocked, their emails will again be delivered to your inbox.
That’s it. These four simple steps can help you block unwanted senders and keep your inbox tidy, safe, and productive.
III. Video Tutorial
If you’re a more visual learner, consider watching this video tutorial that covers the same process in more depth:
Introduction to the video tutorial
The video tutorial starts by introducing the viewer to Gmail and the need for blocking senders as a solution to unwanted emails.
How to find and access the blocked senders list
The first part of the tutorial explains how to navigate to the “Blocked addresses” option in Gmail settings to access and manage your list of blocked senders.
Demonstration of how to block a sender on Gmail
The tutorial then shows how to block a specific sender step-by-step, with detailed explanations and visual instructions.
Conclusion of the video tutorial
By the end of the video, the viewer is equipped with the knowledge and skills required to block senders they don’t want to hear from again. They can combine this method with other email management techniques such as labels, folders, filters, and more to truly take control of their inbox.
IV. FAQs
Here are some frequently asked questions related to email blocking on Gmail:
FAQ 1: Can I block emails from a domain?
Yes, you can block an entire domain using the same method as blocking a sender. When you choose the “Block” option, Gmail will ask you if you want to block the entire domain instead of only the specific sender. This can be useful for stopping unwanted emails from multiple addresses that share the same domain.
FAQ 2: What happens to blocked emails?
Blocked emails will either be deleted or redirected to your spam folder, depending on your Gmail settings. It’s recommended to periodically check your spam folder to ensure that no important emails are filtered wrongly.
FAQ 3: How can I unblock a sender?
To unblock a sender, open your “Blocked addresses” list in Gmail settings and find the desired email or domain. Then, click on the “Unblock” button next to the sender. Once unblocked, their emails will again be delivered to your inbox.
V. Benefits of Blocking Email
Blocking unwanted emails can provide several benefits that improve your inbox management and productivity:
Benefit 1: Reduce inbox clutter
By preventing unwanted emails from reaching your inbox, you can concentrate on important emails and reduce the clutter that can make it difficult to find the messages you need.
Benefit 2: Protect your information and privacy
Blocked emails can sometimes contain malware, phishing attempts or other forms of digital threats. By avoiding these emails, you can protect your data and privacy from cybercriminals.
Benefit 3: Save time and increase productivity
Less time spent on spam emails means more time for work, leisure, or other activities. By efficiently managing your inbox, you’re more likely to stay organized and productive.
These are just some examples of the benefits of blocking unwanted email on Gmail. By using the step-by-step guide or video tutorial, you’re taking a significant step towards improving your email management and reducing stress.
VI. Advanced Email Blocking Techniques
If basic blocking techniques are not enough to manage your inbox, consider using these advanced techniques:
Technique 1: Setting up filters in Gmail
Gmail filters can automatically route, label, or delete specific types of emails based on rules you set. For example, you can create a rule to send all emails from a particular sender to a specific folder, saving time and reducing inbox clutter.
Technique 2: Using third-party extensions and apps
Several third-party apps and extensions exist for Gmail that can help you filter, organize, and block emails more effectively. Some popular options include Boomerang, SaneBox, and Mailstrom.
Technique 3: Creating a separate email address for subscriptions/newsletters
If you often subscribe to newsletters, promotions, or other services, consider creating a separate email address specifically for these. This way, you can manage these emails separately without affecting your primary inbox.
VII. Conclusion
In conclusion, blocking unwanted senders is an essential skill for successful email management. With the steps explained in this article or the video tutorial, you can begin taking control of your inbox and reduce distractions, saving time and boosting productivity. Remember, don’t hesitate to employ other techniques such as filters, third-party apps, or unique email addresses alongside these methods to make the most of Gmail.
And finally, take a deep breath, open your Gmail account, and start blocking senders that stress you with emails you have no interest in reading or that seek to phish or scam you.


