I. Introduction
Are you tired of dealing with sagging doors and air leaks? One common problem homeowners face is framing their doors correctly. Luckily, framing a door isn’t as difficult as it may seem. In this article, we will provide a comprehensive guide to framing a door and share expert advice for a successful DIY project.
II. How to Frame a Door: Step-by-Step Guide for Beginners
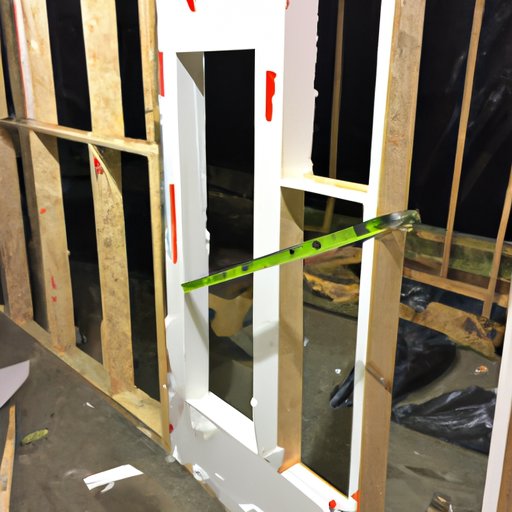
Before starting any DIY project, it’s essential to have the right tools and knowledge. When framing a door, it all starts with measurements. Measure the opening, and then add space for jamb width. From there, you can cut the top and bottom plates and start installing the stud walls. Make sure to double-check that everything is level and plumb. Finally, install the door header and cripple studs.
Helpful tips for beginners include checking the door frame’s levelness and always using safety equipment such as eye goggles and gloves. Make sure to use pressure-treated lumber to prevent rot and use a nail gun for added convenience. Properly attach the door frame to the wall by nailing it into place on the sides and top.
III. Top Tips for Framing a Door Like a Pro
Professionals recommend using load-bearing headers for exterior doors, as they provide extra support. If you’re framing an interior door, metal studs can be a feasible option since they are light and easy to handle. For added strength, screw the metal studs instead of nailing them.
If you worry that uneven floors or walls may cause problems during the framing process, there’s no need to panic. You can use a self-leveling cement patch to handle any discrepancies. Also, remember to always check your work often to avoid any mistakes.
IV. The Importance of Accurate Door Framing: A Comprehensive Guide
Accurate door framing is crucial as it affects the door’s safety and functionality. Incorrect framing can cause doors to sag and air leaks, which cause discomfort in the home. Sagging doors can also lead to more significant issues such as alignment and weather resistance. It’s essential to double-check your measurements and use the right tools and materials to ensure the best results.
Best practices for accurate framing include using a level, press-treated lumber, and metal studs. After installation, check for gaps, and use foam insulation to fill and seal any holes. Finally, double-check for stability by giving the door a good jiggle.
V. From Start to Finish: How to Frame a Door in 5 Easy Steps
To make framing your door more accessible, we’ve broken down the basic steps into five easy-to-follow stages. First, create the frame’s rough opening, then cut the top and bottom plates. After that, install the studs, header, and cripple studs. Check everything to ensure it’s level and plumb before nailing it to the wall.
We recommend using pressure-treated lumber, marking the studs at every 16-inches for interior walls and 24-inches for exterior walls, and adding insulation for added stability and energy efficiency. By following these steps, you can frame your door with ease.
VI. DIY Door Framing: Expert advice and Common Mistakes
While framing a door isn’t rocket science, it’s understandable to worry that certain mistakes may arise. Common mistakes can include incorrect measurements and not using the right materials. Make sure to double-check all measurements and use pressure-treated lumber for longevity.
Once the door framing is complete, make sure to seal the gaps and add insulation for increased energy efficiency. Finally, check to ensure that the door is stable and sturdy by giving it a good shake.
VII. Conclusion
Framing a door can seem like a daunting task. However, with the knowledge provided in this article, you can complete the project with confidence and success. Always remember to take accurate measurements, use the right materials and tools, and check your work regularly. By following these tips, you’ll have a beautifully framed, functional door in no time.


