Introduction
Hanging a mirror may seem like a simple task, but it can quickly become frustrating and challenging if not done correctly. Some people struggle with finding the right wall, choosing the best location, or figuring out which tools and hardware to use. In this article, we’ll provide a step-by-step guide to hanging a mirror, along with tips and tricks to make the process easier.
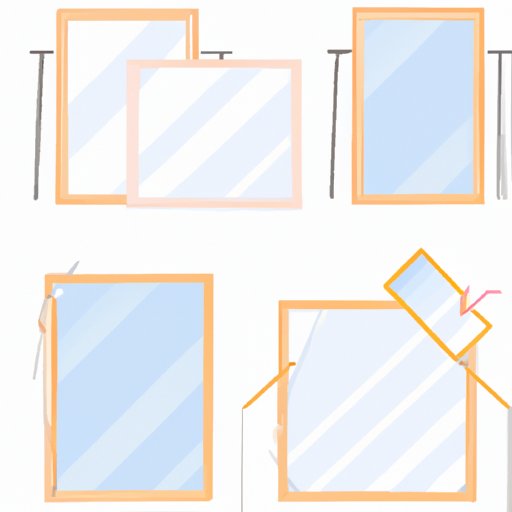
Step-by-Step Guide
Before getting started, make sure you have all the necessary tools and hardware. For most mirrors, you’ll need a measuring tape, a level, a hammer, a drill, screws, anchors, and picture wire.
1. Choosing the Right Location and Wall
Think about the function of the mirror and the room’s purpose. Hanging a mirror in the entryway or living room can add a decorative touch to the space, while putting a mirror in the bathroom or dressing room is more practical. Choose a location that will reflect natural light and enhance the room’s depth.
Select the wall that can withstand the weight of the mirror. Avoid hanging heavy mirrors on drywall or plaster, as they can quickly become loose or fall. The best walls to consider for hanging a mirror are brick, concrete, or hardwood.
2. Measuring and Marking the Spot
Measure the distance from the top of the mirror to the hanging wire. Take this measurement and subtract it from the distance between the top of the mirror and the bottom of the frame. This will give you the correct spot to drill the hook into the wall.
Hold the mirror against the wall and center it. Take the marking pen and mark the spots where the screws will go.
3. Using the Right Hardware and Tools
Select the anchors and screws that can carry the weight of your mirror. Use a stud finder to locate a stud where you can attach the mirror. Make sure to use heavy-duty picture hangers to distribute the weight of the mirror across multiple anchors.
Next, drill a pilot hole on the mark you made, insert the anchor and screw, and position it flush against the wall.
4. Hanging the Mirror Securely
Attach the hanging wire or brackets to the back of the mirror, following the manufacturer’s instructions. Hang the wire or bracket on the hook you attached to the wall. Using a level, make small adjustments to the mirror to ensure it is straight.
Video Tutorial
Check out our video tutorial on YouTube that takes you through the process of hanging up a mirror step-by-step!
Tips and Tricks
– Use a level to ensure the mirror is straight.
– Apply tape to the bottom of the mirror to prevent it from slipping.
– Enlist the help of a friend for larger mirrors.
– Always use a stud finder when possible to identify a load-bearing wall.
– Avoid common mistakes such as selecting the wrong hardware, not measuring carefully, or not using a level.
Choosing the Right Wall
Consider these factors when choosing the right wall to hang your mirror:
– The weight of the mirror
– The size of the wall
– The type of wall material
If you’re unsure whether a wall can hold the weight of your mirror, consult a professional.
Decorative Possibilities
Mirrors can be used to add an element of style to any room. Here are some possibilities:
– Consider using a cluster of small mirrors instead of one large mirror.
– Place a mirror above the mantlepiece to create a decorative focal point.
– Hang a mirror in a long hallway to make the space appear larger.
– Use mirrors with interesting frames to add texture to a room.
Conclusion
Hanging a mirror doesn’t have to be daunting. Selecting the right location, wall, hardware, and tools can make the process smooth and hassle-free. Remember to measure carefully, use a level, and distribute the weight evenly across multiple anchors. By following these steps and suggestions, you can hang a mirror that is secure, perfectly level, and beautiful to look at.


