I. Introduction
A deep splinter is a foreign object that has embedded in your skin and cannot be easily removed. It poses a potential health hazard if left untreated, which makes it crucial to remove it as soon as possible. In this article, we will discuss DIY approaches, innovative solutions, nature’s remedies, and when to seek professional help for removing a deep splinter.
II. The DIY approach: How to Remove a Deep Splinter at Home Without Seeing It
If you have a deep splinter you can’t see, the first thing you can do is assess its depth and direction. Use a magnifying glass to locate the splinter’s entry point, and gauge the angle it entered your skin. This will help you make an informed decision when removing the splinter.
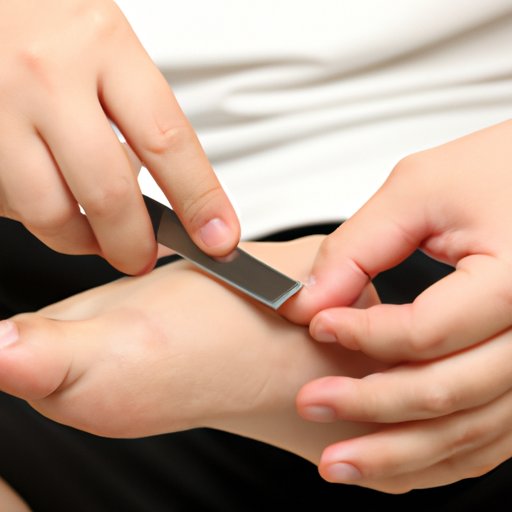
Once you have assessed the splinter, you can gather basic household items such as a sterilized needle or tweezer, rubbing alcohol, and gauze or adhesive bandage. A good light source like a lamp or flashlight can help you see the splinter more clearly.
Sterilizing your tools and the affected area is crucial to avoid infections. Cleanse the skin around the splinter with rubbing alcohol or soap, and sterilize the needle or tweezer in boiling water or rubbing alcohol. Dab the skin with rubbing alcohol, and let it dry before you start to remove the splinter.
Extract the splinter carefully and completely. Grip the splinter with the needle or tweezer, and pull it out with a gentle but firm pressure in the direction it entered. Avoid squeezing or breaking the splinter, as this may cause further complications.
III. Step-by-Step Guide: Removing a Splinter You Can’t See with Basic Household Items
For more detailed instructions, here is a step-by-step guide on how to remove a deep splinter:
1. Prepare the area and materials. Create a clean and well-lit workspace and gather the required items such as rubbing alcohol, adhesive bandage, sterilized needle, and tweezers.
2. Apply an adhesive. Use an adhesive bandage to apply pressure to the entry point of the splinter. This will help bring the splinter closer to the surface, making it easier to remove.
3. Pulling out the splinter. Once the adhesive has been applied for several hours or overnight, carefully remove it and clean the area with rubbing alcohol. Use the needle or tweezers to grip the splinter securely and then pull it out steadily, following the direction it entered.
4. Clean and dress the wound. After removing the splinter, wash and dry the area surrounding the wound. Apply an antibiotic ointment, and cover it with a dressing or sterile bandage.
IV. Innovative Solutions: New Ways to Remove Deep Splinters without Seeking Medical Attention
If you don’t have the necessary tools or if you prefer non-invasive methods, there are innovative solutions to remove a deep splinter at home.
Applying a baking soda paste can help bring the splinter to the surface. Mix baking soda with water to make a paste, and spread it over the affected area. Cover it with a bandage and let it sit for a few hours, or overnight. The baking soda paste will draw out the splinter, so it pops out easily.
Duct tape is another great option. Simply apply a piece of duct tape over the affected area and leave it on for a day. The adhesive from the tape will draw out the splinter to the surface, making it easier to remove.
V. Nature’s Remedies: Tried and Tested Alternative Methods to Remove Embedded Splinters
Nature has provided us with several alternative methods to remove a splinter. Here are some tried and tested ingredients:
– Honey: It has antibacterial properties that can help prevent infections. Apply honey to the affected area and cover it with a bandage overnight. The honey will soften the skin and draw out the splinter.
– Garlic: Crush a few cloves of garlic, and spread the paste over the affected area. Cover it with a bandage and let it sit for an hour or two. Garlic has antimicrobial properties that can help reduce the risk of infections, and it can draw out the splinter to the surface.
– Aloe Vera: This plant has anti-inflammatory properties that can help reduce the swelling and pain caused by a deep splinter. Apply the gel of the aloe vera plant to the affected area and cover it with a bandage. Let it sit for several hours or overnight and the splinter should be easier to remove.
VI. When to Seek Professional Help: A Guide on When It’s Best to Go to a Doctor for Removing a Splinter You Can’t See
Even with DIY approaches, innovative solutions, or nature’s remedies, sometimes seeking professional help is the best decision. Here are some red flags that indicate when you should go to a healthcare provider to remove a deep splinter
– Pain: If the splinter is causing you severe pain, especially after you’ve attempted to remove it, seek medical help.
– Infection: If the wound becomes red, swollen, and tender, and there is a discharge of pus, you may have an infection. Go to a doctor as soon as possible to prevent further complications.
– Disability: If the splinter is embedded in a sensitive or critical area like the eyes, ears, or genitals, seeking professional help is essential to avoid permanent disability.
VII. Conclusion
Removing a deep splinter you can’t see can be daunting, but with basic household items, innovative solutions, and nature’s remedies, it can be done safely and effectively. Remember to assess the depth and direction of the splinter, sterilize your tools and the affected area, extract the splinter carefully and completely, and monitor the wound for any symptoms of infection or pain. If you encounter any problems, don’t hesitate to seek professional help. With proper hygiene and aftercare, you can remove a deep splinter without complications and keep your skin healthy and happy.


