Introduction
Self-rising flour is a staple ingredient in many households for baking cakes, biscuits, and other baked goods. It is a versatile option that saves time and effort by combining three essential ingredients in one convenient package. However, not everyone has self-rising flour on hand when they need it, or they prefer to make their own. In this article, we will explore how to make self-rising flour at home, including required ingredients and measurements, easy-to-make recipes that use it, ingredient focus along with its history, gluten-free options, and additional tips for ensuring the successful outcome.
Step-by-Step Guide to Making Self-Rising Flour
The process of making self-rising flour at home is relatively simple, using only three essential ingredients. It is important to note that to make one cup of self-rising flour, you will require:
- 1 cup all-purpose flour (130 grams)
- 1 and 1/2 teaspoons baking powder (7 grams)
- 1/4 teaspoon salt (1 gram)
Now follow the below steps to combine them:
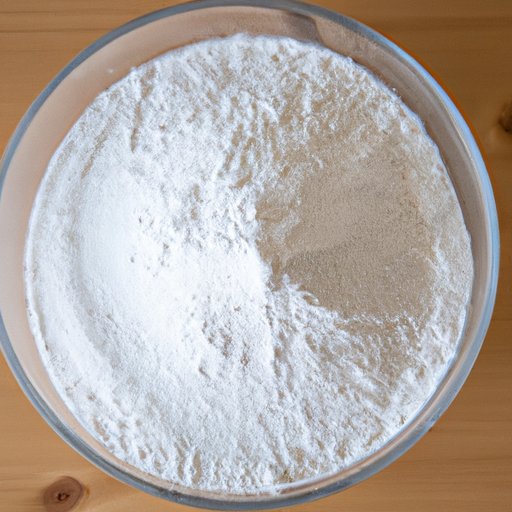
- Start by measuring and sifting all-purpose flour into a mixing bowl.
- Add the baking powder and salt.
- Stir the ingredients well until fully combined.
- Your self-rising flour is now ready for use.
It is imperative to stir all the ingredients well for a consistent mixture. You can use a whisk for better mixing and sifting for more professional results.
Comparison with Store-Bought Self-Rising Flour
There are some slight differences between the homemade self-rising flour and store-bought options. One of the main differences is the freshness factor. As homemade self-rising flour is freshly made, it may lead to better-tasting baked goods because store-bought self-rising flour loses its potency over time. Additionally, homemade self-rising flour allows you to control the ingredients you use, ensuring that there are no preservatives or other unnatural substances.
Another difference between store-bought and homemade self-rising flour is their cost-effectiveness. Homemade self-rising flour made from scratch is relatively cheaper and saves you money in the long run as you only have to buy three essential ingredients and use them as per your requirements.
Easy-to-Make Recipes that Use Self-Rising Flour
If you are unsure about how to put your self-rising flour to good use, here are a few easy-to-make recipes that use it:
- Buttermilk biscuits
- Southern-style fried chicken
- Pancakes
- Vanilla cake
- Lemon pound cake
- Cinnamon rolls
- Classic banana bread
Most of these recipes require additional ingredients, and you can find recipes both online and in cookbooks with step-by-step instructions, making it easy to get started with baking.
Ingredient Focus
Self-rising flour comprises three main ingredients: flour, baking powder, and salt. It is essential to understand each of these ingredients’ roles to understand why and how they are essential to self-rising flour.
Flour: Flour is the foundation of any baked good. The type of flour you use can largely affect the final outcome of your baked goods. All-purpose flour is best for making self-rising flour as it has been formulated to work well in a variety of recipes. The gluten, protein, and starch contents provide a perfect texture while baking with the right amount of gluten development.
Baking Powder: Baking powder is what helps to provide the self-rising flour’s leavening power, causing it to rise and become light and fluffy while baking. Its unique blend of cream of tartar and sodium bicarbonate produces carbon dioxide gas when hydrated, making baked goods rise.
Salt: Though salt is the least ingredient in the list, it plays a crucial role in flavor. Salt helps to balance the sweetness and provides a tangy taste to baked goods. It is often a natural flavor enhancer that can make or break a baked good.
Self-rising flour originated in the Southern United States during the 19th century, but its popularity has now spread worldwide. The ease of making it at home has furthered its popularity and use.
Gluten-Free Option
If you have gluten intolerance and cannot use traditional flours, there is a solution that can help. You can make gluten-free self-rising flour at home by substituting the all-purpose flour with a gluten-free alternative like almond or coconut flour. The required ratio to make a cup of gluten-free self-rising flour includes:
- 1 cup gluten-free flour (120 grams)
- 1 1/2 teaspoons of baking powder (7 grams)
- 1/4 teaspoon of salt (1 gram)
When making gluten-free self-rising flour, please use freshly purchased baking powder as older baking powder can contain gluten. Homemade gluten-free self-rising flour should be stored in an airtight container in a refrigerator and used within two weeks.
Secrets and Tips
When making self-rising flour at home, some lesser-known tips can help you achieve the perfect blend and desired outcome.
Precision in measuring: You must accurately measure each ingredient to create a balanced mixture for best results. Slight variations can lead to unsatisfactory results, which nobody wishes for while baking.
Storage: It is important to store your self-rising flour in an airtight container to ensure freshness and potency. You can store homemade self-rising flour in airtight containers away from direct sunlight and moisture and use it within three months, at the most, to achieve desired results.
Alterations: If you don’t have all-purpose flour, you can use pastry flour for a lighter texture. Similarly, if you don’t have baking powder, or wish to use an alternative, use baking soda or cream of tartar, and also ensure the correct measurements to make the perfect mixture.
Conclusion
Self-rising flour is an essential ingredient in baking and can be made at home relatively easily with a few essential ingredients. By learning how to make it at home, you can control the ingredients used and ensure maximum freshness, providing better-tasting baked goods than store-bought options. Homemade self-rising flour lets you experiment with different recipes and customization options for gluten-free varieties.


