Learn How to Make Your Own Wigs: A Comprehensive Guide
Wigs are a great accessory for those who want to switch up their hairstyle or have suffered hair loss. While buying a wig is an option, making your own allows for customization and saves money in the long run. However, the process of wig making can seem daunting. This guide breaks down the process and provides tips and tricks to make wig making approachable for novices and experts alike.
Beginner’s Guide to Wig Making
Wig making involves creating a cap for the hair to be ventilated into. This hair is then sewn or glued into the cap in a specific pattern to mimic the desired hairstyle. There are various methods of wig making, but for beginners, the most common is ventilating with a needle. To begin, gather supplies such as a ventilating needle, wig cap, and hair. A basic wig cap can be created by covering a mannequin head with a wig cap or using a pre-made cap. Attach the hair to the cap by threading the needle through the cap and pulling a portion of hair through. Secure the hair by knotting it and repeating the process. There are many simple wig-making examples available for beginners online to try their hand at.
Step-by-Step Guide to Making a Wig
The wig making process consists of several steps, including wig cap creation, hair ventilation and styling. To create a wig cap, use materials such as mesh, lace, or stretch cap fabric. The hair is then ventilated into the cap by threading the needle through the cap and securing it by knotting. Styling can be done by cutting and shaping the hair to create the desired look. The process can seem daunting, but it is made easier with practice, patience, and attention to detail.
Step 1: Create the wig cap
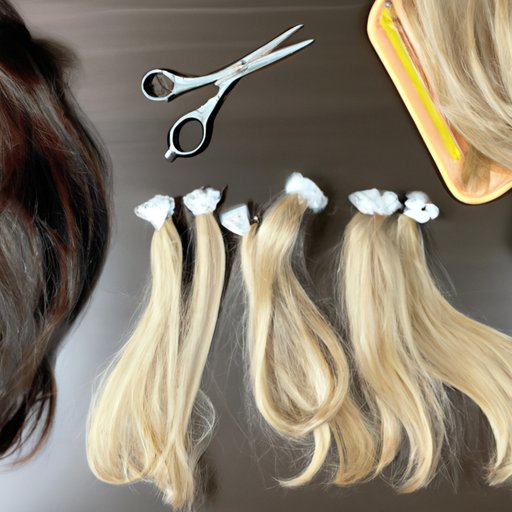
Step 2: Choose and ventilate the hair into the cap
Step 3: Cut and style the hair to desired look
Step 4: Finalize the wig by securing any loose hairs and trimming as needed.
DIY Wig Making Hacks
There are various ways to simplify the process of wig making and make it more accessible. One hack is to use a crochet needle instead of a ventilating needle, which allows for quicker hair installation. Another tip is to invest in pre-wefted hair, which is hair that has already been sewn together, saving time and effort.
Cost Analysis of Wig Making
Creating your own wig often proves to be cheaper than buying one. Tips for reducing the cost of making wigs include buying hair on sale or in bulk, using recycled wigs or hair extensions, or creating your own wig cap using materials such as pantyhose. Retailers such as AliExpress, Amazon and Ebay are great sources for affordable hair and wig-making supplies.
Choosing the Best Hair for Your Wig
There are three primary types of hair to choose from: human hair, synthetic hair, and blended hair. The differences in hair type have pros and cons depending on the intended use and budget. Human hair generally yields the most natural look while blended hair allows for more styling options due to their synthetic component.
How to Repair a Wig
Wig maintenance is integral to maximize its lifespan. Over time, wigs may develop bald spots or holes in the lace. Fortunately, wig repair is possible with techniques such as re-knotting loose hair, and covering bald spots with wig patches. To keep your wig in good condition, invest in a proper wig stand, use a mild shampoo to clean, and store in a cool, dry place.
Conclusion
Wig making requires patience, practice, and attention to detail but can save money and produce customized results. Follow this guide, and experiment with different techniques and hair types. With dedication, anyone can become a wig-making expert.


