I. Introduction
If you are a beginner artist wanting to learn how to draw furniture or simply someone who wants to improve their chair drawing skills, then this article is for you. Drawing a chair may seem like a daunting task, but with patience and the right approach, it can be an enjoyable and rewarding experience.
II. Step-by-Step Guide
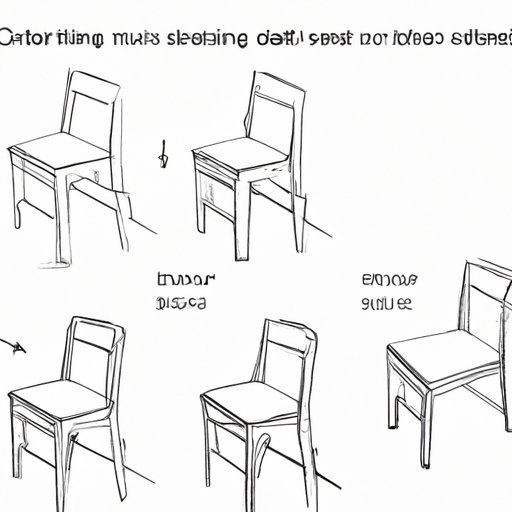
Before starting, gather the essential tools: pencils, erasers, and paper. Begin with a simple sketch of the basic shape of the chair, focusing on the proportions and angles. Next, add in the curves and details of the chair, such as the legs and the backrest.
Use your pencils to map out the shadows and highlights. Start with light shading and gradually darken it as you go along. Remember to pay attention to the light source and the direction of the shadows.
One of the essential aspects of drawing is taking your time. It is better to draw slowly but accurately than to rush and make mistakes. This methodical approach improves the accuracy of your drawing and helps you notice details you may have otherwise missed.
III. How to Draw Different Types of Chairs
Chairs come in various shapes and sizes, and learning how to draw them can be a fun challenge. Different types of chairs require different approaches. For instance, drawing an armchair requires attention to detail on the upholstery, while a barstool requires attention to the height and footrest.
Start by looking at references and break down the shape of the chair. Study the chair’s structure and use basic shapes to map out the frame. Proceed to add details, such as arms and legs. Be sure to use the right proportions and angles to make your drawing look realistic.
IV. Using Observational Drawing
Observational drawing involves carefully looking and studying an object before drawing it. This approach helps you understand the structure and proportions of the chair you want to draw, making your drawing look more realistic.
When beginning with observational drawing, start by breaking down the object into basic shapes. Observe the angles and proportions of these shapes. Once you have these foundations in place, proceed to add more detail.
After completing your initial sketch, utilize the technique of “double-checking.” This step involves returning to the original object, looking at your drawing, and comparing the two. Take note of anything that needs to be corrected, and proceed to make those adjustments.
V. From Sketch to Finished Drawing
The process of refining a sketch into a complete drawing is where the magic happens. Compared to the sketch stage, this stage requires more attention to detail and a refined technique.
Start by applying shading and textures, focusing on the light source and the direction of the shadows. Ensure you are paying attention to the curves and details of the chair. Add the necessary details and proceed to refine the piece until it is complete.
Finally, evaluate your finished piece, comparing it to your reference image. Ask yourself if anything needs to be corrected or refined further.
VI. Tips from Professional Artists
Speaking to experienced artists will help you understand how to refine your technique and take your chair drawing skills to the next level.
Professional artists recommend that beginners start by sketching simple chairs before moving on to more complex designs. They also emphasize the importance of practicing regularly and being patient. The creative process can be frustrating, but it is essential to keep pushing through.
Try using different mediums such as charcoal or ink to add texture to your chair sketch. Invest in good quality materials that will help produce high-quality drawings.
VII. Conclusion
Drawing a chair may seem challenging, but it does not have to be. By following the right steps and using the proper techniques, anyone can master chair drawing. This guide covers the basic steps and techniques involved in the process.
Remember to take your time, observe the subject, and be patient with yourself. Most importantly, enjoy the creative process and let it inspire you to new heights.


