Introduction
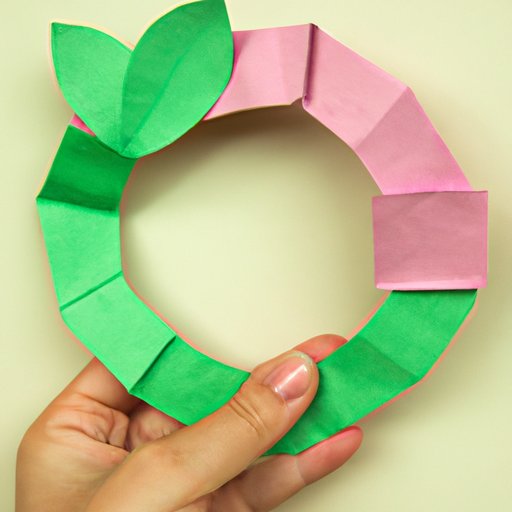
Have you ever wanted a stylish and unique ring but did not want to spend a fortune? A paper ring may be just the solution you need. Not only is it budget-friendly, but it allows for endless customization and creativity. In this article, we will provide you with a step-by-step guide and offer some creative twists and ideas to get your imagination going.
Step-by-Step Tutorial
The materials you will need for a paper ring include paper, scissors, glue, and decorations. First, cut a strip of paper to fit around your finger. Make sure the strip is not too loose or too tight on your finger. Then, create a circle with the paper strip and secure it with glue or tape. You can use markers, stickers, or washi tape to decorate your ring. When your ring is complete, apply a thin layer of clear nail polish to make it last longer. Finally, store the ring in a dry place.
Origami Approach
Origami principles can be applied to make intricate and beautiful paper rings. First, fold a square paper in half to form a triangle. Then, fold the bottom corner of the triangle upwards to the midpoint. Fold the other corner of the triangle upwards to the midpoint as well. Next, fold the edges of the triangle’s top down, creating a band in the middle. Fold the two ends of the paper band toward each other and secure them with glue. The result is a lovely paper ring. You can experiment with different shapes such as making flowers or animals.
DIY Kids Project
Aside from being creative, making paper rings can also be an educational and fun activity for kids. You will need construction paper, scissors, and glue. Cut out strips of paper and make a circle. Glue the end of the strip to the other end to form the ring. Encourage children to paint or color their rings with unique designs. In the event of uneven cuts, simply overlap the ends and cover the mistake with a sticker or a small design. This is an easy project for kids to do on a rainy day or during the weekends.
Pop-Up Card
If you want to showcase an intricate paper ring design, a pop-up card may be a good option. Materials needed include cardstock, cardboard, paper, scissors, and glue. Start by creating a paper ring and then glue it onto the cardboard. Cut out the cardboard in the shape of the ring, leaving some space around the ring. Hold the ring upright and glue the excess cardboard to the pop-up card. When finished, you’ll have a beautiful pop-up card to show off your ring creation.
Discover Your Style
The options for designing a paper ring are essentially limitless, so consider discovering your personal style when creating one. You can look through Pinterest, Instagram, or craft blogs to search for inspiration. Some designers even have paper ring collections on their sites. You can mix and match colors, patterns, and more to come up with your unique design.
Creative Twists
If you feel like adding some extra spice to your paper ring, try unique touches such as glitter, mixed materials, or textured paper. Grab some extra supplies such as glue, glitter, or sequins to add to your ring design. Be sure to use good-quality materials so your ring does not fall apart easily.
Make it Eco-Friendly
Not only can creating a paper ring be fun, but it can also be eco-friendly. There are ways to create a ring that does not negatively impact the environment by using non-toxic adhesives and recycling materials. Old newspapers, magazines, or misprinted pages can serve as environmentally-friendly materials for your paper ring.
Conclusion
In conclusion, creating a paper ring is not only a fun activity but also a way to display your creativity and style. We hope this article provided you with helpful step-by-step tutorials, inspiration from other designers, and creative twists to try.


