Introduction
Drawing a pig is a fun and rewarding activity that can bring out the artist in anyone. Whether you’re an experienced artist or just starting out, this guide will provide you with the step-by-step guidance you need to create your own pig drawing masterpiece. In this article, we’ll explore what materials and tools to use, various sketching and shading techniques, anatomy of a pig, importance of practice, pig drawing exercises, and drawing inspiration from real pigs. So, sharpen your pencils, grab some paper, and let’s get started!
Step-by-step guide
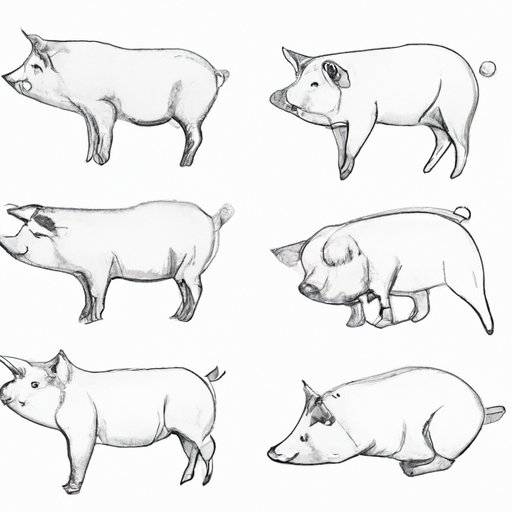
The first step in drawing a pig is to sketch out the basic shapes. Start with a large circle for the head, a smaller circle for the body, and a smaller circle for the rear end. Sketch in the legs using thin lines and add the snout using a curved line. Next, add the ears, nostrils, and curved tail. Then, refine your drawing by adding details like eyes, mouth, and wrinkles. Finally, shade in the pig using various techniques to create a realistic look.
Materials and tools
The materials required to draw a pig include a pencil, eraser, and paper. For more professional drawings, you can also use charcoal pencils and drawing paper. The hardness of the pencil and the texture of the paper can affect the outcome of the drawing, so it’s important to experiment with different materials to find what works best for you.
Sketching and shading techniques
There are various sketching and shading techniques that can be used to create realistic pig drawings. Cross-hatching, stippling, and blending are popular techniques that can help you achieve the desired effect. When using cross-hatching and stippling, draw small dots or lines on the paper close together to create texture and depth. Blending is used to smooth out lines and create a softer look.
Anatomy of a pig
Understanding the anatomy of a pig is important when it comes to drawing one. Start with the basic shapes for the head and body, and then add the ears, snout, and curly tail. When drawing the body, it’s important to achieve the right proportions to make the pig look realistic. Adding texture to the skin and hair can also make the drawing appear more three-dimensional.
The importance of practice
Practice is important when it comes to improving your pig drawing skills. Spending time sketching and experimenting with different techniques can help you develop your own style and improve your abilities over time. As you practice, you’ll become more comfortable with the anatomy of pigs and be able to draw them more accurately.
Pig drawing exercises
Here are some pig drawing exercises to help you hone your skills:
- Draw a pig using only basic shapes such as circles, lines, and curves.
- Draw a pig using cross-hatching to create texture and depth.
- Draw a pig using stippling to create texture and depth.
- Draw a pig from various angles to practice proportions and perspective.
- Draw a pig in a different style such as cartoon or realism.
Drawing inspiration from real pigs
Looking at real pigs can be a great way to find inspiration for your pig drawings. There are many different breeds of pig, each with their own unique characteristics. Spend some time studying the appearance of real pigs and try to capture their distinctive features in your drawings.
Conclusion
Drawing a pig can be a fun and rewarding experience, especially when you have the right tools and techniques at your disposal. In this article, we’ve covered the steps involved in drawing a pig, the materials and tools you’ll need, sketching and shading techniques, the anatomy of a pig, the importance of practice, drawing exercises, and how to find inspiration in real pigs. Remember to have fun and experiment with different styles and techniques to find what works best for you.


