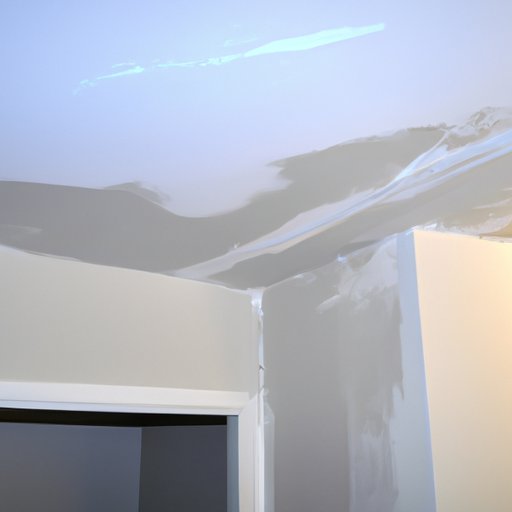
How to Paint a Popcorn Ceiling: A Comprehensive Guide
Popcorn ceilings can be a tricky surface to paint. The texture makes it difficult to get an even coat of paint, and mistakes can be easily visible. However, with the right tools and techniques, painting a popcorn ceiling can be a manageable and rewarding DIY project. In this article, we will provide you with a step-by-step guide and essential tips, tools, and materials to get the job done correctly.
Step-by-Step Guide
Before getting started, there are several steps you need to take to prepare the surface properly, ensuring the best results.
1. Prep the Area
First things first, you need to clear the room of everything possible. Remove all furniture, cover the floor, and protect the walls from accidentally painting them.
2. Clean the Surface
Using a soft-bristled brush or vacuum cleaner, clean the ceiling surface thoroughly. You don’t want to paint over any cobwebs, dust, or mildew.
3. Fill in any Cracks
It’s crucial to fix any cracks or dings on the ceiling before painting. Apply spackle or joint compound to the damaged areas, sand them down, and wipe off any excess.
4. Prime the Surface
Apply a primer to the surface before painting the ceiling. A primer helps to seal any cracks and provides a base for the paint to adhere to.
5. Paint the Ceiling
Once you’ve allowed the primer ample time to dry (usually 24-hours), it’s time to start painting. Ideal tools for painting popcorn ceilings include a thick-nap roller (1 1/4 inch to 1 1/2 inch) or sprayer.
Ensure that your roller is thick enough to get the paint into the crevices of the textured surface. It is recommended to use a paint-and-primer combination to save time and for the best result in a single coat.
Do’s and Don’ts
Here are vital Do’s and Don’ts to keep in mind while painting your popcorn ceiling.
Do’s
- Use a roller with a long nap to apply the paint better.
- Cover the floor and all furnishings.
- Use a primer.
- Use a drop cloth to protect the roller from dust and debris.
- Ensure that your paint is thick enough to stick.
Don’ts
- Use spray paint.
- Use brush paint.
- Wet the ceiling while washing it.
- Use harsh chemicals to clean the ceiling.
- Apply too much paint too quickly.
Tools and Materials
Here’s a list of essential tools and materials that you will need for the project:
- Thick-nap roller (1 1/4 inch to 1 1/2 inch) or sprayer.
- Paint and primer combination.
- Painters tape.
- Brushes and rollers.
- A ladder or scaffolding.
It’s recommended to choose a top-quality paint for the best coverage and durability. Choose a roller with a long nap that fits the texture of your ceiling.
Pros and Cons
While painting a popcorn ceiling has numerous benefits, it’s essential to consider the potential drawbacks as well.
Pros
- Brightens up a room.
- Makes a room look more modern and up-to-date.
- Prevents dust accumulation.
- Can potentially elevate the home value.
- DIY project, which saves cost.
Cons
- The texture can make painting more challenging.
- Can be time-consuming.
- Can get expensive if you hire professionals to do it.
Shortcuts and Tips
Here are some tips and shortcuts that will help you paint your popcorn ceiling more efficiently:
- Opt for a paint sprayer instead of a roller to reduce the time and effort.
- Choose a paint-and-primer combination to save time and money.
- Use a long nap roller to get paint into the textured grooves.
- If possible, remove as much texture as possible before painting to create a smoother surface.
- Work in small sections (4 square feet) to keep the pattern consistent.
Conclusion
Painting a popcorn ceiling does not have to be an intimidating task if done correctly. Following the above step-by-step guide, using the right tools and materials, and keeping the Do’s and Don’ts in mind will help you get the job done correctly. By weighing the pros and cons, you can assess if painting your popcorn ceiling is the right decision. Be bold and take that first brush stroke towards bettering your ceiling.


