Introduction
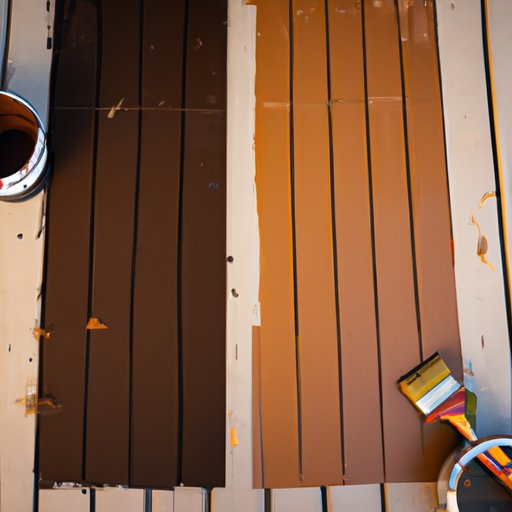
If you own a deck, staining it is one of the most important things you can do to preserve and protect it for years to come. In addition to enhancing its appearance, staining your deck helps shield it against the elements, preventing water damage, and prolonging its lifespan. If you’re not sure where to start or how to do it effectively, this article will provide a complete guide to staining a deck, including tips and tricks for achieving a professional-looking finish.
Step-by-Step Guide to Staining a Deck
The first step to staining your deck is gathering all necessary materials and tools. You’ll need a deck cleaner or stripper, deck stain, a paintbrush or roller, a pressure washer or garden hose, sandpaper, a paint scraper, safety gear (goggles, gloves, and a mask), and a plastic sheet or tarp to protect surrounding areas.
Once you have your materials, follow these preparation and application steps:
- Clean the deck: Remove any dirt, debris, and leaves with a broom or leaf blower. Then, use a deck cleaner or stripper to get rid of any existing stain or sealant.
- Inspect the deck: Check for any damaged or rotted boards, and replace them if necessary. Sand down any splinters or rough patches and fill in any cracks with wood filler.
- Protect areas: Cover any nearby plants, outdoor furniture, or other areas you don’t wish to be stained.
- Apply the stain: Using a paintbrush or roller, apply the deck stain in thin, even coats. Work section by section, starting from one corner and working your way out.
- Let it dry: Let the stain dry for at least 24 hours before walking on it or placing furniture on it.
- Inspect your work: Check for any missed spots or mistake areas. Apply a second coat if necessary.
Best Practices for Staining a Deck
If you want to achieve professional-looking results, there are several tips and tricks to bear in mind.
- Use quality products and tools: Invest in high-quality deck cleaner, stain, and brushes or rollers to get better results.
- Protect vulnerable areas: Use painter’s tape to cover any rails, steps, or other vulnerable areas that you don’t want to be stained.
- Apply the stain evenly: Avoid over-application or under-application by working in small sections and using even strokes.
- Work methodically and efficiently: Start early in the day to avoid direct sunlight and apply on cooler days to avoid evaporating too quickly.
- Don’t leave brushes or rollers in the stain: Clean any tools with a solvent or water afterwards to preserve their quality for future use.
DIY vs. Professional Staining
Before you start staining your deck, it’s important to decide whether to do it yourself or hire a professional. The main factors to consider include cost, time investment, skill level, and the potential risks of doing it on your own.
- DIY staining is cost-effective and gives you more control over the process. However, it can also be time-consuming and come with a steep learning curve if you’re not familiar with the process.
- Hiring a professional is typically more expensive but saves you time and effort. They also have the right tools and expertise to achieve a high-quality finish.
- If you decide to DIY, be aware that it comes with potential risks such as spills, streaks, or over-application that can end up costing you more in the long run to repair.
- If you’re not confident in your abilities or don’t have the necessary tools, it’s generally better to hire a professional.
Maintenance Tips for Keeping Your Deck Looking Great
Once you’ve stained your deck, it’s important to maintain it regularly to keep it looking great. Here are some tips:
- The most important step is regular cleaning. Use a deck cleaner or pressure washer to remove any dirt, debris, or stains.
- Inspect your deck regularly for any signs of damage or wear, such as rot, cracks, or warped boards.
- When it’s time to re-stain your deck, remember to prepare the surface before applying a new coat. This means cleaning it thoroughly and removing any existing stain.
- As a general rule of thumb, you should re-stain your deck every two to three years, depending on the wear and tear and climate.
Choosing the Right Stain for Your Deck
Choosing the right deck stain can make a big difference in the appearance and longevity of your deck. Here are some factors to consider:
- Types of stains: There are several types of deck stains, including transparent, semi-transparent, and solid-color. Transparent stains show off the natural beauty of the wood, while semi-transparent stains offer more color options. Solid-color stains are best for older or more worn decks.
- Choose the right color: Consider the color of your home’s exterior, the surrounding landscape, and the overall aesthetic you’re going for.
- Think about the finish: Deck stains come in various finishes, such as matte, satin, and glossy. Matte finishes are best for hiding imperfections, while glossy ones offer a more polished look.
Conclusion
Staining your deck is a crucial part of maintaining its longevity and appearance. With these easy steps for preparing, applying, and choosing the right stain, you can achieve a beautiful, professional-looking finish that will last for years to come. Whether you decide to DIY or hire a professional, remember to keep up with regular maintenance to keep your deck looking great.
For further information, tips, and advice, check out our other articles on deck maintenance and backyard design.


