Introduction
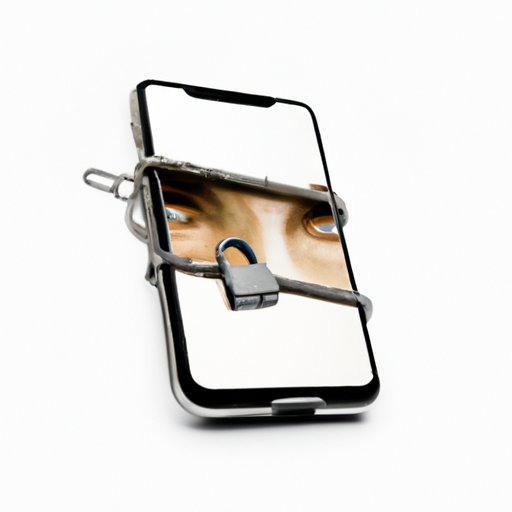
It’s no secret that personal photos are some of the most precious files on anyone’s iPhone. However, not every photo is meant for public consumption, and it’s crucial to keep some images private for your eyes only. Thankfully, iPhones provide several options to hide your photos, so no one else can access them, even if they have your phone. In this article, we will explore different methods to hide photos on an iPhone and keep them secure.
Built-in “Hide” feature in the Photos app
The Photos app on your iPhone has a built-in “Hide” feature that allows you to select specific pictures from your camera roll and hide them from the Moments, Collections, and Years views. These hidden photos will automatically move to a “Hidden” album, which isn’t visible in the usual gallery view.
To use this feature:
- Open the Photos app, and select the photo or photos you want to hide.
- Press and hold on the photo until a menu appears. Select “Hide.”
- You will see a message confirming that the photo has been hidden and moved to the “Hidden” album.
To access your hidden photos:
- Go to the Albums tab in the Photos app.
- Scroll down to find the “Hidden” album, and select it.
- You can then view or unhide any of the photos you’ve previously hidden.
Third-party photo vault app
If you want even more privacy and security for your hidden photos, you can consider using a third-party photo vault app. These apps offer more features and customization options for hiding photos on your iPhone.
Some popular photo vault apps to consider downloading are:
- Private Photo Vault
- Keepsafe Photo Vault
- Secret Calculator Photo Vault
Once you’ve downloaded a photo vault app, follow these steps to create a secure passcode-protected vault and move your photos into it:
- Open the photo vault app and create a new album or vault.
- Set a passcode or PIN for the vault.
- Select the photos you want to hide and move them into the newly created vault.
- Delete the original photos from your camera roll to free up space and reduce the risk of someone stumbling upon them.
File manager app
If you don’t want to download a separate app for hiding your photos, you can use a file manager app that allows you to create locked folders. Locked folders require a passcode or fingerprint ID to access, making them an excellent option for hiding your photos from prying eyes.
Here are some file manager apps that offer this feature:
- Documents by Readdle
- File Manager & Browser
- MyMedia – File Manager
Follow these steps to create a locked folder and move your photos into it:
- Open the file manager app of your choice and create a new folder.
- Lock the newly created folder with a passcode or fingerprint ID.
- Select the photos you want to hide, and move them to the new locked folder.
- Once you’ve moved the photos, delete the originals from the camera roll.
Private folder in Dropbox app
If you’re already using Dropbox to store your photos, you can easily create a password-protected “Private” folder and move your sensitive photos into it. This way, you can access your photos from any device and keep them secure and private.
To create a “Private” folder:
- Open the Dropbox app and create a new folder.
- Select “Set Passcode,” and create a four-digit code to protect the folder.
- Move your private photos into the newly created “Private” folder.
Renaming photos with a “.nomedia” extension
If you want to hide your photos from the gallery or any other media app, you can rename them with a “.nomedia” extension. This method is straightforward and doesn’t require any additional apps.
To rename your photos:
- Find the photo you want to hide in the Photos app.
- Open the official Files app on your iPhone and create a new folder.
- Select the photo and move it to the new folder.
- Rename the photo’s extension from “.jpg” or “.png” to “.nomedia” (e.g., rename “IMG_001.jpg” to “IMG_001.nomedia”).
Now, your photo won’t show up in any media apps on your iPhone, but you can still access it from the Files app.
Disguising photos as a different file type
If you’re feeling creative, you can disguise your photos as a different file type, such as a document or audio file. This method is more complicated than the others but can be effective for hiding photos in plain sight.
To change your photo’s file extension to look like a different file type:
- Open the official Files app on your iPhone and find the photo you want to disguise.
- Rename the file’s extension from “.jpg” or “.png” to the extension of the file type you want to disguise it as (e.g., “.pdf” or “.mp3”).
- Open the newly created file, and it will likely prompt you to select a specific app to open it in. Choose an appropriate app
- Voila! Your photo is now disguised as a different file type.
Conclusion
In conclusion, there are several methods to hide photos on your iPhone and keep them secure. Whether you prefer using the built-in “Hide” feature, a third-party photo vault app, a file manager app, a private folder in Dropbox, or more creative methods like renaming or disguising your photos, there’s a method that will work for you. Experiment with different options, and find the one or ones that work best for your needs. Remember to always prioritize your privacy and security when it comes to your personal photos.
Thank you for reading. For more tips on protecting your privacy on your iPhone, check out our website’s other articles on the topic.


