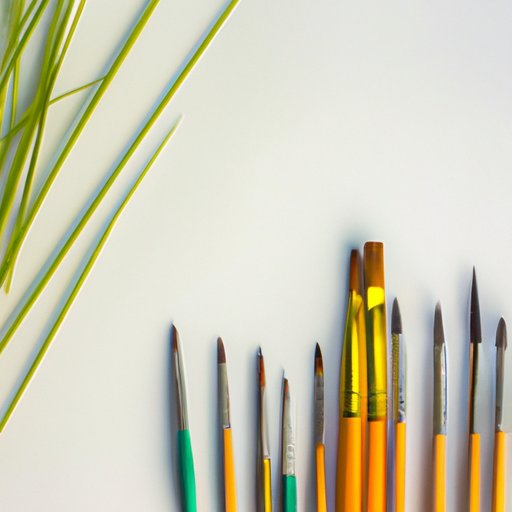
Introduction
Drawing grass can seem like a daunting task for artists, especially those new to the craft. Creating natural-looking grass using just pencils and paper takes time, practice, and patience. But with a step-by-step guide and some essential tools, you can create stunning grass drawings that bring your art to life.
In this article, we’ll explore how to draw grass using various techniques, tools, and tips. From basic shapes to advanced shading, we’ll cover everything you need to know to create realistic grass drawings that wow. So, let’s get started!
Step-by-Step Guide
To draw grass, it’s essential to start by drawing basic shapes, such as the blades of grass. Begin by sketching long and thin, slightly curved lines in varying lengths to represent grass blades.
Add Details to the Blades
Once you’ve sketched the basic shape of the grass blades, it’s time to add details such as veins and texture. Draw thin lines inside each blade to represent veins, and then create the texture by adding small, curved lines that interlock along the blade’s length.
Create Clusters
To make the grass appear more realistic, draw multiple clusters of blades. Some clusters should overlap each other while others fade into the distance, creating depth in your drawing. When creating clusters, make sure that the blades appear to grow out from the same point.
Add Layer of Details
To enhance your drawing, you can add highlights and shadows to the blades. Determine where the light source is coming from and shade the blades accordingly. The highlights should be on the side closest to the light, and the shadows on the opposite side.
Tools Needed
To draw grass, you’ll need some basic supplies such as pencils, erasers, blending stumps, and kneaded erasers. Each tool has a particular purpose in creating a realistic grass drawing.
Pencils
A good set of pencils is essential to any artwork, and when drawing grass, a range of hard and soft pencils is necessary. Use harder pencils for the initial sketch and then switch to softer pencils for shading and detailing.
Erasers
Erasers are crucial to making corrections and removing unwanted lines. A kneaded eraser is perfect for removing fine lines, while a plastic eraser is better for wide areas.
Blending Stumps
Blending stumps are used to blend different shades and create natural textures in your drawing. They’re useful for softening hard lines and textures in your grass drawing.
Kneaded Erasers
Kneaded erasers are another type of eraser that can be used to lighten or remove shading from your drawing.
Graphic Tablets (Optional)
For digital artists, a graphic tablet is a useful option when drawing grass. It allows you to draw directly on a computer screen and offers more flexible settings.
Types of Grass
Different grass types require different approaches when drawing. Keep in mind the type of grass you’re drawing when deciding on its texture and details.
Tall vs. Short Grass
Tall grass requires longer and curvier blades, while short grass requires short and straight blades.
Dry vs. Wet Grass
Dry grass requires less shading, while wet grass has more contrast between light and dark areas.
Techniques to Use
Several techniques can be used when drawing grass, such as stippling, cross-hatching, and shading.
Stippling
Stippling involves creating tiny dots that blend to create a texture, which is perfect for grass blades.
Cross-hatching
Cross-hatching involves drawing lines that intersect and cross over each other, creating a darker texture that’s suitable for shading.
Shading
Shading is used to give depth to your grass drawing and create shadows. It is vital to experiment with different shades and tones to create a natural-looking texture.
Video Tutorial
To help you master the art of drawing grass, we’ve provided a short video tutorial. Accompanied by detailed pictures and captions, this tutorial will guide you through the process of creating realistic grass drawing for your art.
Common Mistakes and How to Fix Them
Drawing grass can be challenging, and artists often make mistakes. Here are some common mistakes you might encounter and tips on how to fix them:
Overcrowding
Drawing too many grass blades in one area will make your drawing look overcrowded. Make sure to balance the clusters and leave enough space between them.
Inconsistent Grass Blades
Inconsistent sizes, shapes, and textures of grass blades will make your drawing look unnatural. Pay attention to these details to keep consistency throughout your drawing.
Over-Shading
Adding too much shade can make your drawing appear muddy and obscures the individual grass blades. Use shading sparingly and focus on the lighter areas.
Conclusion
Drawing grass is more comfortable when you have a step-by-step guide that walks you through the process. Armed with the right tools and techniques, you can create stunning grass drawings that will add depth and texture to your artwork. Remember to experiment with different styles and techniques to find the perfect approach for your art. With practice, you’ll soon be creating realistic grass drawings that will elevate your art to the next level.


