Introduction
Green beans are a popular vegetable that can be enjoyed in various ways, from the classic side dish to salads and stir-fries. However, preparing green beans can be challenging, as overcooking or undercooking can result in a tough or mushy texture. This is where blanching comes in. In this article, we will take a deep dive into how long to blanch green beans to achieve the perfect texture and taste.
Blanching Green Beans 101: The Comprehensive Guide
Blanching is a cooking technique that involves briefly boiling vegetables and then immediately cooling them in ice water. The purpose of blanching is to partially cook vegetables while retaining their color, flavor, and texture. Green beans, in particular, benefit from blanching as it helps to lock in their vibrant green color and crisp texture.
To blanch green beans, start by bringing a large pot of salted water to a boil. While the water is boiling, prepare a large bowl of ice water. Once the water is boiling, add the green beans and let them cook for 2-3 minutes. Remove the beans from the boiling water and immediately transfer them to the ice water bath. Let them cool for 2-3 minutes before draining and patting them dry.
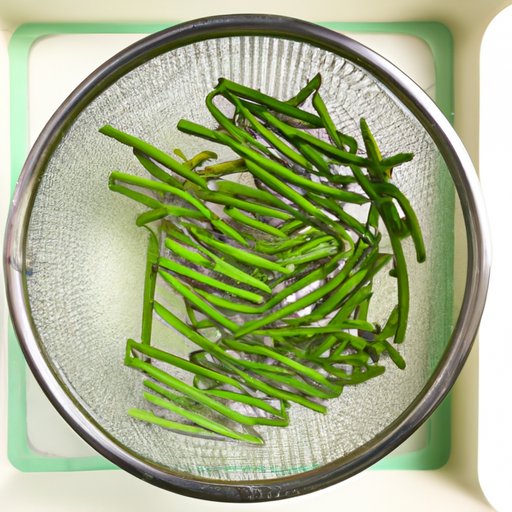
When preparing green beans for blanching, make sure to remove the tips and strings, and if desired, cut them into bite-sized pieces for easy serving. To store blanched green beans, place them in an airtight container and store them in the refrigerator for up to five days.
The Scientific Approach to Blanching Green Beans
There is a science to blanching green beans, and it all comes down to timing. The ideal blanching time for green beans is determined by their thickness, freshness, and desired texture. To achieve the perfect texture, the beans should be blanched just long enough to soften them slightly while still retaining their crunchiness.
As a general rule, thin green beans should be blanched for 1-2 minutes, while thicker beans may require 3-4 minutes. However, the exact blanching time will depend on personal preference and the desired texture. It’s essential to taste the beans while blanching to determine the desired texture.
To achieve the desired texture, drain the green beans immediately after removing them from the ice water bath and pat them dry. For a crispier texture, you can also let them air dry for a few minutes before using them in your dish.
Green Bean Perfection: A Quick Guide to Blanching
If you’re short on time and want a quick guide to blanching green beans, here are the essential steps:
1. Bring a large pot of salted water to a boil.
2. Add the green beans and cook for 1-2 minutes for thin beans and 3-4 minutes for thicker beans.
3. Immediately transfer the beans to an ice water bath and let them cool for 2-3 minutes.
4. Drain and pat the beans dry.
To determine if the beans are ready, look for a bright green color and a tender texture but still slightly crisp. Avoid overcooking the beans as they will become mushy and lose their bright color.
If you prefer not to blanch green beans, you can also roast them in the oven or sauté them on the stovetop. However, blanching remains the best method to achieve the perfect texture and color.
Say Goodbye to Tough Green Beans
Blanching is also essential in preventing tough green beans. It helps to break down the enzymes that cause the beans to become tough and chewy over time. Blanching can also help to preserve the nutrients in the green beans while making them more digestible.
To achieve the best results, blanch green beans for 2-3 minutes. This will ensure that the beans are cooked enough to be tender but not overcooked to the point of becoming mushy.
Mastering the Art of Blanching Green Beans
There are different techniques and methods used to blanch green beans, including stovetop, sous vide, and microwave blanching. Each method has its pros and cons, and the ideal blanching time will depend on the cooking method used.
Stovetop blanching is the most popular method and involves boiling the green beans in a pot of salted water. Sous vide cooking involves vacuum-sealing the green beans with seasoning and cooking them in a water bath at a controlled temperature. Microwave blanching involves steaming the green beans in a microwave-safe bowl with a small amount of water.
As a general rule, stovetop blanching takes 2-4 minutes, sous vide cooking takes 10-15 minutes, and microwave blanching takes 3-5 minutes. The ideal blanching time will depend on the cooking method used and personal preference.
Green Beans – Blanching for Beginners
If you’re new to blanching or cooking in general, here is a step-by-step guide on how to blanch green beans:
1. Fill a large pot with water and add a pinch of salt.
2. Bring the water to a boil.
3. While the water is boiling, prepare a large bowl of ice water.
4. Add the green beans to the boiling water and let them cook for 2-3 minutes.
5. Immediately remove the beans from the boiling water and transfer them to the ice water bath.
6. Let the green beans cool in the ice water for 2-3 minutes.
7. Remove the green beans from the ice water and pat them dry.
Blanched green beans can be used in a variety of dishes, including salads, stir-fries, and as a side dish. They also make a great snack when served alone with a sprinkle of salt and pepper.
Conclusion
Blanching is an essential cooking technique that can transform tough green beans into tender, delicious vegetables. With the right timing and preparation, blanching can help to lock in the color, flavor, and texture of green beans while preserving their nutrients. Whether you’re a beginner or a seasoned cook, blanching green beans is a technique worth mastering to enjoy the perfect texture and taste.


