Introduction
As a Mac user, you may find it difficult to add a printer to your computer. Thankfully, it’s not as difficult as you may think. With the right tools and knowledge, you can have your printer up and running in no time. This article is for anyone who wants to learn how to add a printer to their Mac. We’ll cover the basic steps as well as some troubleshooting tips and advanced techniques.

5 Easy Steps to Add a Printer to Your Mac Computer
Step 1: Check if your printer is compatible with Mac
Some printers are not compatible with Mac computers. To check if your printer is compatible, visit the manufacturer’s website and look for Mac drivers or support information. If your printer manufacturer doesn’t provide a compatible driver, you may need to purchase a new printer that is compatible with Mac computers.
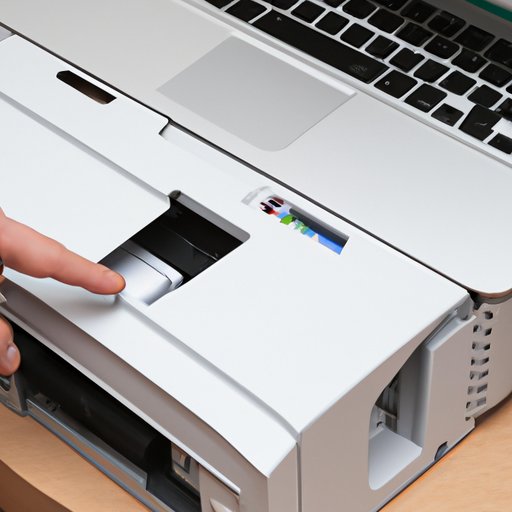
Step 2: Connect your printer to your Mac
Connect your printer to your Mac using a USB cable or via a wireless connection. If your printer is wireless, make sure your Mac and printer are on the same network. Once connected, turn on your printer.
Step 3: Install the printer driver on your Mac
Your Mac may already have basic printer drivers built-in. However, to take full advantage of your printer’s features, you should install the driver that came with the printer or download it from the manufacturer’s website.
Step 4: Add your printer to the list of available printers on your Mac
Go to “System Preferences” on your Mac and choose “Printers & Scanners.” Click the “+” button on the bottom left of the window and select your printer from the list of available devices.
Step 5: Print a test page to confirm that your printer is working
Once you’ve added your printer, try printing a test page to confirm that your printer is working correctly. If your printer doesn’t respond, double-check the connection and printer software.
Troubleshooting Guide: Adding Your Printer to a Mac Computer
Adding a printer to a Mac computer can be straightforward, but sometimes things can go wrong. Here are some common issues you may encounter and how to troubleshoot them:
Connectivity Issues
If your printer isn’t connecting to your Mac, check that it’s connected correctly via USB or wireless connection. Ensure that your printer software is up to date and compatible with your Mac’s operating system. Restart both your Mac and printer and try connecting again.
Driver Installation Errors
If you’re having trouble installing your printer driver, ensure that the driver is compatible with your Mac’s operating system. Restart your Mac and try installing the driver again. Check for any error messages and try to troubleshoot based on those messages.
Other Technical Problems
If you’re facing technical issues that were not discussed above, it may be time to consult your printer’s manual or speak with a technical expert who can help.
The Ultimate Guide to Connecting Your Printer to a Mac Computer
If you’re looking for a comprehensive guide to connecting your printer to your Mac, you’re in the right place. Here’s what you need to do:
1. Check if your printer is compatible with Mac and purchase a printer if necessary.
2. Connect your printer via USB or wireless connection, ensuring that it’s turned on.
3. Install the printer driver that came with your printer or download it from the manufacturer’s website.
4. Add your printer to the list of available printers on your Mac by navigating to “System Preferences” and selecting “Printers & Scanners.”
5. Print a test page to confirm that your printer is working correctly.
If you encounter any issues, refer to the troubleshooting guide mentioned above.
Printing Made Simple: How to Add a Printer to Your Mac Computer
If you’re not tech-savvy, adding a printer to your Mac may seem intimidating. Here’s our simplified guide to help you achieve it:
1. Check if your printer is compatible with Mac.
2. Connect your printer to your Mac via USB or wireless connection.
3. Install the printer driver that came with your printer or download it from the manufacturer’s website.
4. Add your printer to the list of available printers in the “Printers & Scanners” section of “System Preferences” on your Mac.
5. Confirm that your printer is working by printing a test page.
DIY Guide: Adding a Printer to a Mac Computer in Minutes
You don’t need to be a professional to add a printer to your Mac. Here’s our DIY guide to help you get set up in minutes:
1. Check if your printer is compatible with Mac.
2. Connect your printer to your Mac via USB or wireless connection.
3. Follow the on-screen instructions to install the printer driver.
4. Add your printer to the list of available printers using the “System Preferences” section on your Mac.
5. Test that your printer is working by printing a test page.
If you run into any issues, consult the troubleshooting guide mentioned above.
Not a Techie? No Problem! Here’s How to Add a Printer to Your Mac Computer
If technology isn’t your friend, don’t worry. Here’s our step-by-step guide to help you add a printer to your Mac:
1. Check if your printer is compatible with Mac.
2. Connect your printer to your Mac via USB or wireless connection.
3. Install the printer driver that came with your printer or download it from the manufacturer’s website.
4. Add your printer to the list of available printers in the “Printers & Scanners” section of “System Preferences” on your Mac.
5. Confirm that your printer is working by printing a test page.
Quick and Easy Steps to Connect Your Printer to a Mac Computer
Connecting your printer to your Mac is easy. Here are the key takeaways:
– Check your printer’s compatibility with Mac
– Connect your printer to your Mac via USB or wireless connection.
– Install the printer driver that came with your printer, or download it from the manufacturer’s website.
– Add your printer to the list of available printers in the “Printers & Scanners” section of “System Preferences” on your Mac
– Print a test page to confirm that your printer is working.
Conclusion
Adding a printer to your Mac is a straightforward process, but sometimes things can go wrong. In this article, we’ve provided you with a comprehensive guide to help you connect your printer to your Mac successfully. We’ve also included troubleshooting tips and simplified the process for those who are not tech-savvy. Don’t be afraid to reach out for help if you encounter any issues. Share this article with others who may be facing the same problem.


