I. Introduction
Canceling a subscription on your iPhone can sometimes be difficult, especially if you’re not familiar with the process. Many subscription-based apps make it intentionally difficult to cancel, leading to frustration and financial loss for users. This article is a guide that will help you through the process of canceling your subscriptions on an iPhone. Its target audience is anyone who needs to cancel a subscription on their iPhone, especially those who are new to Apple devices.
II. Step-by-Step Guide
If you’re trying to cancel a subscription on your iPhone, the following step-by-step guide can help:
Step 1: Locate the App Store
On your iPhone, locate the App Store app. It’s usually found on your home screen or in your app library.
Step 2: Click on Your Profile Photo
Click on your profile photo located in the upper right-hand corner of the screen.
Step 3: Access Your Apple ID
Tap on “Apple ID: Your Name” and enter your password or use Face ID/Touch ID to authenticate.
Step 4: Tap on “Subscriptions”
Scroll down to “Subscriptions” and tap on it to access your current subscriptions.
Step 5: Select the Subscription You Want to Cancel
Select the subscription you want to cancel from the list of active subscriptions. This list will include all subscriptions associated with your Apple ID. If you can’t find the subscription you want to cancel, it may have expired or been deactivated.
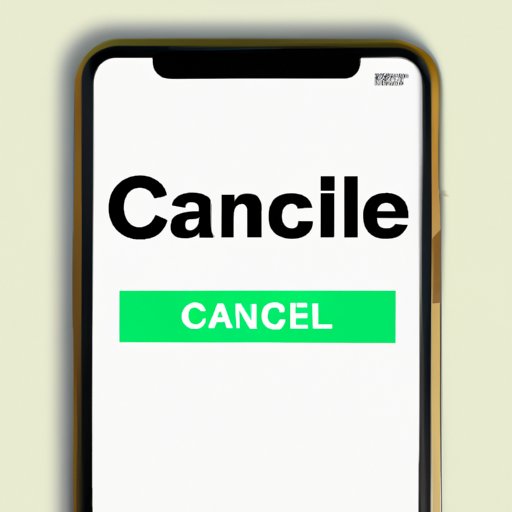
Step 6: Click on “Cancel Subscription”
Scroll down until you see the “Cancel Subscription” option. Click on it, and follow the prompts to confirm your cancellation.
III. Video Tutorial
For visual learners, video tutorials can be an important tool in understanding how to cancel a subscription on an iPhone. Here’s a quick and easy video tutorial that demonstrates the steps:
https://www.youtube.com/watch?v=Z6P5jKwzRzo
Summary: Go to the App Store > Click on your profile photo > Access your Apple ID > Tap on “Subscriptions” > Select the subscription you want to cancel > Click on “Cancel Subscription”.
IV. Comparison of Different Subscription Services
Before subscribing to any service, it’s important to compare different options to find the one that best suits your needs. Here are some popular subscription services and their features:
Netflix
Features: Unlimited access to movies and TV shows for a monthly fee.
Pros: Large selection of content, high-quality streaming.
Cons: More expensive than some other streaming services.
Spotify
Features: Music streaming for a monthly fee.
Pros: Large selection of music, easily customizable playlists.
Cons: Paid subscription required for full features.
Apple Music
Features: Music streaming for a monthly fee.
Pros: Large selection of music, easy integration with other Apple devices.
Cons: More expensive than some other music streaming services.
Hulu
Features: TV and movie streaming for a monthly fee.
Pros: Large selection of shows and movies, affordable pricing.
Cons: Some content may have ads, limited international availability.
When considering subscription services, be sure to read the terms and conditions carefully. Each service has its own cancellation process, which may vary in terms of ease and convenience.
V. Common Mistakes to Avoid When Cancelling Subscriptions
Cancelling a subscription on your iPhone can be difficult if you’re not familiar with the process. Here are some common mistakes to avoid:
Mistake 1: Not Cancelling the Subscription Properly
If you cancel a subscription incorrectly, you may continue to be charged for the service. Be sure to read the terms and conditions carefully and follow the proper procedure to avoid paying unnecessary fees.
Mistake 2: Forgetting to Cancel
Many subscription services renew automatically, which means you’ll be charged unless you cancel the subscription beforehand. Be mindful of renewal dates and cancel in advance if you no longer require the service.
Mistake 3: Ignoring Cancellation Policies
Each subscription service has its own cancellation policy. Be sure to read the terms and conditions carefully to avoid confusion. Some cancellation policies may have stipulations about cancellation fees or a required notice period before the cancellation is effective.
VI. Legal Guide
When cancelling a subscription, it’s important to understand the legal implications of your action. Here’s what you need to know:
Consumer Protection Laws
Consumer protection laws ensure that consumers have the right to cancel any subscription at any time. However, be sure to read the fine print to ensure you’re within your legal rights to cancel.
Terms and Conditions
Reading the terms and conditions can save you from unwanted legal headaches. Be sure to read and understand what you’re agreeing to before subscribing to any service. Look for cancellation policies and any possible legal consequences for failing to follow them.
VII. Conclusion
Canceling a subscription on your iPhone may seem overwhelming at first, but it doesn’t have to be difficult. Follow our step-by-step guide for an easy cancellation process, and be sure to avoid common mistakes and understand the legal implications involved. We hope this article has been helpful in providing a comprehensive guide to canceling subscriptions on your iPhone.
If you have any additional questions or tips to share, we encourage you to leave a comment below.


