Introduction
Are you looking to elevate your virtual reality experience? Casting Oculus to your TV can be a game-changer, allowing you to share your VR experience with others and immerse yourself in a larger-than-life display. In this article, we will explore step-by-step instructions on how to successfully cast your Oculus device to your TV.
Why is Casting Oculus to TV important?
Casting Oculus to TV enables users to share their VR experience with others and make it more interactive. It makes virtual reality more accessible to everyone in the room, making it an enjoyable experience for all. Additionally, casting Oculus to TV enhances immersion and provides a more immersive experience, making it the perfect way to enjoy high-quality VR content.
Topics Covered in This Article:
- Step-by-step guide on casting Oculus to TV
- Troubleshooting tips
- Alternative solutions
- Best Practices
- Comparison article
Step-by-Step Guide
How to enable casting feature?
First, you need to make sure that your Oculus device supports casting. Once confirmed, you can enable the casting feature on your Oculus device by following these simple steps:
- Go to the “Settings” option on your Oculus app.
- Click on the “devices” tab
- Select your Oculus device which you want to cast.
- Click on the “More settings” option of the selected device.
- Click on the “Enable Casting” option.
- Choose your preferred casting method – either by Bluetooth, Chromecast, or any other casting device.
Steps to cast Oculus to TV:
Here’s a step-by-step guide to casting Oculus to your TV:
- Connect your casting device to your TV via an HDMI port or any other suitable port depending upon the device that you’re using.
- Now turn on both your Oculus device and your TV.
- Open the Oculus app on your phone.
- Click on the “Cast icon” located at the top right corner of the app
- Choose your casting device in the “Device” section
- Select the Cast icon again to start casting.
- The VR content will now be displayed on the TV screen
Note:
When casting, you can also adjust the volume and choose to enable or disable captions from your device.
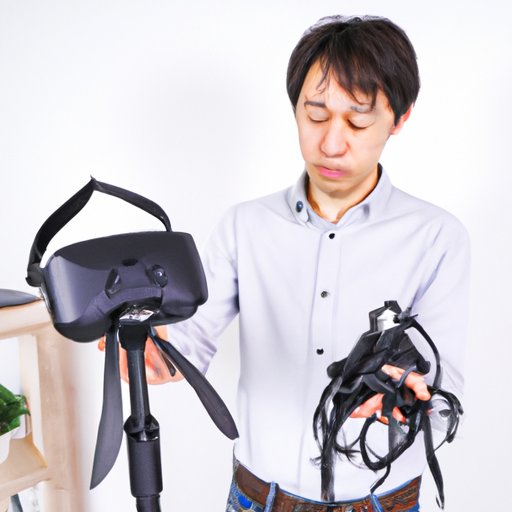
Using Screenshots or Images to Make the Process More Visual
Below are some screenshots/images showing this process:

Successfully Casting to Your TV
If you’ve followed the above steps successfully, you will now be able to enjoy your VR experience on your TV, providing a more immersive experience that you can now share with others.
Troubleshooting Tips
Common Errors or Problems People Face While Casting Oculus to TV
While casting your Oculus device to your TV, you may face some glitches or errors, such as:
- The casting option may not appear on the Oculus app.
- Failure to connect to the casting device
- The displayed quality on your TV may not meet your expectations
Troubleshooting Tips
In such cases, some helpful troubleshooting tips include:
- Check your network connection on both your device and TV
- Ensure your Oculus device and TV are connected to the same WiFi network
- Close all running apps and restart your Oculus device to enable a stronger connection
- Resetting the router may help
- Ensure your casting device and TV are turned on and connected
- Ensure your TV is compatible with the type of Oculus device you are using
Other Issues & Solutions
If your sound is not working properly, you can check and adjust the volume or check any sound settings within the casting device itself. If the video or image quality is not up to your standards or there is any kind of lag, you can try casting in lower quality settings or using a stronger WiFi connection.
Alternative Solutions
Other Ways to Enjoy VR Content on Your TV
While casting Oculus to TV is a great way to experience VR, some other alternative solutions include:
- HDMI cable method
- Using a Chromecast to stream your VR experience
- Casting through the Google Home app
Pros and Cons of Each Solution
Each solution has its pros and cons. HDMI cables provide high-quality resolution, but they are not wireless, so the device won’t have the freedom of movement. Chromecast provides wireless streaming but may have connectivity issues, while casting through the Google Home app offers the convenience of using one device, but you may experience problems with the app’s compatibility with your TV.
Best Practices
Optimizing Your VR Experience by Following Best Practices
To ensure you get the best experience possible when casting Oculus to your TV, follow these best practices:
- Make sure your WiFi connection is strong
- Ensure your TV is compatible with your Oculus device
- Check that your device and TV are on the same WiFi network
- Use high-quality cables and devices
- Ensure your casting device is in the optimal location and pointing at your TV
Comparison Article
Comparison of Different Casting Methods
When considering which casting method to use, it’s important to weigh up the pros and cons of each. In the table below, we compare casting through Bluetooth, Chromecast, and the HDMI cable method.
| Methods | Pros | Cons |
|---|---|---|
| Bluetooth | Easy to set up | Low-quality streaming, range limitations, and potential interference |
| Chromecast | Wireless casting, high-quality streaming, and easy to set up | Potential connectivity issues |
| HDMI | Provides high-quality resolution | Not wireless, so the device won’t have the freedom of movement |
Conclusion
In conclusion, casting Oculus to TV is an effective way to enhance your VR experience, making it more interactive, immersive, and accessible to everyone in the room.


