I. Introduction
Knitting is a fantastic hobby that allows you to create beautiful, one-of-a-kind pieces with your own two hands. Whether you’re a beginner or an experienced crafter, learning how to cast on is one of the most important steps in any project. Casting on is the process of starting a new row of stitches, and it’s the foundation of any knitting project. In this article, we’ll explore different casting on techniques, tips, and tricks to help you master this essential skill.
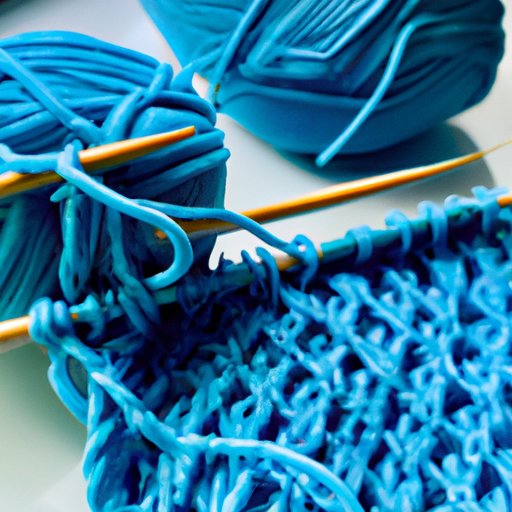
II. A Step-by-Step Guide for Casting On: Knitting Beginners
If you’re new to knitting, casting on can seem a little daunting. But don’t worry, it’s much easier than it looks! Here’s a step-by-step guide to get you started:
1. Start with a slip knot on your needle, leaving a tail of yarn.
2. Hold the needle with the slip knot in your left hand and the other needle in your right hand.
3. Using your right hand, insert the needle into the slip knot and wrap the yarn around the tip of the needle.
4. Pull the loop through the slip knot and place it on the left-hand needle, creating a new stitch.
5. Repeat steps 3 and 4 until you have the desired number of stitches.
Once you’re comfortable with this basic technique, you can try different variations to achieve different effects.
III. The Fundamentals of Knitting: Different Techniques for Casting On
While the basic casting on technique is the same for all projects, there are actually many different variations you can try. Here are a few of the most popular:
- Long-tail cast-on
- Cable cast-on
- Backward loop cast-on
- Knitted cast-on
- Provisional cast-on
Each of these techniques creates a slightly different effect, so choose the one that best suits your project. You can also try experimenting with different needle sizes and yarn weights to achieve different textures and densities.
IV. How to Cast On for Simple and Complex Knitting Projects
Once you’ve mastered the basic casting on technique and tried different variations, it’s time to start thinking about how to choose the right technique for different projects. Here are a few tips to get you started:
- For simple scarves or dishcloths, the basic casting on technique is usually sufficient.
- If you’re making a tight-fitting sweater or hat, try using a stretchy cast-on technique like the long-tail cast-on.
- For lace projects, a provisional cast-on allows you to easily remove the casting-on stitches later on.
Don’t be afraid to experiment and try out different techniques!
V. Essential Tips for Casting On: DIY Knitting for Beginners
As a beginner, there are a few important things to keep in mind when casting on:
- Make sure to leave a long enough tail for the cast-on stitches.
- Don’t cast on too tightly, or it will be difficult to knit the first row.
- Count your stitches after casting on to make sure you have the right number.
In addition to these tips, there are a few common mistakes you should avoid:
- Don’t twist your stitches when casting on, or it will be difficult to knit the first row.
- Don’t make your cast-on stitches too loose or too tight.
If you do run into any issues, don’t panic! Here are a few troubleshooting tips:
- If you accidentally twist your stitches, you can simply untwist them on the first row.
- If your cast-on stitches are too loose, try using a smaller needle size.
- If your cast-on stitches are too tight, try using a larger needle size.
VI. Exploring the Different Casting On Methods in Knitting
Let’s take a closer look at some of the different casting on methods available:
Long-tail cast-on
The long-tail cast-on is a popular technique that creates a stretchy, even edge. It’s great for hats and sweaters that need to fit snugly. To do the long-tail cast-on, measure out a length of yarn about three times the width of your finished piece. Make a slip knot about 6 inches from the end of the yarn, and place it on your needle. Hold the needle in your right hand and the tail of the yarn in your left hand. Wrap the yarn around your fingers, then insert the needle under the first loop and over the second loop. Pull the yarn through the first loop and slip it onto your left-hand needle. Repeat these steps until you have the desired number of stitches.
Cable cast-on
The cable cast-on is a neat, sturdy stitch that’s great for edges that need to be firm. To do the cable cast-on, start by making a slipknot and place it on your needle. Hold the needle in your right hand and the yarn in your left hand. Insert the needle into the slipknot, then knit one stitch. Transfer this stitch back to your left-hand needle, then knit the stitch again. Repeat these steps until you have the desired number of stitches.
Backward loop cast-on
The backward loop cast-on is a simple, easy-to-learn technique that’s great for beginners. To do the backward loop cast-on, start by making a slip knot and placing it on your needle. Hold the needle with the slip knot in your left hand and the other needle in your right hand. Using your right hand, make a loop with the yarn and place it on the right-hand needle. Repeat these steps until you have the desired number of stitches.
Knitted cast-on
The knitted cast-on is a simple, easy-to-learn technique that creates a sturdy, even edge. To do the knitted cast-on, start by making a slip knot and placing it on your needle. Hold the needle with the slip knot in your left hand and the other needle in your right hand. Insert the right-hand needle into the slip knot and knit one stitch. Place this stitch on the left-hand needle, then repeat these steps until you have the desired number of stitches.
Provisional cast-on
The provisional cast-on is a flexible technique that allows you to easily remove the casting-on stitches later on. To do the provisional cast-on, start by creating a crocheted chain using a contrasting piece of waste yarn. Then, using a knitting needle, pick up one stitch for each chain stitch. Knit across the row as usual, then remove the waste yarn to reveal the provisional cast-on stitches.
VII. From Long-Tail to Backwards Loop: Cast On Techniques You Need to Know
Here’s a quick summary of some of the cast-on techniques we’ve covered:
- The long-tail cast-on creates a stretchy, even edge and is great for hats and sweaters.
- The cable cast-on creates a firm, sturdy edge and is great for sock cuffs or collar edges.
- The backward loop cast-on is simple and easy-to-learn, but not as stretchy as other techniques.
- The knitted cast-on creates a sturdy, even edge that’s easy to work with.
- The provisional cast-on is flexible and allows you to easily remove the casting-on stitches later on.
VIII. Ultimate Casting On Tutorial: Easy Steps to Start Knitting
Here are a few final tips to help you master casting on:
- Practice makes perfect! The more you practice, the easier it will become.
- Don’t be afraid to experiment and try out different techniques.
- Take your time, especially if you’re a beginner. Slow and steady wins the race!
With these tips and techniques, you’ll be casting on like a pro in no time.
IX. Conclusion
Casting on is an essential skill for any knitter, and there are many different techniques to choose from depending on your project. Whether you’re a beginner or an experienced crafter, we hope this guide has given you the knowledge and confidence to tackle any knitting project with ease.


