I. Introduction
Do you have water seeping through the edges of your bathtub? Do you notice mold or mildew growing in the corners? These are indicators of bad caulking. The process of caulking a bathtub may seem daunting, but with the right steps and guidance, it’s achievable. In this article, we will guide you through the process of caulking your bathtub like a pro, as well as provide information on why proper bathtub caulking is important, how to choose the best caulk, how to troubleshoot common problems, and how to remove old caulk.
II. 10 Simple Steps to Caulk Your Bathtub Like A Pro
Following proper steps is crucial for achieving professional caulking results. Here are the ten simple steps to follow:
- Clean the bathtub thoroughly: Remove any dirt, soap scum, or old caulk using a scraper, rubbing alcohol, or paint thinner.
- Remove loose parts: Check for any cracks, loose parts, or gaps that need to be filled. If there are any large gaps, fill them with foam backer rod first.
- Prep the caulk gun: Cut the tip of the caulk at a 45-degree angle and pierce the seal inside the tube.
- Start with the corners: Start at one corner of the bathtub and apply a thin bead of caulk, holding the caulk gun at a 45-degree angle. Continue caulking around the perimeter of the bathtub.
- Smooth with a caulk smoothing tool: Use a caulk smoothing tool or your finger to smooth the caulk and remove any excess that seeps out from the joint.
- Work in small sections: Work in small sections before the caulk dries to avoid any unevenness.
- Allow the caulk to dry: Leave the caulk to dry for 24 hours before using the bathtub.
- Test the caulk seal: Once the caulk has dried completely, test the seal by running water in the bathtub for a few minutes. Check for any leaks or seepage.
- Clean up: Remove any excess caulk using a scraper or a razor blade. Dispose of unused caulk properly
- Don’t use the bathtub for at least 24 hours: Let the bathtub cure before use, especially if there’s water anywhere near the calk.
Here are some tips to make the process easier:
- Wear gloves to avoid getting excess caulk on your hands
- Cut the tip of the caulk gun at a 45-degree angle to ensure control, and pierce the seal inside the tube with a nail.
- Use a caulk smoother or a popsicle stick to smooth and remove any excess caulk.
III. Why It’s Important To Caulk Your Bathtub
Proper bathtub caulking is essential for various reasons, including:
Preventing water damage
If not sealed properly, water can seep through the bathtub’s edges and cause water damage. Over time, water damage can result in the growth of mold and structural damage to your home.
Preventing mold and mildew growth
When water seeps through the edges of a bathtub, it creates a perfect condition for mold and mildew to grow. Mold and mildew can be harmful to your health and can damage the walls and flooring surrounding the bathtub.
Increasing bathtub longevity
Properly sealed edges prevent the bathtub from sustaining damage and increasing longevity. With proper caulking, you won’t have to replace your bathtub due to water damage, saving you money in the long run.
Saving money on repairs
Water damage causes other problems that require expensive repairs, such as structural damage, rusting, or mildew remediation. Regular caulking provides an affordable solution that prevents you from incurring additional costs.
IV. Choosing the Best Caulk for Your Bathtub
Not all caulks are suitable for a bathtub. It’s vital to select the right caulk for your bathtub to achieve professional results. Here’s what to consider when choosing a caulk for your bathtub:
Explanation of the different types of caulk
There are three types of caulk: silicone, acrylic latex, and hybrid caulks. Silicone caulks work best for high-moisture areas; acrylic latex is best for dry conditions, and hybrid caulks are a combination of silicone and acrylic latex and work well in both dry and humid conditions.
Factors to consider when choosing a caulk
- The location of the bathtub: Is it in an area of high humidity, like your bathroom?
- The type of surface you’re caulking: Is it a porous surface like tile or a non-porous surface like fiberglass?
- The type of mold and mildew inhibitor present in the caulk: Some caulks come with enhanced mold and mildew inhibitors, making them ideal for areas with high humidity.
- The drying time: How long does it take the caulk to dry, and what is the cure time?
Recommended types of caulk
The best types of caulk for bathtubs are silicone and hybrid caulks. They work well with porous and non-porous surfaces and withstand high-moisture environments. We recommend Gorilla Silicone Sealant and GE Momentive Silicone II for the job.
V. Troubleshooting Common Caulking Problems
Even with proper caulking, some problems might arise. Here are some common caulking problems, their causes, and how to solve them:
Common caulking problems
- Uneven Caulk Beading
- Caulk Beading Not Straight
- Bubbles and pinholes in the caulk
- Excessive water droplets forming under the caulk
Causes and symptoms of these problems
Uneven caulk beading and caulk beads not straight result from applying too much pressure on the caulk gun. Bubbles and pinholes occur when air or water droplets get trapped in the caulk, and excessive water droplets form under the caulk due to improper preparation.
Solutions to these problems
- Use a light grip on the caulk gun to avoid excess pressure when applying the caulk.
- Use a caulk smoothing tool to achieve a straight finish.
- If bubbles occur, slice them open carefully with a knife and reapply the caulk.
- Ensure the bathtub is thoroughly dry before applying the caulk. Use a hairdryer to dry the area if necessary.
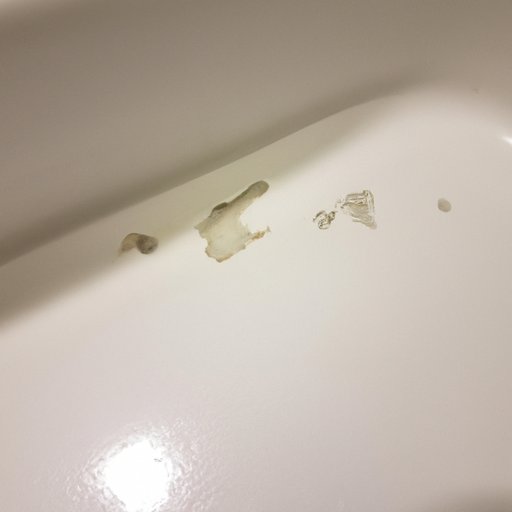
VI. How to Remove Old Caulk from Your Bathtub
Why it’s necessary to remove old caulk
It’s essential to remove the old caulk before caulk application to achieve a clean surface for a smooth finish.
Steps to follow when removing old caulk
- Use a scraper to remove as much dry caulk as possible.
- Soak the area with a commercial caulk remover or denatured alcohol.
- Scrub gently with a brush or pad until the caulk is soft enough to remove.
- Use pliers to pull the old caulk from the bathtub.
- Clean the area thoroughly, ensuring no residue is left behind.
Tips and tricks to make the process easier
- Use a hairdryer to soften dry caulking and make it easier to remove.
- Buy a commercial caulk remover that is safe for your tub material.
VII. Conclusion
Now that you have learned how to caulk your bathtub like a pro, the importance of proper caulking, picking the right caulk, and removing old caulk, you can maintain your bathtub in top-notch condition. Bathtub caulking is essential for preventing water damage, mold, and mildew growth. It also increases the bathtub’s lifespan and saves you money on repairs. Feel free to share your experiences and tips in the comments section.


