How to Change Colors in Crocheting
Crocheting is a great way to unwind and create beautiful projects. One of the most important techniques in crochet is changing colors. Whether you’re making stripes or intricate designs, knowing how to change colors is essential. In this article, we will explore the different methods of changing colors in crochet and provide tips and tricks to make the process smoother. We will also showcase unique ways to use color changes to create stunning designs.
Step-by-step Guide
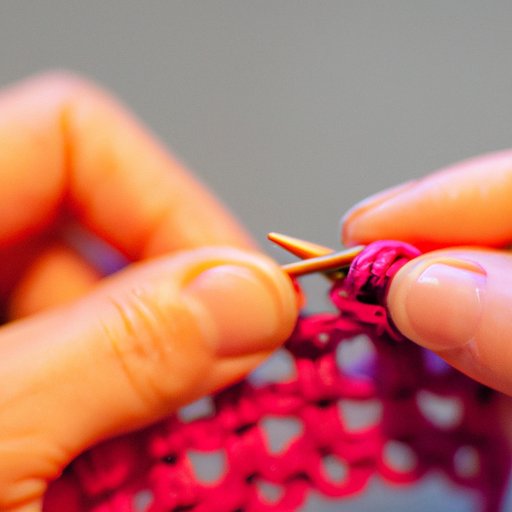
There are several methods of changing colors in crochet, including the cut-and-tie method, the carry-over method, the slip-stitch method, and more. Each method has its own advantages and disadvantages, so it’s important to find the one that works best for your project.
In the cut-and-tie method, you simply cut your current color, tie on the new color, and weave in the loose ends. This method is great for projects with small color changes, but it can create a lot of ends to weave in, which can make your project look messy.
The carry-over method involves carrying the new color along the back of your work as you crochet. This method is great for projects with longer color changes, as it minimizes the number of ends that need to be woven in.
To use the slip-stitch method, you crochet several stitches using the new color, then slip stitch into the last stitch of the previous color. This method creates a neat edge and can be used to create stripes or borders.
No matter which method you choose, make sure to keep your tension consistent throughout the color change to avoid puckering or loose stitches.
Video Tutorial
If you’re a visual learner, check out this video tutorial on changing colors in crochet.
In this tutorial, we will demonstrate how to change colors using an example project. We will also provide tips and tricks along the way, such as how to manage your yarn to prevent tangles and how to achieve a seamless color transition.
By the end of this tutorial, you will have a solid understanding of how to change colors in crochet and be ready to tackle any project with confidence.
Tips and Tricks
Choosing the right colors is key to creating a visually stunning project. Consider using a color wheel to find complementary or contrasting colors that work well together.
To create seamless color transitions, make sure to overlap the old and new colors for one or two stitches before cutting the old color. This helps to blend the two colors together.
When working with multiple colors, use bobbins or clothespins to keep your yarn organized and prevent tangles.
Common Mistakes to Avoid
One of the most common mistakes when changing colors is not keeping consistent tension throughout the color change. This can lead to puckering or loose stitches.
Another mistake is not weaving in ends properly, which can make your project look messy. Make sure to weave in your ends securely using a tapestry needle.
To avoid these mistakes, practice changing colors on small swatches before tackling larger projects.
Unique Color Techniques
Changing colors can be used to create unique patterns and designs in crochet. For example, using the tapestry crochet technique, you can create intricate geometric patterns using multiple colors.
Another technique is the mosaic crochet method, which involves working with two colors at a time to create intricate designs. This method is great for creating blankets or scarves with a unique twist.
Check out some of these stunning finished projects that use color changes to create innovative designs.
Conclusion
Changing colors in crochet may seem daunting at first, but with practice and patience, it can become second nature. Use the tips and techniques outlined in this article to create beautiful, colorful projects that reflect your unique style.


