Introduction
Cleaning a chicken can be a daunting task, but it’s an essential part of the preparation process if you’re planning to cook with it. In this article, we’ll walk you through a step-by-step guide to cleaning a chicken, as well as important safety precautions and alternative cleaning methods.
Step-by-Step Guide
The process of cleaning a chicken can seem overwhelming at first, but it’s actually quite simple. Here are the steps:
Step 1: Removing the feathers
The first step is to remove the feathers from the chicken. You can do this by plucking them out with your fingers or using a plucking machine. If you’re new to this, plucking by hand may be easier to start with.
Step 2: Removing the head and feet
Next, remove the head and feet from the chicken. This is usually done by cutting them off with a sharp knife. Be sure to discard them safely, as they can be a source of bacteria.
Step 3: Removing the internal organs
After removing the head and feet, the next step is to remove the internal organs. This is known as “gutting” the chicken. Using a sharp knife, make a small cut around the vent and pull out the organs. Be sure to discard them properly.
Step 4: Cleaning the chicken
Finally, clean the chicken thoroughly with cold water. You can use a clean sponge or cloth to gently scrub away any remaining dirt or debris.
Visual Aids
Visual aids can be incredibly helpful when it comes to understanding the process of cleaning a chicken. We highly recommend using photographs and/or videos to supplement the written instructions.
Safety Precautions
Cleaning a chicken can be hazardous if proper safety precautions aren’t taken. Here are some important precautions you should follow:
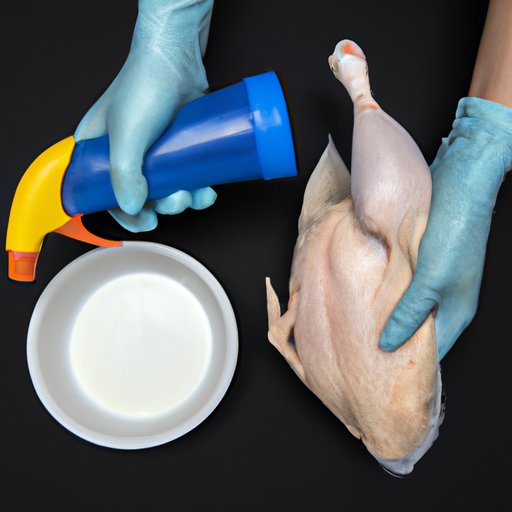
Wear gloves
It’s important to wear gloves when cleaning a chicken to protect your hands from harmful bacteria. Be sure to wash your hands thoroughly before and after handling the chicken.
Use a sharp knife
Using a sharp knife is not only safer, but it also makes the process easier and more efficient. A dull knife is more likely to slip and cause injury.
Work on a clean surface
Be sure to work on a clean surface, such as a cutting board, that’s been disinfected with a bleach solution. This will help prevent cross-contamination with other foods.
Tools Needed
Here are the tools you’ll need to clean a chicken:
Sharp knife
A sharp knife is essential for removing the head, feet, and internal organs.
Plucking machine (optional)
If you’re removing the feathers by machine, you’ll need a plucking machine.
Clean sponge or cloth
Use a clean sponge or cloth to gently scrub the chicken after removing the internal organs.
Alternative Cleaning Methods
While the traditional method of cleaning a chicken works well, there are alternative methods you can try. Here are a few:
Soaking in salt water
Soaking the chicken in salt water for 30-60 minutes before cleaning can help to loosen any remaining dirt or debris.
Soaking in vinegar
Soaking the chicken in a solution of vinegar and water can help to remove any bacteria on the surface of the chicken.
Conclusion
Cleaning a chicken can be a bit intimidating at first, but with practice it becomes easier. By following the steps outlined in this article, as well as taking the proper safety precautions, you’ll be well on your way to successfully cleaning a chicken. Don’t be afraid to try out the alternative cleaning methods to see which one works best for you. Remember, it takes practice and patience to master the art of cleaning a chicken.


