Introduction
If you’re like many people, you know the benefits of having a humidifier in your home – from reducing static electricity to easing dry skin and helping you breathe easier. However, if you don’t regularly clean your humidifier, it can become a breeding ground for bacteria and mold, which can pose serious health risks. In this article, we will teach you how to properly clean and maintain your humidifier to keep your home healthy and comfortable.
Starting with the Basics
Before you start cleaning your humidifier, it’s important to know what type of humidifier you have and to review the manufacturer’s instructions for cleaning. Generally, humidifiers can be divided into two categories: the cool mist type and the warm mist type. Cool mist humidifiers use a fan to evaporate the water, while warm mist humidifiers boil the water to create steam. Reviewing the manufacturer’s instructions can ensure that you’re following any specific recommendations tailored to your humidifier.
Additionally, it’s important to keep in mind some general tips for approaching the cleaning process. Always unplug the humidifier before cleaning, and use only the cleaning solutions recommended by the manufacturer to avoid damaging the machine. When in doubt, err on the side of caution.
Gathering Supplies
To properly clean your humidifier, you will need a few supplies:
- Vinegar or hydrogen peroxide
- Water
- Mild detergent
- A soft-bristled brush
- A microfiber cloth
Each of these supplies plays an important role in the cleaning process. Vinegar or hydrogen peroxide can help kill bacteria and mold, while mild detergent is used for general cleaning. A brush with soft bristles can be used to clean any hard-to-reach areas, and a microfiber cloth can help avoid scratches on the tank and other parts of the machine.
Disassembling the Humidifier
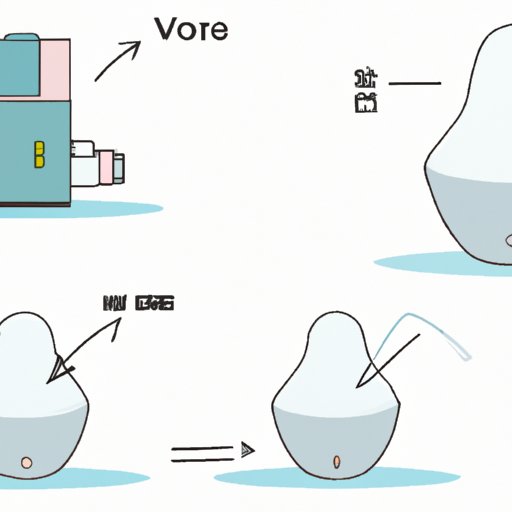
Before cleaning your humidifier, you will need to disassemble it. Depending on your humidifier’s design and features, you may need to remove the water tank, filter, nozzle, and other parts. Refer to the manufacturer’s instructions to determine which parts should be disassembled and how to remove them properly.
Make sure to handle each part with care and avoid using excess force that could damage the machine. Generally, most parts should come off fairly easily, but it may take a bit of wiggling or unscrewing to get them to release.
Cleaning the Water Tank
The water tank is one of the most important parts of your humidifier to keep clean. To clean the tank:
- Fill the tank with equal parts vinegar and water.
- Let the solution sit in the tank for at least 30 minutes.
- Empty the tank and use a soft-bristled brush to gently scrub away any remaining residue.
- Rinse the tank thoroughly with clean water.
It’s important to note that different types of humidifiers may have different cleaning instructions. Refer to the manufacturer’s instructions to confirm the proper cleaning process for your humidifier. If you want to avoid using vinegar, you can use hydrogen peroxide instead. Simply use a solution of 3% hydrogen peroxide and water in equal parts.
Additionally, using a soft-bristled brush and microfiber cloth can help avoid scratches on the tank, which can harbor bacteria and mold.
Cleaning the Filter
If your humidifier has a filter, it’s important to clean or replace it regularly. To clean the filter:
- Remove the filter from the machine.
- Rinse it under running water to remove any debris.
- Soak the filter in a solution of equal parts water and vinegar for 30 minutes.
- Rinse the filter thoroughly with clean water and let it air dry.
If the filter looks damaged or worn, it’s important to replace it to ensure your humidifier is operating efficiently. Refer to the manufacturer’s instructions for replacement instructions.
Cleaning the Nozzle
The nozzle of your humidifier is responsible for releasing the mist into the air. To clean the nozzle:
- Fill a bowl with a solution of equal parts water and hydrogen peroxide.
- Submerge the nozzle in the solution and let it soak for 30 minutes.
- Use a soft-bristled brush to gently clean any residue off the nozzle.
- Rinse the nozzle thoroughly with clean water and let it air dry.
Reassembling and Testing
Once you have cleaned all the parts of your humidifier, it’s time to put them back together. Make sure to follow the manufacturer’s instructions to ensure proper reassembly.
Before you start using your humidifier again, it’s important to do a quick test to ensure everything is working properly. Simply fill the tank with clean water, turn on the machine, and wait for the mist to appear. If the humidifier is producing mist properly, you’re good to go!
Alternative Outline: Pre-Cleaning, Deep Cleaning, and Ongoing Maintenance
If you’re looking to take your humidifier cleaning to the next level, you can break the process down further into three categories:
- Pre-cleaning: Done before the first use of the season, or when the humidifier has been sitting for a while.
- Deep cleaning: Done periodically throughout the season (about every two weeks) to keep the machine in top condition.
- Ongoing maintenance: Done throughout the season to keep the humidifier clean and running efficiently.
Breaking the process down into these categories can help you stay on top of your humidifier cleaning and ensure that your machine is always functioning at its best.
Conclusion
Cleaning your humidifier may not be the most exciting task, but it’s essential to maintaining a healthy home environment. By following these steps, you can ensure that your humidifier is clean, safe, and functioning properly all season long. Remember to refer to the manufacturer’s instructions, use only recommended cleaning solutions, and perform ongoing maintenance to keep your machine in top condition.


