I. Introduction
Do you want to keep your lash extensions looking their best for as long as possible? Proper cleaning is key to maintaining their appearance and durability. In this article, we’ll go over step-by-step instructions, dos and don’ts, and advice from expert lash artists on how to clean your lash extensions. Get ready to bat those lashes with confidence!
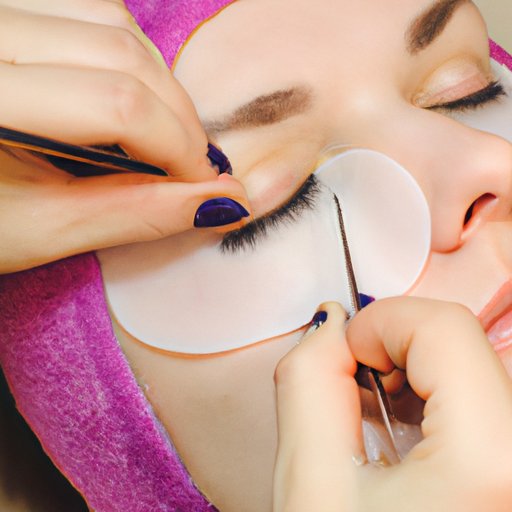
II. Step-by-Step Guide
When cleaning your lash extensions, you want to be gentle and avoid rubbing or pulling on them. The following is a step-by-step guide to properly cleaning your lash extensions:
A. Removal of makeup
Before you begin cleansing your lashes, make sure to remove all makeup gently with a makeup remover that is safe for lash extensions. We recommend using oil-free makeup remover pads or micellar water with a gentle touch. Avoid using cotton balls or anything that can catch or pull on the lashes.
B. Water-based cleansing
The next step is to use a water-based cleanser to gently clean your lash extensions. A foaming cleanser designed specifically for lash extensions is ideal for this purpose. Apply a small dab of cleanser onto your fingertips and gently rub the lashes in a downward motion, staying away from the roots. Rinse with lukewarm water until all the cleanser is removed, and gently pat the lashes dry with a lint-free cloth.
C. Drying the lashes
After washing, make sure to use a soft, clean towel to pat the lashes dry again, being careful not to pull or tug on them. Then, use a clean spoolie brush to gently brush the lashes back to their intended place.
III. Dos and Don’ts
Here are some important dos and don’ts to keep in mind when it comes to cleaning your lash extensions:
A. Daily routine
It is essential to incorporate cleaning lash extensions as part of your daily routine to keep them looking their best and ensure their durability. Make sure to apply cleanser gently using only the tips of your fingers so as to avoid tugging on the extensions.
B. Safe products
Make sure to use only those cleaning products that are specifically formulated for use on lash extensions. Avoid oil-based cleansers as they can damage the adhesive that holds the extensions in place.
C. Common mistakes to avoid
It is also important to avoid picking or rubbing the extensions, which can cause them to fall out prematurely. Be gentle with touching your lashes and avoid rubbing your eyes as well.
IV. Q&A with Expert Lash Artists
We’ve spoken with some of the best lash artists in the business to get their expert advice on best cleaning practices for lash extensions. Here’s what they had to say:
A. Lash artist interviews
“Be patient and gentle when cleaning your lash extensions, and always use specialized lash cleansing products for best results”, recommends Kelly, a top-rated lash artist in Los Angeles. “Avoid using oil-based products or anything that contains glycol as it can break down the adhesive”.
“Make sure to cleanse your lashes gently using just your fingertips so as not to tug or pull on them,” suggests Lily, lash artist based in San Francisco. “And, always use a clean spoolie brush after cleaning to keep the lashes in place.”
V. Video Tutorial
For a more detailed and visual demonstration, watch this video tutorial we’ve put together for you. It includes step-by-step instructions on how to clean your lash extensions properly.
VI. Product Review Article
There are a variety of lash extension cleaning products on the market. In this product review article, we’ll take a close look at some of the top cleansers available and evaluate their effectiveness, pros, and cons, and offer our recommendations for different needs and budgets.
VII. Conclusion
Remember, keeping your lash extensions clean is critical to their longevity and appearance. Incorporating a cleaning routine as part of your daily routine will help keep your lashes looking full and fabulous. Use the tips in this step-by-step guide, follow the dos and don’ts, and watch the video tutorial to get the best results possible.


