I. Introduction
Are you having trouble connecting your iPhone to your MacBook? You’re not alone. Many iPhone users face difficulties when trying to establish a connection. But fear not, as we have created a comprehensive guide that walks you through every step of the process. Whether you’re looking to sync data, share files or maximize productivity, we’ve got you covered. Let’s dive in!
II. A step-by-step guide on how to connect your iPhone to your MacBook with a lightning cable
Before you begin, ensure that you have a compatible cable and updated software. To connect your iPhone to your MacBook with a lightning cable, follow these simple steps:
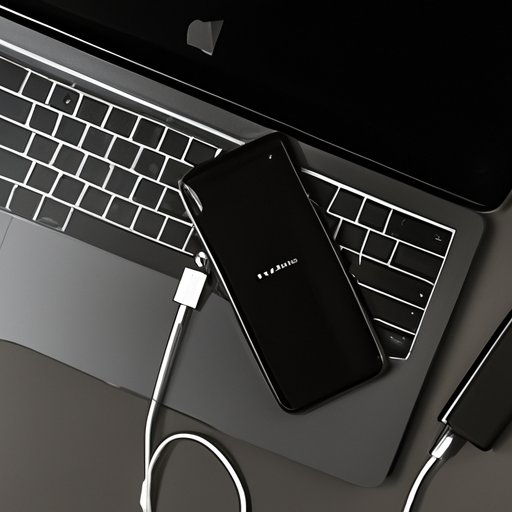
- Connect the lightning cable to your iPhone and MacBook.
- Authorize the connection by entering your device passcode or approving your MacBook.
- Open the Photos app on your MacBook to view and transfer your photos and videos.
- To access other data such as contacts and messages, utilize the Finder app.
If you face any issues during the process, try updating your software or verifying your cable is not damaged.
III. Syncing your iPhone to your MacBook: Exploring the options and best practices
Syncing data between your iPhone and MacBook can be a daunting task, but there are a few options and best practices to make the process easier:
The different options for syncing include:
- iCloud: using your Apple ID to store data in the cloud and synchronize it across your devices.
- iTunes: user-friendly software designed to store and sync data between your iPhone and MacBook.
- Finder: newer software replacing iTunes, provides similar functionality to store and sync data.
To avoid data loss or duplication while syncing your data, use the same Apple ID on both devices and ensure your settings are correct. It’s also essential to back up your data to avoid losing it.

IV. The ultimate guide to wirelessly connecting your iPhone to your MacBook
Wireless connectivity offers numerous benefits, such as reducing clutter and convenience. Here is a guide to wireless connecting your iPhone to your MacBook:
- Ensure that your iPhone and MacBook are connected to the same wireless network.
- Turn on the Personal Hotspot on your iPhone.
- On your MacBook, go to Network Preferences and connect to the new hotspot network.
- You’re now connected wirelessly and can initiate data sharing between the devices.
If this doesn’t work, ensure your devices are running updated software or try resetting the network settings.
V. Troubleshooting common connectivity issues between your iPhone and MacBook
Even with the best equipment and software, connectivity can still run into problems. Here are some common connectivity issues and tips on how to troubleshoot them:
Common connectivity issues include:
- Unresponsive devices or cables
- Outdated software
- Incorrect settings
To troubleshoot these issues, try restarting your devices, updating software, checking cable connection, and ensuring settings are correct.
VI. Unlocking the full potential of using your iPhone on MacBook: The ins and outs
Connecting your iPhone to your MacBook has numerous benefits, such as:
- Sharing files between devices.
- Backing up and syncing data and media.
- Maximizing productivity across devices.
To unlock the full potential of connectivity, ensure your settings are correct, and use software and features such as iCloud, Optimized Battery Charging, and Continuity Features to streamline your workflow.
VII. Mastering the connection between your iPhone and MacBook for seamless productivity
Some advanced tips and tricks for using your iPhone and MacBook together include:
- Utilizing Continuity Features to start working on one device and continue on another.
- Using iCloud or Finder to synchronize different types of data.
- Using Optimized Battery Charging to conserve battery life on both devices.
By mastering these skills, you can make your day-to-day computing tasks seamless and efficient.
VIII. How to share data and sync your iPhone with your MacBook in just a few clicks
Sharing data between your iPhone and MacBook should take only a few clicks away:
- Connect your iPhone to your MacBook via cable or wirelessly.
- Open the appropriate software or app (i.e., Photos or Finder).
- Select the data you want to transfer or sync.
- Click “Sync” or “Transfer” to initiate the process.
If you face issues during this process, ensure that your devices have an adequate battery charge and are synced with the correct account.
IX. Conclusion
Connecting your iPhone to your MacBook can be a daunting task, but it doesn’t have to be. By following the steps on this guide, you can maximize productivity, share data seamlessly and stay efficient while computing. Remember, it’s essential to keep your software updated and configure your settings correctly to avoid errors. Happy computing!
Call to action: Try out the tips and tricks covered in the article and let us know how it worked for you.


