Introduction
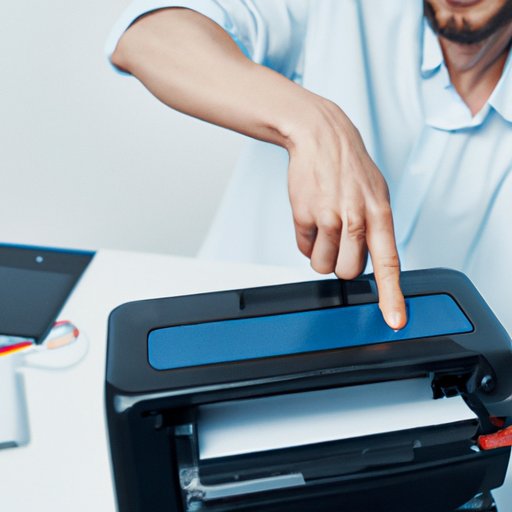
If you’ve just purchased a new printer or are setting up an existing one on a new computer, understanding how to connect the two is crucial for all your printing needs. In this guide, we’ll walk you through the process step-by-step, including troubleshooting tips and best practices for connecting your printer to a computer. Whether you’re a seasoned computer user or a beginner, by the end of this article, you’ll have the confidence to tackle any printer connection challenges.
Step-by-Step Guide
The process of connecting a printer to a computer is easy and straightforward if you follow the right steps. Here is a detailed guide:
- Turn on your printer and computer.
- Ensure that your printer is connected to a power source and that the USB cable or Ethernet cord is properly connected to the computer’s port.
- Once your printer is connected to the computer, the operating system should detect it and automatically install the driver.
- If your computer doesn’t install the driver automatically, check the printer manufacturer’s website for the correct driver, download and install it manually.
- Go to Printers and Scanners Settings on your computer, select “Add a Printer or Scanner,” and your printer should be listed as an option.
- Follow the instructions provided and finalize the process by testing your printer with a sample print.
Note: This process may vary slightly depending on your operating system and printer model.
It’s also essential to plug the printer into the correct port on the computer. Most printers connect via USB, while others connect using Ethernet or Wi-Fi. Consult your printer’s manual or manufacturer’s website to determine the best way to connect your specific printer model to your PC.
Troubleshooting Tips
Connecting a printer to a computer doesn’t always go as smoothly as we would like. Here are some troubleshooting tips to help you resolve common connection issues:
- Check the printer cable to ensure it’s connected correctly and verify that you’re using the right cable with the correct ports.
- Restart your printer and computer; sometimes this fixes the problem.
- If your printer is still not connecting, try uninstalling and reinstalling the driver.
- Check for any updates available for your printer driver.
- Verify that your printer is compatible with your operating system.
If these troubleshooting tips still don’t work, don’t hesitate to call your printer manufacturer’s customer support. They should be able to assist you further.
Connecting Wirelessly
Connecting your printer wirelessly, either through Wi-Fi or Bluetooth, offers the advantage of less clutter and ease of use. Here’s how to connect your printer wirelessly:
- Check your wireless router and ensure that it is turned on and broadcasting a signal.
- Connect your printer to your Wi-Fi network through the printer’s control panel.
- On your computer, navigate to Printers and Scanners Settings, select “Add a Printer or Scanner,” and click on your wireless printer’s name.
- Complete the printer installation process and test your printer with a sample print.
Connecting your printer through Bluetooth involves a similar process, but it varies slightly depending on the device. Check your printer’s manual for specific instructions on how to connect via Bluetooth.
Installing Printer Drivers
Printer drivers are essential software that allows the computer to communicate with the printer effectively. Here’s how to install printer drivers on your computer:
- Visit the printer manufacturer’s website and download the latest driver for your printer model.
- Make sure your computer is connected to the internet.
- Run the printer driver installation file and follow the instructions provided by the driver software.
- Reboot your computer once the installation is complete.
It’s important to install the latest printer driver version on your computer. These updated drivers provide better performance and fix any previously known bugs.
Different Types of Printers
Printers come in different types, wired and wireless, which can each be connected to the computer in different ways. Understanding each type’s advantages and disadvantages can help you make a more informed decision about which type of printer to choose. Here’s a brief overview:
- Wired Printers – These printers connect to your computer via USB or Ethernet. They tend to be faster and more reliable but may restrict printer location to the computer’s proximity.
- Wireless Printers – These printers can connect to your computer via Wi-Fi or Bluetooth without requiring a physical connection. They tend to offer more convenience and flexibility but may be pricier than their wired counterparts.
Consider the printer’s location, intended use, and budget when deciding which type of printer to choose.
Setting Up a Network Printer
Setting up a printer to be used by multiple computers on the same network requires additional set-up than other connection methods. Here’s how to set up a network printer:
- Connect the printer to your network via Ethernet.
- Install the printer driver software on all computers that will be shared on the network.
- On each computer, navigate to Printers and Scanners Settings, select “Add a Printer or Scanner,” and select the “Network” option.
- Choose your network printer and follow the instructions to install it on each computer.
Once set up, all computers on the network should be able to use the same printer. However, keep in mind that network printers require a stable network connection.
Conclusion
Connecting a printer to your computer may seem daunting, but with the right tools and guidance, it can be quick and straightforward. Remember to troubleshoot common issues, switch to wireless for more flexibility, use the correct printer drivers, choose between wired and wireless options, and even set up a network printer with ease. By following our guide, you can confidently connect your printer to your computer, save time, and improve productivity.
If you encounter any issues, don’t hesitate to refer back to this guide or call the printer manufacturer’s customer support for assistance.


