Introduction
Creating snowflakes out of paper can be a fun activity that allows some creativity and brings us one step closer to the magical winter season. This article will provide a comprehensive guide on how to cut a snowflake out of paper for all those who are interested. The target audience for this tutorial is all ages, including children and adults. The article will provide step-by-step guidelines, a video tutorial, helpful tips and tricks, seasonal inspirations, and creative variations.
Step-by-Step Tutorial
Before starting, one must gather a few necessary materials:
- A sheet of paper (preferably A4 size)
- A pencil
- Sharp scissors
Now follow the steps below to make a snowflake:
- Take the sheet of paper and fold it diagonally to form a triangle.
- Then fold the triangle in half again to form a smaller triangle. Be sure to create a sharp fold.
- Next, take one of the endpoints of the triangle (not the hypotenuse) and fold it towards the center. The resulting shape should be cone-like. Repeat the same process with the other endpoint of the triangle, then crease the fold well.
- Cut the cone-shaped part off with scissors, so you are left with a diamond-shaped paper.
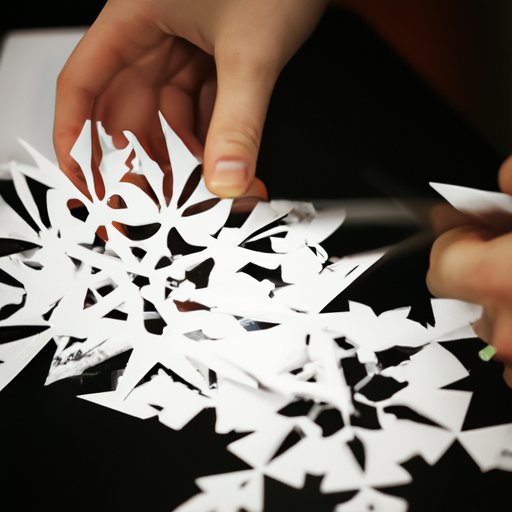
- Now draw a design on the diamond-shaped paper with a pencil, then cut carefully along the lines. It is important to avoid cutting through the folded center.
- Unfold the paper carefully, and there you have it- a beautiful snowflake!
Video Tutorial
A video tutorial can be very helpful when engaging in any craft. For this reason, it is highly recommended to watch the video below that demonstrates the snowflake cutting process:
You can also watch this video on popular video-sharing sites such as YouTube or Vimeo. You can also look up other videos for more inspiration.
Tips and Tricks
Here are some tips and tricks for creating sophisticated and beautiful snowflakes:
- Paper selection: Choosing the right type of paper is important when it comes to snowflake making. White or light-colored paper will work the best. Regular printer paper or tracing paper will do the trick. Thicker paper like cardstock will make it more durable, but you may struggle to cut through it.
- Cutting tools: Sharp, pointy scissors are an essential tool when making snowflakes. The sharper the scissors are, the more accurate the cuts will be. It is also recommended to use small, sharp scissors to allow for more accurate cuts.
- Design ideas: Drawing unique and intricate designs on the paper will make the snowflake stand out. You can also experiment with different shapes, lines, and cuts to create an original design.
- Practice makes perfect: Initially, the snowflakes may not turn out perfect. So, it is important to keep practicing and experimenting with different designs until you are comfortable with the folding and cutting techniques.
Seasonal Inspiration
Snowflakes can be a great way to decorate during the winter season. Here are some ideas on how to incorporate snowflakes into seasonal decoration:
- Snowflake garlands: String multiple snowflakes together to create a garland effect. Place them in front of the window or hang on the wall.
- Table settings: Place snowflakes on the dining table or at the center of the table for an elegant finish.
- Holiday cards: Use snowflakes as decorations on holiday cards.
- Outdoor decorations: Cut giant snowflakes out of white vinyl and attach them to trees or lamp posts in your front yard.
Creative Variations
Here are some ways to get creative with the traditional snowflake cutting technique:
- Layered snowflakes: Cut out several snowflakes in different sizes and layer them on top of each other with glue to create a 3D effect.
- Painted snowflakes: Paint the snowflakes with white paint, or use watercolors for different hues.
- Personalized snowflakes: Add small cutouts to the snowflakes to represent the family members’ initials or create letters of your own.
- Snowflake gifts: Create snowflake gift tags by decorating them using glitter or rhinestones.
Conclusion
Making snowflakes out of paper is a simple and fun activity that can be enjoyed by all ages. It is an excellent winter craft that allows one to engage their creativity and add some beautiful decor to the home. With the help of the above tutorial, tips, and ideas, you can create unique and intricate snowflakes.


