I. Introduction
If you’re tired of shelling out $30 or more every time you need a haircut, it’s time you learn how to cut men’s hair. Not only will you save money, but you’ll also have the satisfaction of knowing you did it yourself. In this article, we’ll take you through the process of cutting men’s hair step-by-step, including tips and tricks to help you achieve a professional-looking finish.
II. Write a Step-By-Step Guide
Before you start cutting, it’s important to have a plan. The last thing you want is to end up with a botched haircut. Here is our step-by-step guide for cutting men’s hair:
1. Prepping the Hair
You’ll need to start by washing the hair and towel-drying it. Wet hair is easier to cut and the weight of the water can help you see how the hair is falling naturally. Check the hair for any tangles or knots and comb them out. If the hair is prone to tangling, use a detangling spray to make it easier to comb.
2. Selecting the Proper Tools
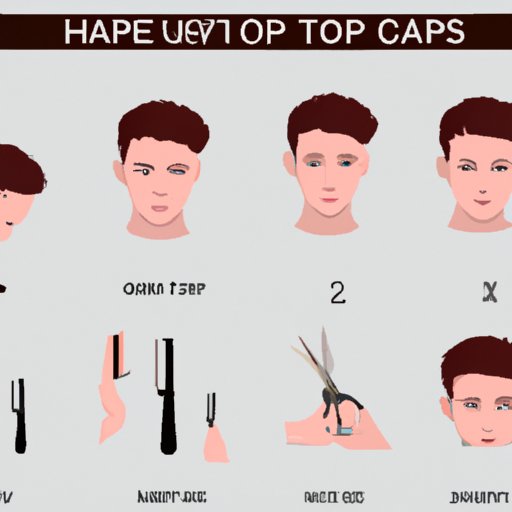
The most important tool in your arsenal is a good pair of clippers. You’ll also need a comb, a pair of scissors, and some hair clips to keep the sections of hair separated. For best results, use a clipper with multiple blade guards to vary the length of the hair you’re cutting.
3. Sectioning the Hair
Sectioning off the hair is crucial to getting an even cut. Start by parting the hair down the middle from the forehead to the nape of the neck. Then, create a horizontal parting from ear to ear. Secure the top section of the hair with a hair clip and work on the bottom section first.
4. Cutting the Hair
Start at the back of the head and work your way up. Hold the clippers with the blade facing away from the head and start at the nape of the neck. Use the longest blade guard first and move the clippers upwards against the direction of hair growth. Gradually work your way up to the desired length of hair. Remember to use different blade guards for different parts of the head, such as the top and sides. For the top section, you’ll need to switch to the scissors to create the desired shape and style.
5. Finishing Touches
Once you’re happy with the length and shape of the hair, it’s time to finish with the details. Use the clippers without a guard to clean up around the ears and neck. You can also use the scissors to blend the sections together and create a more natural look.
III. Create a Video Tutorial
A video tutorial is a great way to learn how to cut men’s hair. You can follow along step-by-step and see the techniques in action. Here are some tips for creating a video tutorial:
1. Benefits of Following a Video Tutorial
Video tutorials are great because you can pause and rewind as many times as needed to master the techniques. Watching someone perform the haircut can help you understand the process better than just reading a step-by-step guide alone.
2. Useful Tips for Creating a Video Tutorial
To create a video tutorial, you’ll need a good camera, microphone, and editing software. Find a well-lit area with a plain background so the viewers can easily see what you’re doing. Make sure you have all the necessary tools and equipment in the frame. Speak clearly and explain each step as you go along.
3. Step-by-Step Instructions for Creating a Video Tutorial
Start by introducing yourself and the tutorial. Explain what you’ll be doing and why. Make sure you’re in frame and have all the necessary tools. Begin by prepping the hair and then go through each step in the process. Speak clearly and explain what you’re doing and why. Make sure to show different angles of the haircut so the viewers can see everything clearly. Once you’ve finished, wrap up the tutorial and encourage viewers to try it themselves.
IV. Provide Product Recommendations
Having the right tools is essential to getting a good haircut. Here are some recommendations for the different types of tools required for cutting men’s hair:
1. Different Types of Tools Required for Cutting Men’s Hair
You’ll need a good pair of clippers with multiple blade guards, a pair of scissors, a comb, hair clips, a detangling spray, and a cape to protect the person getting the haircut.
2. Specific Product Recommendations for Clippers and Scissors
Some of the top-rated clippers include the Wahl Elite Pro High-Performance Haircut Kit and the Oster Classic 76 Universal Motor Clipper. For scissors, the JW Professional Shears and the Kamisori Black Diamond Series are highly recommended.
3. How to Choose the Right Tool for Different Hair Types and Styles
Thick, coarse hair may require a more powerful clipper and sharp scissors. Fine hair may be better suited for a lighter clipper. Choosing the right length of the blade guard and understanding the shape and style of the haircut are also important factors to consider.
V. Include Information About Different Hair Types
Understanding different hair types can help you get a better understanding of how to cut men’s hair. Here’s what you need to know:
1. Hair Texture and Thickness
Texture refers to how the hair feels, while thickness refers to how much hair there is. Fine hair is more delicate and may require a lighter touch, while thick hair may require a stronger clipper or scissors.
2. Hair Growth Patterns
Understanding the direction that hair grows is important to get an even cut. Hair growth patterns can vary from person to person, so it’s important to assess how the hair is growing before you start cutting.
3. Tips for Cutting Different Hair Types
For curly hair, it’s best to cut it dry so you can see the natural shape of the curls. For straight hair, you may want to cut it when it’s wet. Thick hair may require thinning shears to create a more natural look.
VI. Suggest Different Hairstyles
There are many popular men’s hairstyles to choose from. Here are some of our top picks:
1. Popular Men’s Hairstyles
The buzz cut, crew cut, and undercut are all classic men’s hairstyles. For a more modern look, you can try a quiff, pompadour, or slicked-back style.
2. Step-by-Step Instructions for Cutting Different Hairstyles
Each hairstyle has its own unique characteristics, but the basic steps for cutting them are similar. Once you’ve prepped the hair and selected the proper tools, you’ll need to section the hair and cut it to the desired length. Use the scissors to create the shape and style, and then finish with the clippers and scissors to clean up any stray hairs.
VII. Include Tips for a Professional Finish
Blending and finishing the haircut are crucial to getting a professional-looking result. Here are some tips to help you achieve a polished look:
1. Blending Techniques
Use the scissors to blend the sections of hair together, creating a more natural look. You can also use thinning shears to create texture.
2. Trimming Neck Hairs
Use the clippers without a guard to clean up any stray hairs on the neck and around the ears. Be careful not to nick the skin.
3. How to Achieve a Polished Look
Finish by cleaning up any stray hairs and making sure the haircut is even. Use a mirror and different angles to check your work.
VIII. Offer Advice for Mistakes
Mistakes happen, but they don’t have to ruin the haircut. Here’s what to do if you make a mistake:
1. Common Mistakes While Cutting Hair
Common mistakes include cutting too much hair, creating uneven sections, and accidentally nicking the skin.
2. Tips for Fixing Mistakes
If you’ve cut too much hair, you may need to start over. Uneven sections can be blended with the scissors or clippers. If you’ve nicked the skin, clean the area with alcohol and apply a small amount of petroleum jelly to help it heal.
IX. Conclusion
Learning how to cut men’s hair is a valuable skill that can save you money and give you a sense of accomplishment. By following our step-by-step guide, creating a video tutorial, and using the right tools for different hair types, you’ll be well on your way to becoming a pro. Don’t be afraid to experiment with different styles and techniques.


