I. Introduction
When it comes to flooring options, vinyl flooring has become increasingly popular among homeowners in recent years due to its durability, affordability and ease of maintenance. One important aspect of installation is cutting the vinyl flooring to fit the room. Cutting vinyl flooring can seem like a daunting task, but with the right tools and techniques, it can be a simple and straightforward process. In this guide, we will provide a step-by-step process to help you cut vinyl flooring accurately and efficiently.
II. Step-by-Step Guide
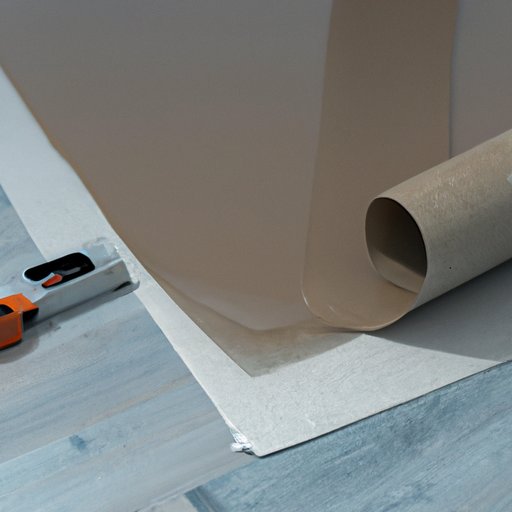
Before you start cutting, it is important to measure the room to determine how much vinyl flooring you will need to purchase. Once you have your vinyl flooring materials, begin preparing the vinyl flooring for cutting by placing it on a flat surface, ensuring it is clean and free of debris, and measuring and marking the cuts using a straight edge or ruler. Decide how much of the vinyl flooring needs to be cut and then score it with a utility knife or saw. Fold the excess vinyl upward and make a cut on the underside to separate it from the rest of the flooring. Repeat this step until you have cut all the pieces needed to fit the room.
When cutting, it is important to use a sharp blade or saw to ensure clean cuts. To avoid fatigue, cut in small sections and take breaks periodically. Remember to also be patient, as cutting vinyl flooring can be time-consuming.
III. Tips and Tricks
To cut vinyl flooring efficiently, use a sharp utility knife or saw, take breaks if necessary, and be patient to avoid any mistakes. In addition, if possible, try to use a cutting tool specifically designed for vinyl flooring to achieve the best results.
Personal insights and cutting shortcuts can also be incredibly helpful. For example, if you are using a utility knife, consider making multiple passes to avoid tearing the vinyl.
IV. Safety Precautions
Cutting vinyl flooring can be a dangerous task if proper safety precautions are not taken. Always wear eye and ear protection, gloves, and a dust mask if sawing. After completing the job, ensure proper storage of all equipment.
V. Tools You Need
When cutting vinyl flooring, it is important to have the right tools. Some essential tools include a utility knife, saw, and ruler. While using a utility knife is common, a specialized cutting tool designed specifically for vinyl can be a better option, offering cleaner and more precise cuts.
Another important consideration is choosing the right blade for the job. A sharp blade will offer cleaner cuts and prevent the vinyl from tearing.
VI. Mistakes to Avoid
Common mistakes can be made when cutting vinyl flooring, such as using the wrong tools or making inaccurate measurements, leading to ill-fitting pieces.
Instead of rushing, take your time and ensure that each step of the process is done correctly. Also, check and double-check measurements and make sure that you are using the right tool for the job.
VII. How to Cut Vinyl Around Obstacles
Cutting vinyl around non-rectangular shapes, such as pipes and corners, can be challenging. To create accurate shapes, create a template by tracing the obstacles on paper, then transfer it onto the vinyl flooring. For curves and circles, use a pair of tin snips or a jigsaw to create the desired shape.
VIII. Conclusion
Cutting vinyl flooring accurately and efficiently is an important part of flooring installation that can make or break the final result. By following these steps, tips, and safety precautions, you can create beautiful and seamless vinyl flooring in your home. Remember to take your time, measure correctly, and use the right tools for the job.


