I. Introduction
Butterflies are beautiful creatures that often find their way into art and design. However, drawing a butterfly may seem intimidating for those who are just starting out. In this article, we will guide you through step-by-step instructions on how to draw a butterfly easily and provide tips and tricks to enhance your drawing skills.
This article is intended for beginners who want to learn how to draw a butterfly. You do not need to have any prior drawing experience to start.
II. Step-by-Step Guide to Drawing a Butterfly in Just 5 Easy Steps
Follow these five simple steps to draw a butterfly:
Step 1: Draw the butterfly’s body
Start by drawing a small oval shape for the butterfly’s body. This will serve as the foundation for the rest of the drawing.
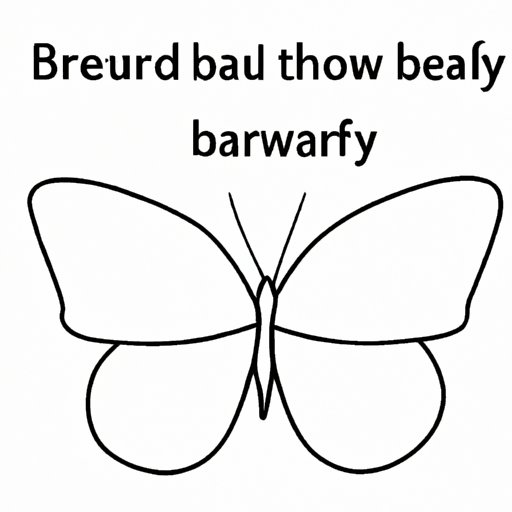
Step 2: Draw the butterfly’s wings
Draw two large wings on either side of the butterfly’s body using curved lines. These wings should be roughly the same size and shape.
Step 3: Add details to the wings
Use small, curved lines to create the unique patterns on the butterfly’s wings. Butterflies come in a variety of colors and patterns, so feel free to get creative with your design.
Step 4: Draw the butterfly’s antennae
Draw two curved lines on top of the butterfly’s body to create its antennae. At the top of each line, draw a small circle to represent the antennae’s tips.
Step 5: Add final touches and color to the drawing
Use your pencil or colored pencils to add shading and color to the butterfly’s wings and body. You can choose the colors of your preference to make the drawing unique.
Now, your butterfly is ready!
III. Drawing a Butterfly: Simplified Tips and Tricks for Beginners
Here are some general tips and tricks that will help you draw a butterfly:
Choosing the right materials
If you want to make a beautiful butterfly drawing, it’s important to choose the right materials. Colored pencils, markers, or even watercolors can be used to give your drawing a delicate and beautiful look. Choose the materials that you feel comfortable working with.
Understanding the basic shapes and proportions of a butterfly
Butterflies have a basic, symmetrical body structure that can be broken down into simple shapes. Take some time to observe butterfly images and break down the general shapes and proportions of the butterfly. This will make it easier to draw and capture its natural beauty.
Focusing on symmetry
Butterflies are symmetrical creatures, so it’s crucial to pay attention to symmetry when drawing them. Take the time to make sure that both sides of the butterfly’s wings are proportional and equal.
IV. Learn to Draw a Butterfly Quickly and Easily with These Simple Techniques
Here are some techniques that can help you draw a butterfly quickly and easily:
Tracing
You can use tracing paper to quickly and easily trace a butterfly from an image or drawing. This can help you get the proportions and details right before you start drawing freehand.
Using stencils
Butterfly stencils can be used to create a butterfly that is perfect in size and shape. This can be a great option for those who want a professional-looking butterfly drawing.
Using grid paper
Grid paper can help you keep your butterfly drawing proportional and symmetrical. You can use the gridlines to guide your drawing and make sure that both sides are equal.
V. Creating a Beautiful Butterfly in Minutes: Quick and Easy Drawing Tutorial
Follow these easy steps to create a butterfly drawing in just a few minutes:
Step 1: Draw an oval
Using a pencil, draw an oval shape in the center of your paper. This will serve as the foundation for the rest of the drawing.
Step 2: Draw the butterfly’s wings
Add two large wings on either side of the oval using curved lines.
Step 3: Add details to the wings
Use small, curved lines to create the patterns on the butterfly’s wings.
Step 4: Draw the butterfly’s antennae
Draw two curved lines on top of the oval to create the butterfly’s antennae. At the top of each line, draw a small circle to represent the antennae’s tips.
Step 5: Add final touches and color to the drawing
Use your pencil or colored pencils to add shading and color to the butterfly’s wings and body.
VI. No Experience Required: Effortless Ways to Draw a Butterfly with Stunning Results
Here are some ways to create stunning butterfly drawings even if you have little to no experience:
Using reference images
Take some time to observe real-life butterflies, or look up images of butterflies online to use as reference when drawing.
Practicing basic shapes and lines
Practice drawing basic shapes and lines in preparation for drawing a butterfly. This will help you get comfortable with the pencil and build your hand-eye coordination.
Using shading techniques
Shading can help add depth and dimension to your butterfly drawing. Try using a combination of light and dark shading to create a more realistic effect.
VII. Conclusion
Drawing a butterfly may seem challenging at first, but with some practice and patience, you can create beautiful and detailed butterfly drawings. Remember to choose the right materials, pay attention to symmetry, and use the techniques that work best for you. We hope this guide has helped you learn how to draw a butterfly easily!
If you’re interested in learning more about drawing and art, be sure to check out our other resources.


