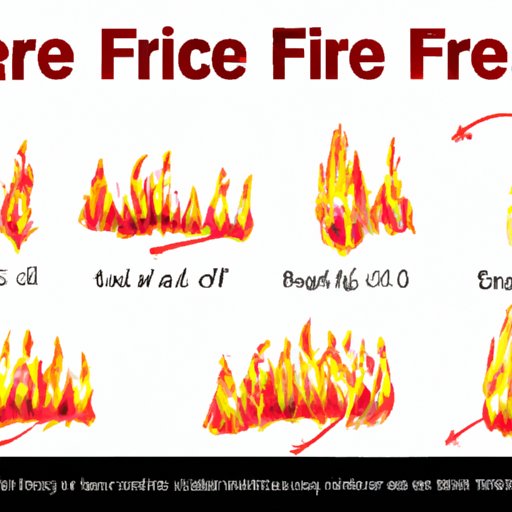
How to Draw a Fire: A Step-by-Step Guide for Beginners
As a popular subject in art, fire is one of the most difficult to draw. However, with the help of this step-by-step guide, beginners can learn how to draw a realistic fire with ease. This guide will cover a variety of techniques and tips you can use to create a truly impressive illustration.
Break Down the Fire in Shapes
To draw a fire, it is necessary to break it down into a series of shapes. The first step in this process is to examine the fire itself and study its basic shape. At its core, a fire is made of several different oval and cylindrical shapes. These shapes can be arranged in a variety of ways to create the impression of flames.
To break down a fire into shapes, start with the outline of the flames and build from there. Draw the outline of the flames using a soft pencil and fill it in with a light color. Use thin, light lines to create the basic shapes for the flames, then gradually add more detail.
The Importance of Layering
Another important aspect of creating a realistic-looking fire is layering. Layering is essential because it allows you to build up the intensity and depth of your flames over time. As you add more layers, you will be able to create a more dynamic depiction of fire that looks like it is truly alive and moving.
To layer colors and shapes, start by outlining your flames and sketching in the basic shapes. Begin to color in the flames starting with a light color at the center, and use a darker gradient as you move to the edges of the flames. To make your illustration look more realistic, add the orange and yellow tones to the areas of your drawing where the fire is hotter and brighter, and then slowly transition to the cooler and darker tones.
Demonstrating Contrast
One essential aspect of creating a realistic-looking fire is to demonstrate contrast. This can be achieved by creating white-hot areas of your flames as well emphasizing deep shadows. This contrast will really make your fire drawing stand out and give it the illusion of being alive.
To create striking contrast in your illustration, start by outlining your flames and then sketching in the basic shapes. Next, add in the colors for the flames, starting with a light color at the center and using a darker gradient as you move outward to the edges of the flames. Finally, use a lighter pencil or white charcoal to create the white-hot areas, and add in some darkened areas around the flame base to create the shadows.
Importance of Reference Photos
If you want to create a realistic fire illustration, it is essential to use a reference photo. Even if you’re confident in your skills, using reference photos will make your final product look more professional. Reference photos provide critical information about the shapes, colors, and movement that make up a natural flame.
To find and use reference images, start by searching on stock photography sites or using search engines like Google. Choose an image that will serve as a good reference point for your illustration. Next, use the reference photo to guide your drawing by following the shapes and lines.
The Use of Colored Pencils
Colored pencils are an essential tool in depicting a fiery effect. The pencils’ wax-based texture is well-suited to creating the depth and saturation necessary for a realistic portrayal. They are also flexible enough to be layered, blended, and used in a variety of ways to create the desired effect.
To create a realistic-looking flame using colored pencils, start with a light shade of yellow and gradually build up to darker oranges and reds. Apply the pencil in small, circular motions, and don’t be afraid to blend your colors to create a gradient effect.
Explaining Color Theory
One of the critical elements of creating an impactful fire illustration is color theory. Fire is not just one color, so getting the colors right is essential to create a believable fiery effect. Using complementary colors to enhance your flame drawings is necessary to make them more impactful.
To incorporate different color schemes into your illustration, start by familiarizing yourself with the basics of color theory. Then choose contrasting colors from the color wheel to highlight your flames. Use a combination of warm and cool colors to capture the natural beauty and complexity of fire.
Practice Through Sketches
Drawing fire many times might help you improve your skill, this will help you to experiment with different shading techniques and create a realistic fiery effect. Practice,patience and persistence are necessary to master the art of illustrating fire.
To practice and hone your skills, start by creating simple sketches with basic shapes of flames. Study the colors and shapes of natural flame, and use what you have learned to create your drawings. Repeat this process until you feel more comfortable and then use your newfound skills to create more elaborate and detailed illustrations.
Conclusion
Drawing a fire is a challenge, but with the right approach and the tips provided in this article, it can be done. Remember that practice and experimentation are key components of mastering the art of fire illustration. With patience and persistence, anyone can learn how to create a realistic flame drawing.


