I. Introduction
Are you interested in drawing musical instruments? Drawing a guitar can be an excellent way to express your creativity and pay tribute to this instrumental art form. The guitar’s shape and structure can be both challenging and rewarding to capture on paper. This article is a complete step-by-step guide to drawing a guitar. You can express your musical passion through art by constructing a guitar drawing!
A guitar can be an object of inspiration and beauty in itself. However, an artist may want to draw a guitar for a range of reasons. Maybe you are a music lover and want to capture the beauty of the guitar through a creative illustration? Possibly you want to enhance your artistic skills by learning through this specific art form? There are countless reasons why someone may want to draw a guitar. But no matter why you are interested in drawing a guitar, this guide will inspire you to create a beautiful artwork!
II. Understanding the Guitar Anatomy
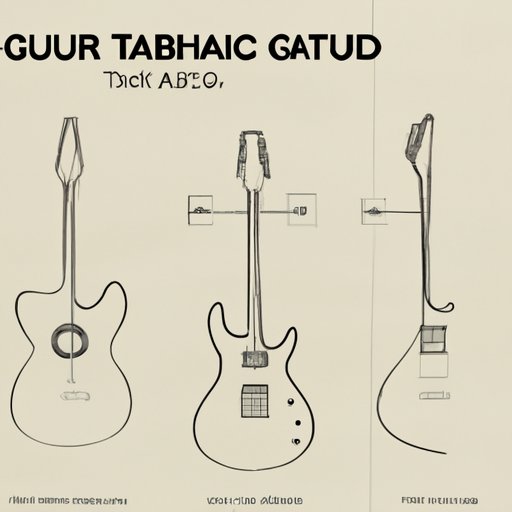
Before we begin the actual drawing process, it’s essential to understand the basic anatomy of a guitar. Learning about its anatomy gives you clarity about shapes, sizes, curves, and proportions. Hence, you’ll have more control in making a good art piece on your own. The different parts of the guitar include the fretboard, the headstock, the nut, the tuning pegs, and more. It’s important to understand how these parts fit together and to understand the overall shape and structure of the guitar.
III. Step-by-Step Guide to Drawing a Guitar
Here are the materials that you’ll need when you’re about to create your guitar drawing:
- Sketchpad
- Pencil
- Ruler
- Eraser
- Marker pen(optional)
After collecting the materials, it’s time to start with the drawing process:
- The first step is to draw the guitar’s shape. The guitar’s body features a unique, curvy hourglass-like structure. Start by drawing the primary shape using a pencil, including the body’s centerline. The centerline helps ensure that the guitar’s symmetry is accurate.
- Using the centerline as a guide, draw the guitar’s pick guard, bridge, and soundhole>li>
- To draw the guitar’s headstock, draw the distinctive shape and add tuning pegs on each side. The headstock’s base typically connects to the top of the fretboard
- Draw the fretboard using a set of straight lines on top of the guitar’s body. Make sure you include a nut near the top of the fretboard and a set of frets from top to bottom.
- Use a ruler to add the guitar’s strings from the tuning pegs atop the headstock. Pay close attention to their placement and thickness.
- Finally, use an eraser to remove any unwanted sketch marks and to clean up the drawing.
IV. Basic Shapes Tutorial
If you’re new to drawing, then you should initially try drawing simple shapes and then move on to more complex structures like a guitar. Begin with drawing simple shapes like circles, triangles, rectangles to create your guitar drawing. For example, begin with drawing the guitar’s body shape using the hourglass figure. Using this method, draw the pickguard, bridge, and soundhole on the body. Use smaller shapes to handle details like tuning pegs, shape, etc.
Once you’re familiar with the basic shapes, you can start adding details to the guitar’s body, like strings or frets. Start with simple shapes and refine them as per the original guitar model. Add texture using a marker pen to enhance the guitar’s appearance.
V. Tips and Tricks
When you’re drawing a guitar, keep the following tips and tricks in mind to make your artwork more accurate or unique:
- Always try to understand the original guitar model and draw it accordingly.
- Use a reference or picture of the guitar you’re drawing to understand the original dimensions, details, and shapes.
- Consider using different types of pencils, such as 2H, HB, and 4B to create different types of depth and shading.
- Use an eraser to smoothen any rough edges and to ensure accuracy during the drawing process.
- Pay good attention to the parallelism, especially while drawing straight lines and frets.
There are also some common mistakes to avoid when drawing a guitar, such as:
- Avoid using different proportions than the original guitar model. Maintain the guitar’s size and shape.
- Avoid making the guitar look too flat. Adding shadows or texture is significant.
- Do not sketch too boldly using an HB or 2B pencil, initially. Start barely outlining, and then build up darkness gradually.
VI. Practice Exercises
Here are some practice exercises that you can try to improve your guitar drawing skills:
- Start by drawing the guitar’s body repeatedly and then start adding each part separately.
- Choose different types of guitars with varying sizes and shapes to experiment with your artwork.
- Draw a guitar with a different, non-traditional shape or style to get creative.
- Try to draw the guitar from a different angle, like from above or below.
VII. Conclusion
In conclusion, drawing a guitar is a challenging yet rewarding experience for every artist. Learning the basics of guitar anatomy, breaking down the steps to create a guitar drawing, and using tips and tricks to enhance your artwork are essential to ensure that the art piece is captivating and unique. Constantly practicing using the exercises and tips mentioned in the article, along with patience, will make you a better guitar drawing artist.
Remember, this guide is a way to start your guitar-drawing journey. You can create different variations on each stage, build your style, and experiment with different materials and methods.


