I. Introduction
If you’re looking to draw a ladybug, then you’re in the right place. Whether you’re a beginner or an expert artist, this article will provide easy-to-follow steps to make a perfect ladybug drawing. By following the step-by-step tutorial and the useful tips we’ll share, you’ll be on your way to creating beautiful ladybug art in no time.
II. Step-by-step tutorial
Start by drawing a small circle for the ladybug’s head and an oval shape underneath it to make the body. Then, add the ladybug’s antennae by drawing two lines on top of the head, and a small semicircle on each end. For the spots, draw small and large circles in various sizes on the ladybug’s body, and lastly, draw the legs and curves to connect all parts of the body. By following these easy steps, you will create a beautiful ladybug.
III. Video tutorial
The video tutorial will walk you through the whole process of creating a ladybug from start to finish. Engage with step-by-step instructions and illustrations that will help you understand and master the technique. The significance of videos is helpful since you can watch, pause, and replay at your own pace. This will give you a clearer view of what to do since you can see the action taking place.
IV. Tools and materials
To create a ladybug drawing, you’ll need pencils, paper, erasers, and coloring tools like markers or colored pencils. Use high-quality materials that would help you come up with a perfect piece. Also, choose the best paper for your preferred medium – watercolor paper would be appropriate for using a watercolor medium, while sketch paper would work for pencils or pens.
V. Adding texture
You can use different mediums to add texture and details to your ladybug drawing. Expansive mediums like pastels, acrylic paints, or watercolors create an incredible array of effects that could bring life to your drawing. By varying the colors used, you can make the ladybug look realistic or stylized, depending on your preference
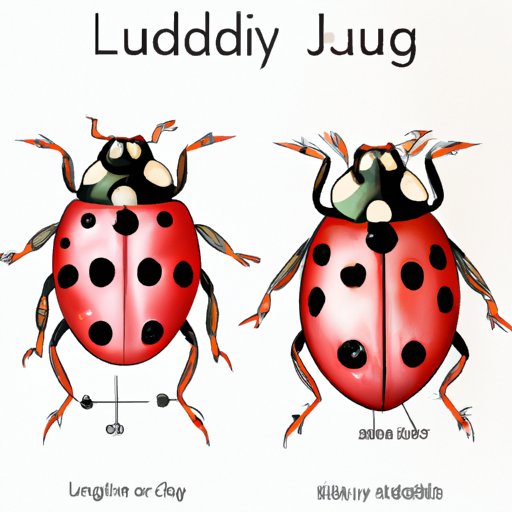
VI. Ladybug anatomy
Proportions and balance are vital when it comes to drawing a ladybug anatomically in a realistic manner. The body parts to be drawn include the head, antennae, body, legs, eyes, and mouth. Proper proportion is essential to the correct positioning and shaping of the ladybug. Break down each body part into smaller shapes and scale them up to the ladybug’s main body.
VII. Common mistakes and guidance
One common mistake that people make is drawing Ladybugs with an irregular proportion and placement of antennae, legs, and spots. Wrong positioning of the ladybug’s legs and antennae can make a ladybug drawing awkward and out of proportion. Tips for avoiding this mistake include observing ladybugs’ pictures to familiarize yourself with their anatomy and using references such as a template or reference picture.
VIII. Ladybug art project
After finishing a ladybug drawing, you can take your artwork to the next level by making unique cards out of it or making it a part of a mixed media illustration. Mix and match the artwork with different scenes, patterns, or landscapes, and create a visual narrative.
IX. Conclusion
In conclusion, drawing a ladybug can be fun and relaxing if you follow the step-by-step process that we’ve highlighted. To make the most of your creative side, use your art piece as part of different artistic expressions by exploring its various possibilities. Encourage others to share their ladybug drawings using different mediums and techniques, and you never know where your imagination will take you.


