Introduction
Do you want to learn how to draw mountains that look like they belong in a landscape painting? This article is for you. In this step-by-step tutorial, we’ll guide you through the process of drawing a mountain. Whether you’re an experienced artist or a beginner, we’ve got you covered. Let’s get started!
Step-by-Step Tutorial
The first step to drawing a mountain is to draw its base. Use a pencil to draw a horizontal line for the ground. Next, draw a triangle shape for the mountain. The bottom of the triangle should rest on the horizontal line. Make sure that the top of the triangle is sharp.
Now it’s time to add depth to the mountain. Start by drawing a line down the middle of the triangle, dividing it into two parts. Then, draw horizontal lines across the mountain, starting at the top and ending at the bottom. These lines should be closer together at the top and further apart towards the bottom of the mountain.
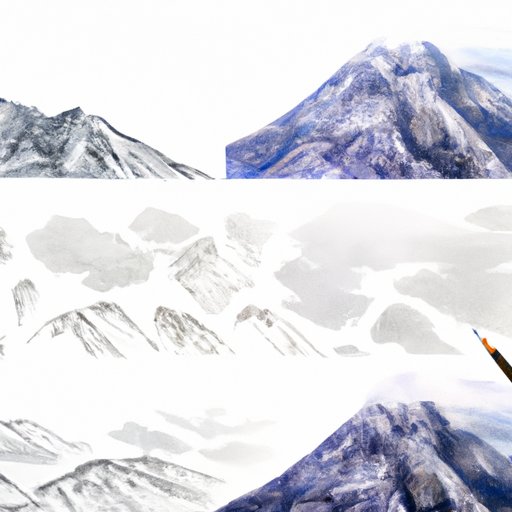
Once you have the basic shape of the mountain, it’s time to start drawing the details. Draw jagged lines all along the edges of the mountain to create the rocky texture. Use shading to create depth and make the mountain look more realistic. Don’t go too heavy with the shading; it’s easier to add more than to erase too much.
Finally, add some trees or other vegetation at the base of the mountain. This will help make your mountain look like it’s part of a bigger landscape.
Video Tutorial
Here’s a video tutorial to help you see the process in action:
Landscape Elements
To make your mountain look like it’s part of a bigger landscape, you need to add other elements to the drawing. Draw some rocks or boulders around the base of the mountain. This will make it look like the mountain is more rugged and natural. Add some trees or other vegetation to the drawing. This will help balance out the size of the mountain and make it look like it fits into a larger landscape. Finally, draw some clouds in the sky above the mountain. This will make your drawing look more complete.
Informative Article
To create a realistic-looking mountain, you need to understand some fundamental drawing techniques. Lighting is key to creating a convincing mountain. Make sure to keep the lighting consistent across the entire drawing, and use shading to create depth. Perspective is also important. Make sure to keep the lines of the mountain converging towards a single point on the horizon.
Shading is also important. Use lighter shading at the top of the mountain, and gradually get darker towards the bottom. This will create the illusion of depth and make the mountain look more realistic.
Finally, don’t forget about texture. Mountains are full of jagged edges and rough surfaces. Make sure to add texture to your drawing to make it look more natural.
Inspirational Approach
If you want to draw mountains in a more creative way, try experimenting with alternative materials. Use watercolors or pastels to create a more unique look. You can also play with color to create a more interesting mountain scene. For example, draw a mountain at sunset and use warm colors like red, orange, and yellow to create a dramatic effect.
Don’t be afraid to take risks with your drawings. Drawing is all about expressing yourself, so feel free to put your own spin on things.
Conclusion
Drawing a mountain is a fun and challenging task, but it’s also a great way to improve your drawing skills. By following this step-by-step tutorial and using the techniques and tips provided, you can create a realistic-looking mountain that will impress your friends and family.


