Introduction
Drawing a parrot may seem like a difficult task, but with the right approach and techniques, anyone can create a beautiful and realistic depiction of this colorful bird. The key is to take a step-by-step approach and follow a comprehensive guide that breaks down each aspect of the bird’s anatomy and features. This article aims to provide a complete guide on how to draw a parrot, with tips, techniques, and tutorials that anyone can follow.
Step-by-Step Guide
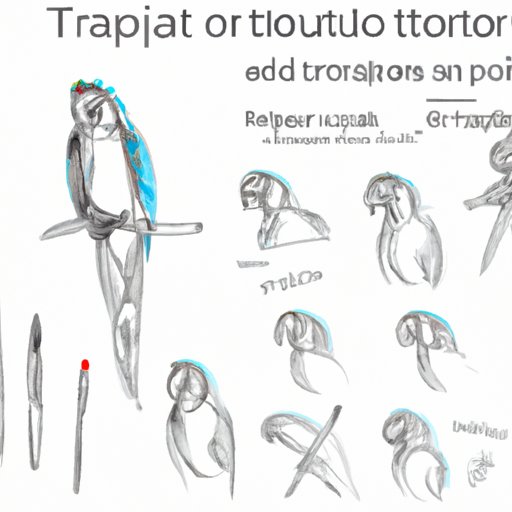
To draw a parrot, it’s important to start with basic shapes and then gradually build up details and texture. Here are some essential steps to draw a parrot:
1. Draw a circle for the head and a larger oval for the body.
2. Draw a curved line for the neck and attach it to the body.
3. Sketch out the wings with triangular shapes and oval shapes.
4. Draw the tail with long and pointed feathers that taper off.
5. Add a curved line for the beak and a small circle for the eye.
6. Fill in the details of the beak, eye, and feathers, adding texture to the drawing.
7. Shade the drawing with pencil strokes and blend the colors for a realistic effect.
Video Tutorial
A video tutorial is an excellent complement to the step-by-step guide. Watching someone draw a parrot and following along can be incredibly helpful for anyone who is just starting. The video tutorial provides an interactive experience and allows viewers to pause, rewind, and play the video as many times as they need. Here are some tips for using the video tutorial:
– Watch the tutorial in its entirety before starting.
– Have all the necessary tools and materials ready.
– Follow along with the video at a comfortable pace.
– Pause the video and rewind when necessary.
Drawing Tips
Drawing a parrot requires attention to detail and an understanding of the bird’s unique features. Here are some specific tips for drawing a parrot:
– Use curved and pointed pencil strokes to create the shape of the feathers.
– Shade the feathers with darker colors at the edges and a lighter color towards the center.
– Add a shadow under the bird’s body for depth and dimension.
– Pay attention to the size and shape of the beak, which is one of the parrot’s defining features.
– Draw the eye with a highlight for a more realistic look.
Tools and Materials
To draw a parrot, it’s important to have the right tools and materials. Here is a comprehensive list of everything one might need to create a beautiful drawing of a parrot:
– Drawing pencils in various shades
– Erasers (plastic or kneaded)
– Paper or sketchbook
– Pencil sharpener
– Drawing board or table
– Blending stumps or tortillons
– Colored pencils or markers
– Paintbrushes and paint (optional)
Common Mistakes
When it comes to drawing a parrot, there are some common mistakes that many beginners make. Here are a few tips to avoid these mistakes:
– Pay attention to the beak’s proportion with the rest of the bird’s body.
– Don’t overdo the feathers, scales or lines on the bird’s body.
– Keep the colors toned down and realistic as much as possible.
– Don’t be afraid to experiment with different styles and techniques.
Inspirational Drawings
Looking at other artists’ drawings of parrots can be a great source of inspiration and ideas. Here are some outstanding examples:
– Drawing by John Muir Laws
– Drawing by Matthew Self
– Drawing by Jane Micklethwaite
Conclusion
Drawing a parrot requires patience, practice, and attention to detail. However, with the right tools, instructions, and techniques, anyone can create beautiful and realistic depictions of this magnificent bird. By following this step-by-step guide, viewers can learn how to draw a parrot from scratch, improve their skills, and even create unique and outstanding drawings of parrots.


