Introduction
Drawing a school might seem daunting, particularly if you are a beginner. However, with the right guidance and support, anyone can learn how to draw a convincing and detailed school. In this article, we’ll provide you with a step-by-step guide on how to draw a school and tips for incorporating color and using different drawing techniques. Whether you are an adult looking to nurture your creative side or a youngster aiming to develop your artistic skills, this article will help you to elevate your drawing abilities.
Step-by-Step Guide
Before you begin, gather drawing materials that will be needed for the drawing process. This includes a pencil, eraser, paper, and ruler. Creating boxes to represent the walls, doors, and windows is the best way to approach a school drawing. Start by drawing a vertical line that represents one side of the school building.
Next, add a horizontal line to represent the roof of the school. Draw a straight line connecting that horizontal line to the bottom of the vertical line, creating a rectangular shape. Continue this process, adding additional rectangular shapes for extra floors, wings, and outbuildings.
Importance of Basic Shapes
Basic shapes are the building blocks for any type of drawing, and schools are no exception. Using basic shapes simplifies the process, makes it easier to correct mistakes, and allows you to focus on the overall structure of the school. Some of the most commonly used basic shapes in school drawings include squares, triangles, and circles.
As you might expect, the overall structure of a school is relatively complex, and starting with basic geometric shapes can prevent the drawing process from becoming overwhelming. Drawing the basic shape of the school as square and rectangles can help you ensure that the proportions are accurate, and you have laid the foundation for more complex drawing detail.
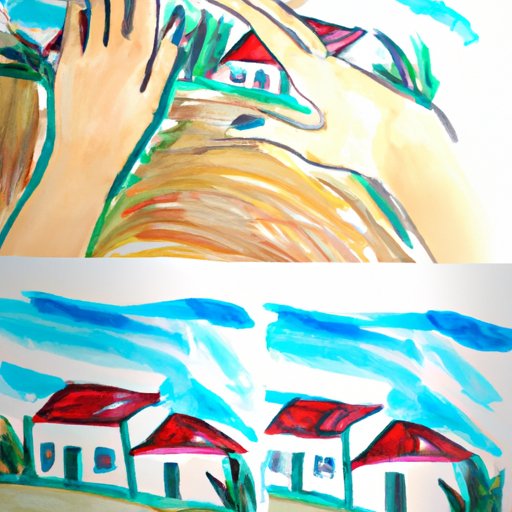
Incorporating Color
Using color in your drawing of the school can make the drawing more interesting to view. The colors you choose and how you use them depend on the overall look and feel you want to convey in your drawing. Choosing colors that match or complement each other well is essential for a successful school drawing.
When it comes down to choosing the best color combination for your school, you have to keep in mind the environmental setting of the school. If your school is in an urban area, the color palette will be different from that in a rural area or even the playful color palette that can be used for a primary school.
Even with the best choice of colors, if the coloring technique is not well-executed, the finished product won’t look as impressive. Coloring techniques such as layering, blending, and shading can help to add depth and aid in creating a more realistic-looking school in the eyes of the viewer.
Using References
One approach to improve the overall quality of your school drawing is to use references. Some of the best reference materials to use when drawing schools include photos, sketches, and real-life observation. You can gather such materials from the internet, magazines, school brochures, or even visiting a few schools nearby.
Using references enhances the drawing by adding details, inspiration and are useful for creating a more comprehensive image of the school. Doing so, it will be easier for you to understand the different areas of the school, and you can integrate them into your artwork. Applying the knowledge gained from various references to your artwork strengthens the final output.
Explaining Perspective
In drawing, perspective is critical to producing realistic drawings. The concept of the vanishing point plays an essential role in achieving perspective because it determines how all the elements in the drawing come together. Changing the vanishing point affects how we view everything, providing a more realistic and accurate representation of the school’s structure.
Employing lines to create points of reference to serve as a guiding line, is an excellent means of creating perspective. The default or “normal” perspective for many is that of viewing an object (such as a building) head-on. The straight horizontal and vertical lines we use to create the school’s basic geometry often serve as the front (or neutral) view of the structure. One can employ these lines to guide the eye toward the vanishing point, thereby creating depth and excitement in the drawing.
Using Different Drawing Techniques
Using different drawing techniques is essential in giving the school drawing depth, texture, and a more realistic look. There are several techniques to use, including shading, hatching, and cross-hatching, to name a few.
When shading, lighter pressure is best initially and building up layers of shading is the best way to achieve good depth. You can also experiment with direction and angle shading to obtain different effects. Hatching and cross-hatching are two techniques that help give the drawing dimension and are highly effective on school drawings. Hatching refers to the act of creating parallel lines to produce textures while cross-hatching refers to the overlapping of hatch lines for a subtle texture.
Conclusion
Drawing a school may seem like an overwhelming task, but it is achievable by following this step-by-step guide. Incorporating basic shapes, color, reference materials, perspective, and different drawing techniques are the primary keys in creating an accurate and realistic school drawing.
Remember that getting better at drawing takes time, patience, and practice. Experimenting with various techniques and following references may help you to create exceptional school drawings. Be sure to practice, experiment, and read up on additional resources that can aid in advancing your school drawing skills. With the right amount of dedication and effort, you will be well on your way to becoming a skilled artist in no time.


