I. Introduction
If you’re interested in learning how to draw, seahorses are a great place to start. These unique, underwater creatures offer a fun and challenging subject matter for any aspiring artist. In this article, we’ll provide you with a comprehensive step-by-step guide for drawing a seahorse. We’ll cover everything from breaking the process down into manageable steps to providing helpful tips and tricks for beginners.
II. Step-by-Step Tutorial
The first step in drawing a seahorse is to sketch out the basic shape of the head. Start by drawing a small, curved line for the top of the head, and then draw a longer, curved line for the bottom of the head. Connect the two lines with a curved line for the front of the head.
Next, you’ll want to draw the body. Draw a long, curved line that connects to the back of the head and then curves downward. Add another curved line that starts where the first line ended and continues downward. To finish the body, draw a horizontal line across the bottom.
Now it’s time to add the tail. Draw a thin, curved line that starts at the bottom of the body and then curves upward. Make sure the tail is a bit longer than the body.
Finally, you can add the fin. Draw two curved lines that connect to the back of the head and then curve downward. Add some texture to the fin by drawing small, curved lines that run parallel to each other.
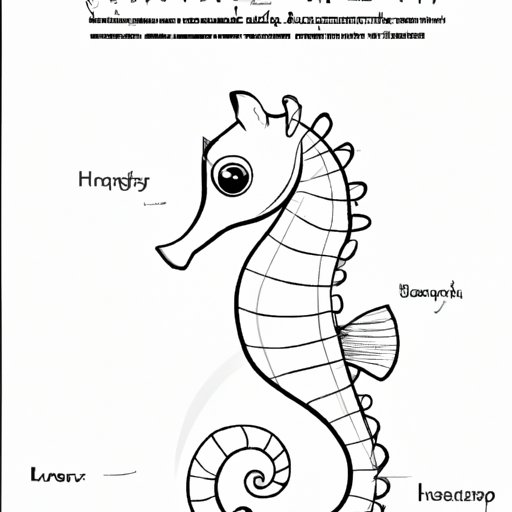
III. Visual Guide with Images
We’ve provided images for each step to help illustrate what we mean.

IV. Video Tutorial
If you prefer video tutorials, here is a great resource: [insert link]. When watching a video tutorial, it’s important to pause and rewind as needed to fully understand each step. It’s also helpful to have the materials you need on hand so you’re ready to follow along.
V. Utilize Reference Images
Looking at reference images can be incredibly helpful when drawing a seahorse. Below we have provided some images to give you a better understanding of what you’ll be drawing.

VI. Tips & Tricks
Here are a few tips and tricks to help you when drawing your seahorse:
- Start with light pencil strokes so you can easily erase any mistakes.
- Draw a grid on your paper to help with proportion and placement.
- Use a kneaded eraser to remove any leftover pencil marks.
- Practice drawing seahorses in different positions and sizes to improve your skill.
VII. Different Mediums
There are many different mediums you can use to draw a seahorse. Here are a few examples:
- Pencils – great for beginners because they are easy to use and control.
- Acrylic Paints – ideal for artists who want to add a pop of color to their seahorse drawing.
- Watercolor Paints – great for creating softer, lighter seahorse drawings.
No matter which medium you choose, it’s important to have fun and experiment.
VIII. Historical or Cultural Connection
Did you know that seahorses are considered symbols of strength and power in many cultures? In ancient Greek mythology, for example, they were associated with the sea god Poseidon and his powerful trident. Today, seahorses are still admired for their unique appearance and fascinating behavior. By learning more about the history and significance of seahorses, you can feel more connected to your art.
IX. Conclusion
Drawing a seahorse can be a fun and rewarding experience for any artist. By breaking the process down into manageable steps, using reference images, and practicing regularly, it’s possible to achieve impressive results. We hope this guide has been helpful and informative, and we encourage you to keep practicing and experimenting with different mediums. Remember, the key to becoming a great artist is patience and dedication.


