Introduction
Are you an artist looking to expand your skills and draw one of the most iconic natural phenomena – a wave? Whether you want to create breathtaking artwork or simply improve your technique, this article will provide you with a step-by-step tutorial and tips to help you draw the perfect wave. We’ll cover the basics of wave anatomy, the tools you need to get started, and a common mistake to avoid.
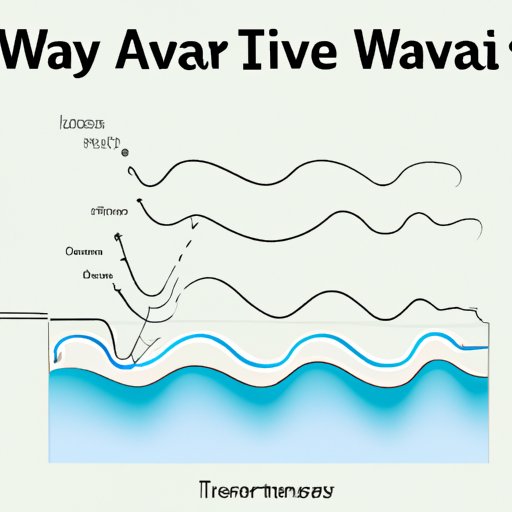
Anatomy of a Wave
Before starting to draw a wave, it is essential to understand its anatomy. A wave consists of three primary parts: the crest, trough, and face. The crest is the top of the wave, while the trough is its lowest point. The face is the sloping surface between the crest and the trough. The height of the wave is the distance between the crest and the trough.
Waves form due to the movement of water caused by wind or seismic activity and can travel across vast distances. Swell direction and wind can affect how a wave behaves, leading to variations in size, speed, and shape. For example, a wave that hits the shore directly will break immediately, while a wave that hits at an angle takes longer to break.
Getting Started
Before you start drawing, you need to gather the right materials. You’ll need a sharp pencil, eraser, and paper. A plain white paper is suitable for beginners, giving them enough space to draw without distractions. You can choose any type of paper that you’re comfortable with later.
Set up a workspace that provides sufficient lighting and a comfortable seat. You can use a reference image if you’re having trouble drawing the wave from memory. Look for images that provide clear details and show the wave from different angles.
Step-by-Step Tutorial
Step 1: Sketch the Basic Shape
Start by drawing the outline of the wave as a simple curve. Make sure to get the curve right because, later on, you’ll add details and texture on this curve. It’s essential to get the right shape so that it appears like a real wave.
Step 2: Sketch the Foam
Next, add foam along the top of the wave and its edges. This foam creates a three-dimensional effect and adds to the realism of the drawing.
Step 3: Add Texture to the Wave
Add texture by shading slightly. Use a light pencil stroke to create a wavy texture on the wave’s face. Make sure to keep the shading light at the start and darker as you keep adding additional layers.
Step 4: Adding Shadows and Depth
Create shadows to give depth to your drawing. Shading the side of the wave opposite the light source adds a realistic contrast to your drawing.
Step 5: Add Details
Add more foam and spray to the base of the wave to give it a natural look, making sure not to disrupt the shape of the wave. Adding smaller waves around the main wave can add dynamism to the drawing.
Common Mistakes to Avoid
One common mistake that beginners usually make is that they tend to focus too much on details. While they’re essential, it’s also equally important to capture the general shape of the wave. Avoid making the wave too symmetrical, as real waves are unpredictable.
Conclusion
Drawing a wave can seem challenging, but it is a fantastic way to improve your technique and create stunning artwork. But remember, it takes practice to master the skill. This guide provided a step-by-step tutorial on how to draw a wave, including essential tips, common mistakes to avoid, and the basic anatomy of a wave. Keep practicing, keep experimenting with techniques, and you’ll undoubtedly improve your wave drawing skills in no time.


