Introduction
Do you love books but struggle to draw them? Book drawings can be challenging, but with practice and the right techniques, you can create a realistic and three-dimensional drawing of a stack of books or an open book. This comprehensive guide will provide step-by-step instructions, helpful tips, and creative ideas for drawing books like a pro.
A Step-by-Step Guide: How to Draw a Stack of Books
Before you can draw books with detail, you must learn how to create a realistic stack. Here’s what you need and how to get started:
- Materials: pencil, eraser, paper
- Step-by-step Guide: sketch the base of the stack, add books with different sizes and shapes, add details like titles on each spine, and add shadows.
- Tips: vary the angle of each book and create a consistent light source for the shadows for a realistic stack.
From Sketch to Shelf: Tips for Drawing Books with Realism
Once you’ve mastered drawing a stack of books, the next step is to create more detailed artwork that appears realistic. Here are some tips:
- Basic Sketch: start with a simple rectangular shape, add lines for the spine and pages, and add texture using small lines for detail.
- Adding Detail and Texture: create the illusion of texture using a combination of shading, hatching, and stippling techniques.
- Techniques for 3D Drawing: use contrast shading and pay attention to the angle of the light source for realistic shadows. Make the edges of the book appear three-dimensional and add highlights to give depth to the book.
How to Add Depth to Your Book Drawings with Shadows and Highlights
Shadows and highlights are an essential ingredient to lifelike drawings. With books, shading, and highlights help you add more depth to your drawing. Here’s how to do it:
- Shading and Highlights: use shading to create shadows under the book, and add highlights to create light reflections on the cover.
- Creating Depth: add shading to the creases of the page to create depth and focus on adding shadows around the edges of the book to create the illusion of depth.
- Elements within a Book: use shading to highlight the pages, and create a shadow on the edge to create the appearance of depth.
Drawing Books from Different Perspectives: Top-Down, Side View, and More
Drawing books from different angles can add a new level of complexity, but it also provides a dynamic element to your drawing. Here’s what you need to know:
- The Importance of Different Perspectives: drawing from different perspectives adds depth to the drawing and provides a visual interest to your art.
- Drawing Books from Different Angles: pay attention to the angle of the book in relation to how it casts a shadow. Focus on the spine of the book for consistency and pay attention to distortion due to foreshortening.
- Adjusting for Foreshortening: when drawing from a different perspective, adjust the size and width of the book to account for foreshortening. This will help your artwork look more realistic.
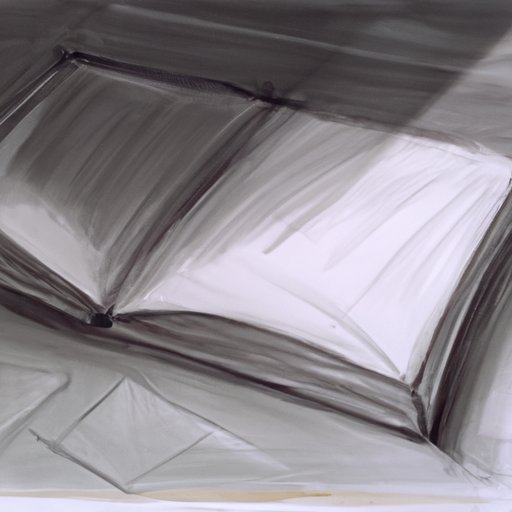
Illustrating Open Books: A Beginner’s Guide
Open books provide an added challenge to drawings, but they are also an opportunity to create a unique piece of artwork. Here’s how to get started:
- Realistic Open Book: create the basic outline of the book cover and pages, add shadow, and texture to the pages. Use lines to create the spine, and add highlights to the page edges for contrast.
- Adding Depth and Dimension: Use shading to create the appearance of depth on the pages, and add shadow beneath the pages to create the illusion of depth.
- Drawing Text and Illustrations: Use shading and different line weights to create text and illustrations within the open book. Use a viewpoint that accounts for the placement of the artwork or text.
Creative Book Drawing Ideas: Adding Characters and Objects to Your Drawings
If you want to take your book drawing skills to the next level, incorporating characters and objects can add a new level of creativity. Here’s how:
- Adding Characters and Objects: Use books as part of a scene and add a character reading or studying the book. Add objects like a lamp, coffee cup, and notes to create a more vibrant scene.
- Creating Illustrations within Books: Use books as a place to draw unique artwork or illustrations. Incorporate shading and texture to make the illustrations pop.
- Using Books as Settings: Draw characters within the setting of a book, like inside a library, and use the books’ details to add detail to the scene.
Practice Makes Perfect: Tips for Improving Your Book Drawing Skills
As with any artistic skill, practice is essential for improvement. Here are some tips to help you practice your book drawing skills successfully:
- Importance of Practice: Practice is what helps you improve your skills and create better art. The more you draw, the better you become.
- Practicing Effectively: Practice regularly in short sessions, choose a focus area like shading or perspective, and analyze your art to identify areas of improvement.
- Building upon Existing Skills: As your skills improve, take on more challenging projects, and focus on areas that need improvement. Remember to take breaks, and don’t be afraid to experiment with different tools and techniques.
Conclusion
In conclusion, drawing books provide unique challenges, but with the right techniques and practice, you can create realistic-looking book drawings. By following these tips for drawing stacks of books, illustrating open books, adding depth with shadows, and incorporating characters and objects, you can create beautiful and imaginative artwork.


