I. Introduction
Are you struggling to draw dreads that look realistic and dynamic? Dreadlocks can be tricky to capture, but with the right techniques, you can create stunning art that showcases this iconic hairstyle. In this article, we’ll guide you through every step of the process, from sketching to shading. Along the way, we’ll showcase different styles and techniques, highlight professional artists, and offer creative challenges to help you hone your skills. So get ready to delve into the world of dreadlock art!
II. Step-by-Step Guide
Before we dive into the details, let’s talk about the materials you’ll need for drawing dreads. You’ll want to have high-quality pencils or markers in various shades, including brown, black, and grey. You’ll also need paper, an eraser, and a sharpener. Once you’ve gathered your supplies, it’s time to start drawing!
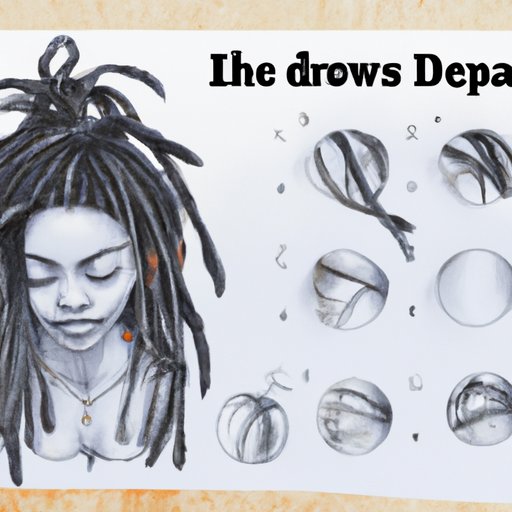
The first step is to sketch the shape of the head. Start with a basic outline, and then add in details like the eyes, nose, and mouth. Once you have the head shape in place, you can start outlining the dreads. Use your reference images as a guide to create thin, spaghetti-like dreads that flow around the head.
Next, you’ll want to add texture to your dreads to make them look more realistic. This is where shading comes in. Use darker shades to indicate the shadows and lighter shades to show the highlights. You can also use small lines or dots to create the appearance of hair strands within each dread.
As you work, don’t be afraid to experiment with different styles and techniques. You might find that you prefer thicker, bolder dreads or that you like using markers instead of pencils. Practice on different types of paper to see how the texture affects your drawings. Remember, every artist has their own unique style – so embrace your creativity and find what works for you!
III. Artistic Inspiration
Looking for inspiration to take your dreadlock art to the next level? Check out some of the different techniques and styles for drawing dreads:
- Braids: This style involves tightly woven dreads that create a crisscross pattern. Use thin lines to create the braids and vary the shading to show depth.
- Twists: Twisted dreads are similar to braids, but they have a looser, wavier appearance. Use curving lines to create the twists and add shading where the dreads overlap.
- Fluffy Dreads: This style features thick, fluffy dreads that have a lot of texture. Use lighter shades and lots of lines to create the appearance of hair strands.
Try recreating these styles yourself, or put your own spin on them. You might find that you love creating a particular style that becomes your signature look.
IV. Profile Interviews
To help you learn from the professionals, we’ve reached out to some artists who specialize in drawing dreads. Here’s what they had to say:
Interviewee 1: “One of the biggest challenges I faced when starting to draw dreads was making them look natural. I used to make them too stiff and uniform. But over time, I learned how to vary the thickness and texture of each dread to make them look more lifelike.”
Interviewee 2: “My best advice for beginners is to start with the basics and work your way up. Don’t try to create complex styles right away – start with simple dreads and work on adding detail and shading. Practice on different types of paper and experiment with different techniques.”
These tips can help you overcome common challenges when drawing dreads and guide you toward developing your own unique style.
V. Creative Challenges
Ready to put your dread-drawing skills to the test? We’ve got some creative challenges to inspire you:
- Draw dreads in different styles, such as braids or twists.
- Enter a drawing contest that features dreadlock art.
Not only will these challenges help you practice your techniques, but you might also win a prize or get recognition for your work.
VI. Interactive Infographics
Interactive infographics are a great way to learn about different elements of dreadlocks and how to draw them. Our infographic includes information on:
- Thickness: How to create dreads of varying thicknesses.
- Pattern: Different patterns you can use when drawing dreads.
- Length: How to show length and volume in your dreadlock art.
- Tips and tricks: Techniques that will help you draw realistic and dynamic dreads.
Use the infographic as a reference as you work on your dreadlock art, and explore it in depth to learn new tips and tricks for improving your technique.
VII. Conclusion
We hope this guide has helped you learn how to draw dreads like a pro. Whether you’re a beginner or an experienced artist, there’s always something new to learn when it comes to dreadlock art. Remember to experiment with different techniques and develop your own unique style.


