I. Introduction
Drawing hair can be intimidating, but it doesn’t have to be. With some practice and the right techniques, anyone can improve their hair drawing skills. In this article, we will explore a step-by-step guide on how to draw hair easily, from breaking down the process into easy-to-follow steps, using references, focusing on texture, simplifying, and practicing regularly. We’ll also cover the tools that can make drawing hair easier, both traditional and digital.
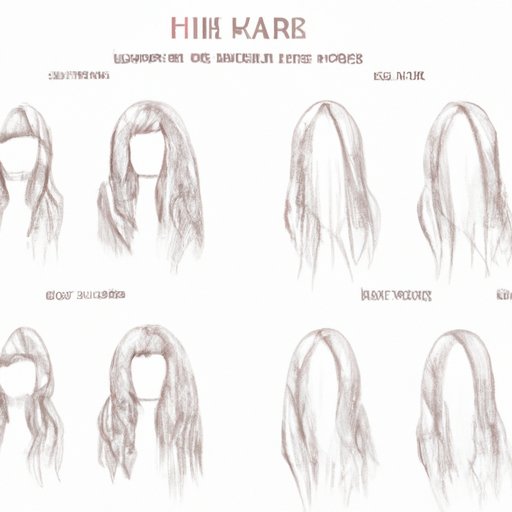
II. Step-by-step process
Breaking down the process of drawing hair into easy steps is crucial. Start with drawing basic shapes, like circles or ovals, to represent the overall shape of hair. Gradually, add more details like locks and curls, and practice each step until it’s perfect before moving on to the next. This can make the process less daunting and help to achieve a realistic-looking hair drawing.
III. Use references
Using photo references can be helpful for drawing hair. Good references can be found on stock image websites or by taking your own photos. Once you have a reference image, zoom in for details and adjust the image to fit your style. This will help to create a more realistic hair drawing and develop a better understanding of how hair behaves under different circumstances, such as wind or movement.
IV. Focus on texture
Texture is an important element to make a hair drawing look realistic. Use shading, lines, or cross-hatching to create the illusion of texture in hair. It’s also important to experiment with different techniques to find what works best for your style. Consider the direction of the hair and how it would look, depending on the hair’s position and movement. Focusing on texture can help to take a hair drawing to the next level.
V. Simplify
Drawing every single strand of hair is not necessary and can be time-consuming. Instead, suggest hair with lines or shapes and fill in the gaps where needed. Break hair into sections and draw in the direction of the hair to create a more natural-looking drawing. Simplifying the process can save time and make the drawing more straightforward.
VI. Practice
As with any skill, practice is essential to improve. There are several exercises that you can try to improve your hair drawing skills, such as drawing different hairstyles, different hair lengths, and different hair textures. Incorporating these exercises into your drawing routine can help to see improvement over time.
VIII. Tools
While drawing hair can be done with any pencil or paper, certain tools can make the process easier. Artist-grade pencils like 2B or 4B create a softer lead, making it easier to shade hair for a realistic effect. Blending tools like tortillons or blending stumps can smoothen out the shading to create a more natural look. For those who prefer digital tools, tablets or software like Photoshop can streamline the process and offer a wide range of hair texture brushes for easy application.
VIII. Conclusion
Drawing realistic hair can be challenging, but breaking the process down into easy steps can make all the difference. Using references, focusing on texture, simplifying, and practicing regularly can improve hair drawing skills significantly. Don’t be afraid to experiment with different techniques and tools, both traditional and digital, and incorporate them into your routine.


