Introduction
Drawing a star may seem like a straightforward task, but getting the angles and proportions just right can be a challenge. Whether you want to use stars for art projects or decorative purposes, this guide will give you all the tools you need to create a perfect, symmetrical star every time.
Step-by-Step Guide
To start with, you will need a pencil, paper, and a ruler. Follow these simple steps to draw a 5-pointed star:
1. Begin by drawing a small circle in the center of your paper.
2. Draw a line from the center of the circle to any point on the edge of the circle.
3. Rotate the paper clockwise by 72 degrees (1/5th of a full turn).
4. Draw a second line from the center of the circle to the edge at the point where the first line intersects with the circle.
5. Repeat steps 3 and 4 until you have drawn five lines that divide the circle into five equal parts.
6. Connect alternate endpoints of the lines to create a star shape.
7. Erase the circle and any unnecessary lines.
Video Tutorial
If you are a visual learner, our video tutorial can help you understand the process of drawing a star. In this tutorial, we start with basic shapes and gradually refine the star into its finished form. Along the way, we provide commentary and explain each step in detail.
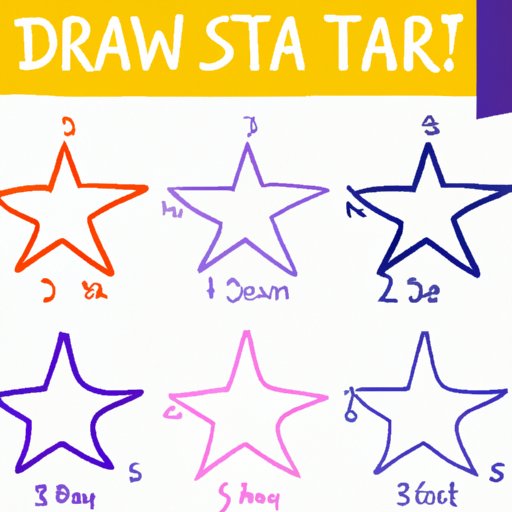
Infographic
For a quick and easy reference, our infographic breaks down the steps to drawing a star in a clear and engaging way. With icons or illustrations, the instructions are easier to understand at a glance.
Tips and Tricks
If you want to take your star-drawing skills to the next level, here are some tips and tricks to help you create a perfect star:
1. Use a ruler to ensure your lines are straight and even.
2. Divide your circle into equal parts using simple math, or by tracing a template or stencil.
3. Practice drawing stars of different sizes to get a feel for the angles and proportions.
4. Experiment with different drawing tools, such as markers, colored pencils, or even digital art software.
5. Take breaks to avoid eye strain or hand fatigue, and stretch your fingers and arms.
Variations
While the classic 5-pointed star is the most well-known, there are many variations on the theme that you can experiment with. Here are some popular ones:
1. 6-pointed star: Follow the same steps as for a 5-pointed star, but draw six lines instead of five.
2. 8-pointed star: Draw two overlapping squares and connect the corners with lines to make an 8-pointed star.
3. Shooting star: Draw a curved line with a pointed end, and add a tail of smaller curved lines.
Creative Prompts
Once you have mastered the basics, try some of these creative prompts to challenge yourself and bring your own unique style to star-drawing:
1. Draw a star using only straight lines.
2. Incorporate stars into a larger design, such as a constellation or a night sky.
3. Use stars as a starting point for a doodle or zentangle.
4. Experiment with different styles, such as a cartoonish star or a realistic star.
5. Use stars as inspiration for a mixed media project, combining drawing, painting, or collage.
Inspirational Gallery
To spark your imagination and see what others have done with star-inspired art, check out our gallery of drawings, paintings, and photographs. We offer commentary on what makes each piece effective and how readers can apply those techniques to their own work.
Conclusion
Drawing a perfect star is a skill that takes practice and attention to detail, but with the right tools and guidance, anyone can do it. We hope that our step-by-step guide, video tutorial, infographic, tips and tricks, variations, creative prompts, and inspirational gallery will inspire you to explore this timeless symbol and find your own style.


