I. Introduction
Many people struggle with drawing the Eiffel Tower. This iconic French structure is a beloved tourist attraction, a symbol of Paris, and a complex engineering marvel. But it doesn’t have to be intimidating to draw! In this article, we’ll explore different techniques, break down the process into steps, and provide a simplified version of the Eiffel Tower that anyone can draw.
II. Historical Context
The Eiffel Tower was built between 1887 and 1889 by engineer Gustave Eiffel. It was created to celebrate the centennial of the French Revolution and to showcase French engineering prowess. The tower was originally intended to be a temporary structure, but it quickly became a permanent fixture on Paris’s skyline.
Today, the Eiffel Tower is one of the most recognizable landmarks in the world. It has been featured in countless films, books, and photographs, and is a beloved symbol of French culture and history.
III. Comparative Analysis
There are many different techniques for drawing the Eiffel Tower, each with its own pros and cons. Some artists prefer to use a grid method, where the tower is broken down into smaller squares and drawn section by section. Others prefer to start with basic shapes and gradually add details. Still others use a combination of different techniques.
To decide which method is best for you, it’s important to experiment with different approaches and find what works for your style and skill level. Some methods may be more time-consuming, while others may produce results more quickly. It’s all about finding the approach that fits your needs.
IV. Simplified Version
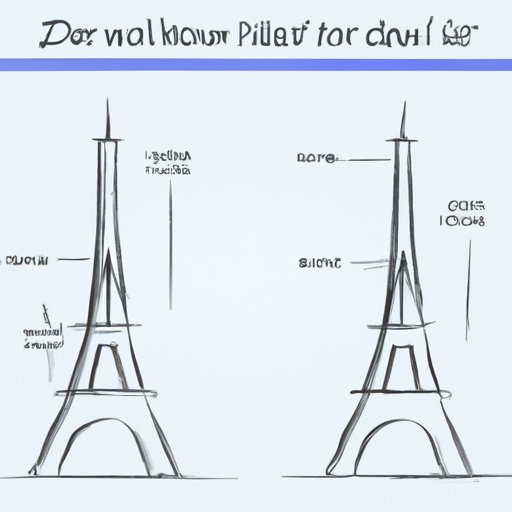
For novice artists, it can be helpful to start with a simplified version of the Eiffel Tower. This approach focuses on the tower’s basic shape and key features, while minimizing some of the more complex details.
To draw a simplified Eiffel Tower, start by drawing a vertical rectangle for the tower’s main structure. Then draw two diagonal lines extending from the top of the rectangle to create the tower’s iconic shape. Add in the tower’s four legs and top platform, and you’re done! This simple version of the Eiffel Tower is a great starting point for beginners who want to get a feel for the structure before attempting a more detailed drawing.
V. Step-by-Step Guide
If you’re ready to take on a more detailed drawing of the Eiffel Tower, here’s a step-by-step guide to get you started:
- Start by drawing a vertical line to represent the tower’s main structure.
- Next, draw two diagonal lines extending from the top of the vertical line. These lines will create the tower’s iconic shape.
- Draw two diagonal lines extending from the bottom of the vertical line to create the tower’s legs.
- Add in the tower’s top platform by drawing a horizontal line connecting the two diagonal lines at the top of the tower.
- Draw the tower’s cross beams by adding diagonal lines extending from the main structure to the legs.
- Sketch in the tower’s rivets and other details, such as the elevators and observation decks.
- Erase any unnecessary lines, and your Eiffel Tower drawing is complete!
VI. Video Tutorial
VII. Conclusion
Drawing the Eiffel Tower doesn’t have to be a daunting task! Whether you’re a beginner or an experienced artist, there are a variety of techniques you can use to create a beautiful, accurate rendering of this iconic structure. Try experimenting with different methods, starting with a simplified version, and following step-by-step instructions to find the approach that works for you.


