Introduction
Dealing with a dripping faucet can be frustrating. It’s not only the sound of the constant drip that can be an annoyance, but a leaky faucet can also lead to costly water bills and potential damage to your home. Luckily, fixing a dripping faucet is a task that most homeowners can handle themselves, with the right tools and some basic know-how. In this article, we’ll explore step-by-step instructions for fixing a dripping faucet, common causes of leaks, maintenance tips, and quick fixes you can try before calling in a plumber.
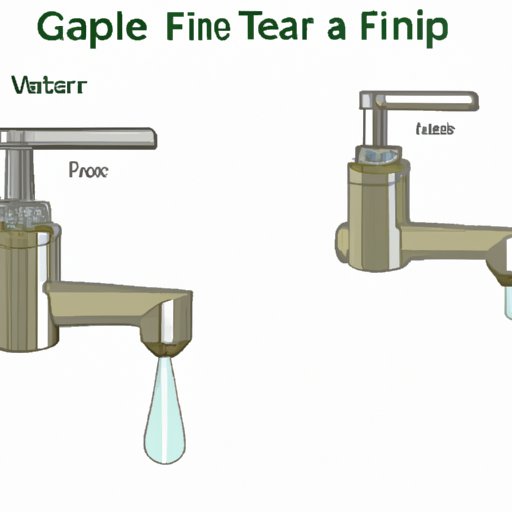
Step-by-Step Guide
Before you can fix a dripping faucet, you need to know the type of faucet you have. There are four main faucet types: ball, cartridge, compression, and ceramic disc. Once you know your faucet type, you can gather the necessary tools and materials to get started. Here’s a step-by-step guide to fix your leaking faucet:
- Turn off the water supply to the faucet. This is typically located under the sink.
- Remove any decorative parts of the handle knobs, if applicable.
- Remove the screw that holds the handle in place.
- Remove the handle from the faucet. This may require a little force or wiggling to remove.
- Use a wrench or pliers to remove the nut that holds the valve in place.
- Remove the valve and check the O-ring and washer for wear or damage.
- If any parts are worn or damaged, replace them with new ones. You can usually find parts at your local hardware store or online.
- Reassemble the faucet and turn the water supply back on to test for leaks.
Common Causes of Leaks
Now that you know how to fix a dripping faucet, it’s important to understand the most common causes of leaks. Understanding the cause of your leak can help you diagnose the problem and prevent it from happening in the future. Here are some common causes of faucet leaks:
- Worn out O-rings or washers: These are rubber discs that seal the valve and help regulate water flow.
- Corroded valve seat: The valve seat is a metal part that connects the faucet and the spout. If it’s corroded, it can cause leaks.
- Loose parts: If parts of the faucet become loose over time, it can cause leaks.
- Broken pipes or fittings: If your pipes or fittings are damaged, it can cause leaks.
- Water pressure: High water pressure can cause leaks or damage to your faucet over time.
It’s important to diagnose the cause of your leak to prevent it from happening again. If you’re uncomfortable fixing the faucet yourself, or if you’re unsure of the cause of the leak, it’s always best to call in a professional.
Video Tutorial
For those who prefer a visual guide, we recommend checking out this video tutorial that walks you through the steps of fixing a dripping faucet:
This video provides a helpful supplement to our step-by-step guide, allowing you to see each step of the process in action.
Faucet Maintenance Tips
Prevention is key when it comes to faucet leaks. Here are some maintenance tips to help keep your faucet in good condition:
- Clean your faucet aerator regularly to prevent mineral buildup that can restrict water flow.
- Check for loose parts and tighten them as needed.
- Know the water pressure in your home and install a pressure regulator if necessary.
- Replace any worn or damaged parts as soon as you notice them.
- Call in a professional if you’re unsure about any repairs or if you notice any signs of leaks or damage.
Regular maintenance can help prevent leaks and extend the life of your faucet.
Quick Fixes and “Hacks”
While fixing a dripping faucet yourself is often the best solution, there are some temporary “hacks” you can try if you’re in a pinch:
- Use a piece of string or dental floss to tie around the spout and let the water stream down it instead of dripping.
- Place a container under the spout to catch the dripping water.
- Turn off the water supply to the leaking faucet and use a different faucet in your home until the leaking faucet can be repaired.
- Try tightening the handle screws to see if that stops the leak.
While these quick fixes can be helpful in the short term, they shouldn’t be relied on as permanent solutions. If you notice any signs of damage or leaks, it’s always best to call in a professional.
Conclusion
Fixing a dripping faucet is a task that most homeowners can handle themselves with the right tools and some basic know-how. By following our step-by-step guide, understanding common causes of leaks, watching our video tutorial, and following our maintenance tips, you can prevent costly water bills and damage to your home. Remember to always turn off the water supply before any repairs and to call in a professional if you’re unsure or uncomfortable with any repairs. Fixing your faucet now will save you money and headaches in the long run.


