I. Introduction
If you’re looking for a new way to spice up your cash game, look no further. Who says money has to be boring? With just a few clever folds, you can turn your cash into an impressive masterpiece to impress your friends or family. In this guide, we’ll explore six creative techniques for folding money into fun shapes. Whether you’re a beginner or advanced folder, these step-by-step instructions will teach you how to fold your money into art.
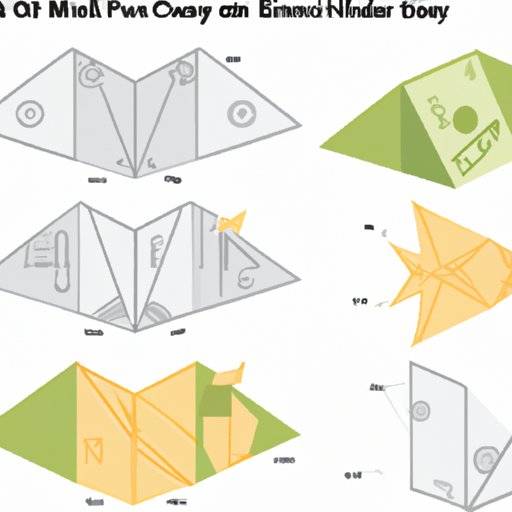
II. “6 Creative Ways to Fold Money into Fun Shapes”
Before we dive into the step-by-step instructions, let’s take a look at the six different shapes we’ll be covering in this tutorial:
- Heart
- T-shirt
- Hat
- Butterfly
- Shirt and tie
- Elephant
Each shape varies in difficulty, but with a little bit of patience and practice, you’ll be able to master all of them.
III. “Money-Folding Made Easy: Step-by-Step Instructions for 6 Shapes”
Let’s get started! Here are the detailed, step-by-step instructions for each of the six shapes:
1. Heart
- Start with a rectangular-shaped bill, face side up.
- Make a fold horizontally lengthwise in the center of the bill.
- Flip the bill over and fold the two longer ends towards the center fold.
- Now fold the bill in half horizontally, so the folded ends meet.
- Fold the two upper corners of the bill downwards to create the shape of the heart.

2. T-shirt
- Start with a rectangular-shaped bill, face side up.
- Make a fold horizontally lengthwise on the top and bottom of the bill to create two creases at the top and bottom of the bill. These creases will be used to create the collar of the T-shirt.
- Make two vertical folds on the sides of the bill towards the center crease to create the sleeves of the T-shirt.
- Flip the bill over and fold a small portion of the bill upwards to create the bottom of the shirt.
- Make two small triangle folds underneath the main fold to create a V-neck shape for the shirt.

3. Hat
- Start with a rectangular-shaped bill, face side down.
- Make a fold horizontally lengthwise in the center of the bill.
- Flip the bill over and fold the two longer ends towards the center fold.
- Make two diagonal folds on both sides of the bill to create the hat shape.

4. Butterfly
- Start with a rectangular-shaped bill, face side up.
- Make a fold horizontally lengthwise in the center of the bill.
- Flip the bill over and make a small fold (about 1 cm) on one of the shorter sides of the bill to create the head of the butterfly.
- Make two diagonal folds on both sides of the bill to create the wings of the butterfly.
- Make two small folds at the bottom of the bill to create the antennae of the butterfly.

5. Shirt and tie
- Start with a rectangular-shaped bill, face side down.
- Make a fold horizontally lengthwise in the center of the bill.
- Flip the bill over and create two diagonal folds on both sides of the bill to create the collar of the shirt.
- Make two vertical folds on the sides of the bill towards the center crease to create the sleeves of the shirt.
- Make a small fold (about 1 cm) at the bottom of the shirt to create the tie of the shirt.

6. Elephant
- Start with a rectangular-shaped bill, face side up.
- Make a fold horizontally lengthwise on the bottom of the bill to create the legs of the elephant.
- Make two vertical folds on both sides of the bill towards the center crease to create the ears of the elephant.
- Make a diagonal fold on one of the longer sides of the bill to create the trunk of the elephant.
- Make two small triangle folds at the top of the bill to create the eyes of the elephant.

IV. “Impress Your Friends with These 6 Money-Folding Techniques”
Why fold money into shapes? It’s a fun and unique way to impress your friends or family. These shapes can also be used for various occasions, such as the perfect addition to a birthday card or to leave as a tip at a restaurant.
V. “Origami for Beginners: 6 Easy Shapes to Fold with Your Cash”
The art of folding money into shapes is similar to origami. You don’t need any special tools or skills to get started and these 6 shapes are perfect for beginners. With a little bit of practice, you’ll be able to create these shapes with ease.
VI. “Turn Your Money into Art: 6 Innovative Folded Shapes”
Folding money into shapes doesn’t have to be restricted to traditional origami shapes. These 6 shapes provide an innovative take on folded money, each with its unique twist. Let your creativity flow and experiment with different variations to create your own masterpiece.
VII. “Put Your Money Where Your Creativity Is: 6 Ways to Fold Your Cash Like a Pro”
If you’re an advanced folder looking to elevate your skills, there are various tools and techniques you can use to create more intricate shapes. Tips such as using an iron to flatten out the creases or adding extra details to your shapes like eyes or wings can take your money-folding game to the next level. So put your money where your creativity is and get folding!
VIII. Conclusion
So there you have it, a step-by-step guide to folding money into fun shapes. From a heart to an elephant, these shapes are sure to impress.


