I. Introduction
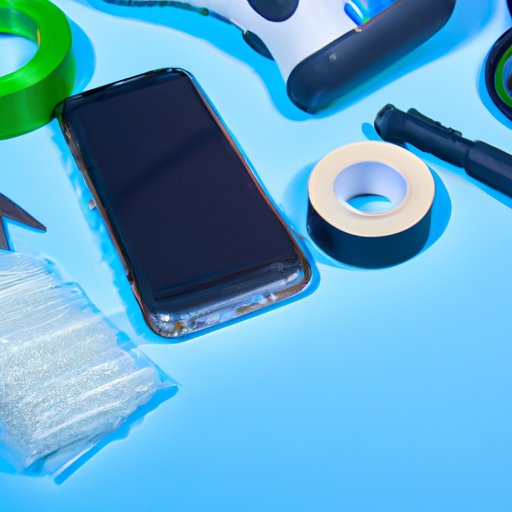
Screen protectors are a must-have accessory for smartphones and other devices. They protect screens from scratches, cracks, and other damages. However, one downside to screen protectors is the appearance of air bubbles during the installation process. Air bubbles can be frustrating and distracting, and if left untreated, they can cause the edges of the protector to lift and accumulate dust. This article will provide different solutions for getting air bubbles out of a screen protector, with step-by-step instructions and tips for each method.
II. Option 1: Use a Plastic Card
The plastic card method is an easy and effective way of pushing bubbles out of a screen protector. Here’s how you do it:
- Clean the screen thoroughly with a microfiber cloth and ensure all dust and debris have been removed.
- Peel off a small part of the screen protector’s protective layer, align it properly with your device’s screen, and press the adhesive side down.
- Use a plastic card, such as an ID card, credit card, or squeegee, and press it firmly from the center of the screen towards the edges in a sweeping motion to push out the bubbles.
- Repeat the process, sweeping the card from different directions to prevent new bubbles from forming, until all the air bubbles are removed.
- Finally, carefully remove the protector’s top layer.
It’s important to note that excessive pressure or speed while using the card can cause the protector to stretch or even crack, so be sure to work slowly and carefully.
III. Option 2: Press and Hold
The press and hold method is another easy way of getting bubbles out of a screen protector. Here’s how you do it:
- Clean the screen thoroughly with a microfiber cloth and ensure all dust and debris have been removed.
- Peel off a small part of the screen protector’s protective film from one side and align it with the device’s screen carefully.
- Hold the protector in place with one hand and use the finger of your other hand to press down firmly on the center of the protector, starting at the top and moving down gradually.
- Hold the center of the protector for about 20-30 seconds, which will allow the adhesive to attach firmly while pushing the air bubbles out towards the edges of the protector.
- Finally, release the center of the protector and remove the protective layer.
Again, be careful not to use too much pressure to avoid stretching or even cracking the protector.
IV. Option 3: Use a Needle
Gently poking air bubbles with a needle is another way of releasing trapped air quickly. Here’s how you do it:
- Clean the screen thoroughly with a microfiber cloth and ensure all dust and debris have been removed.
- Peel off a small part of the screen protector’s protective layer from one side and align it carefully with your device’s screen.
- Use a needle to poke a tiny hole in the center of the air bubble, ensuring it’s just enough to release the air. Do this carefully and gently, ensuring you don’t poke too deeply and avoid causing damage to your device.
- Use a plastic card or your finger to press down on the center of the screen protector immediately after poking the hole. This will help force out any remaining trapped air.
- Repeat this process on any remaining air bubbles.
- Finally, remove the protector’s top layer.
Be sure to use a sharp and clean needle. Using a dirty or dull needle can cause more harm than good.
V. Option 4: Remove and Reapply
If air bubbles persist despite your best efforts, you can try removing and reapplying the screen protector. Here’s how:
- Gently remove the protector from your device and remove any dust or debris from both the protector and the screen.
- Peel off the top protective layer of the new screen protector and align it precisely with your device’s screen.
- Apply the protector from one end to another slowly while simultaneously using a plastic card to push bubbles out during the installation process.
- If air bubbles still remain, use any of the above methods to remove them.
Remember to work slowly and carefully to ensure that the new protector relies on the screen securely.
VI. Option 5: Use a Hairdryer
A hairdryer on low heat can help soften the adhesive of a screen protector and make it easier to reposition. Here’s how:
- Peel off the protective layer of the screen protector and align it with the screen carefully.
- Use a plastic card or your finger to push out any obvious air bubbles.
- Set the hairdryer to a low heat setting and hold it a few inches away from the protector.
- Use your finger or a plastic card to smooth any air bubbles as they appear.
- Repeat the process, taking care not to expose the device’s screen to high heat or leave the hairdryer in one place for too long.
Be cautious during this process, and don’t use this method if you’re not comfortable or experienced working with a hairdryer.
VII. Option 6: Wait It Out
It’s possible that air bubbles in your screen protector will disappear on their own over time. Here are a few tips to expedite the process:
- Use the device as much as possible to create heat and accelerate the process.
- Avoid putting too much pressure or pushing hard on the screen protector, which can cause the air bubbles to get worse and more significant.
- Offer the protector an additional day or two to adhere if you’ve already used any of the above methods to push the air bubbles out.

VIII. Option 7: Call a Professional
If all these DIY methods don’t work, you could hire a professional to install a screen protector that is bubble-free. There are pros and cons to this option. While it saves you time and frustration, it may also be costly and inconvenient. Shop around for a trusted and qualified professional if you decide to take this route.
IX. Conclusion
Getting air bubbles out of a screen protector can be a frustrating experience, but with the above tips and tricks, you can get your device protected with a clear and bubble-free screen. Remember to try the different methods before calling a professional for help, and always use caution and care when working with adhesives that are sticky. With a little patience and TLC, you will be pleased with the result and enjoy your newly protected screen.


